Tuesday, May 22, 2012

Completed! - XBOX 360 Controller (Fresno State Scheme)

So I thought I'd put my gunpla skills to work on something else. Made a few mistakes, but basically everything that works for building Gundam model kits applies to custom controls. Here's the final results.


Thoughts on the kit...
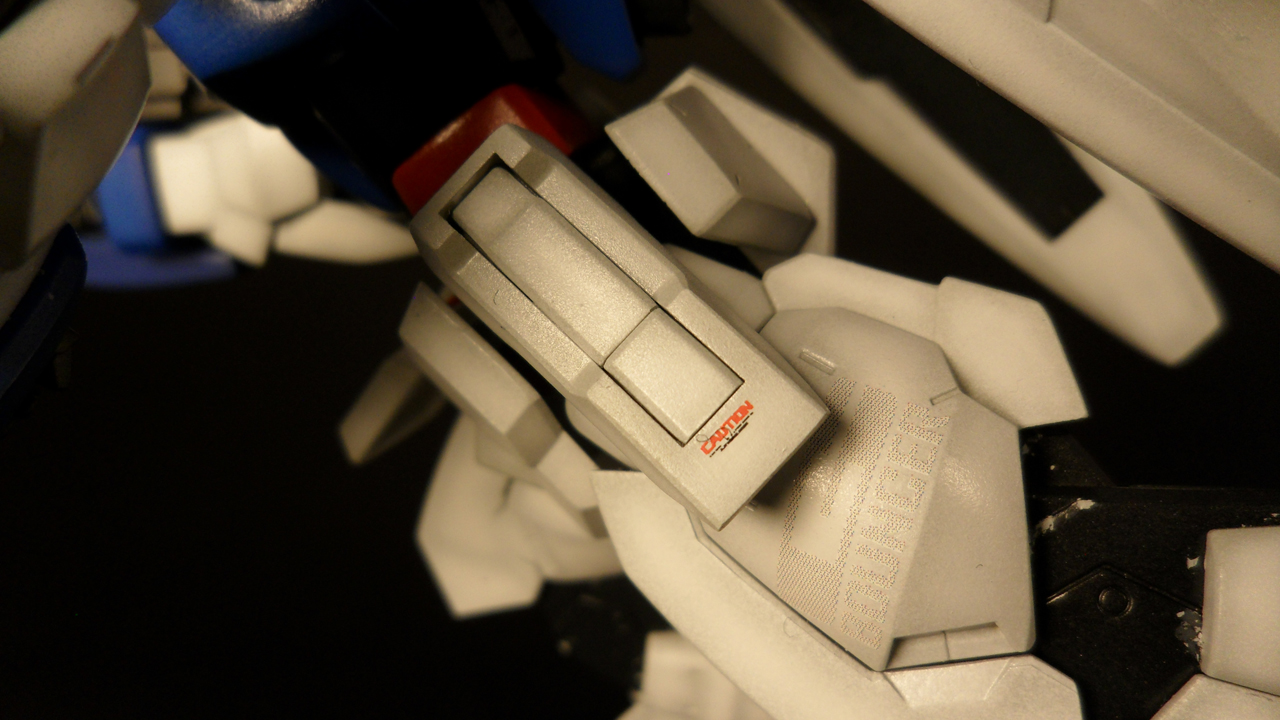
It's an Xbox 360 controller. If you don't know what one is like by now, you might as well stop reading because this post isn't for you.

Thoughts on my work...
For the most part I think it went pretty well. There were two major issues which really detract from all of the good parts. The obvious one is the big decals. The surface of the controller has a ton of curves. Makes it impossible to get the decal to lay perfectly flat. In my efforts to get it to lay as flat as possible I tore the decal in a few places. Since these decals are the focal point of the controller, the imperfections really stand out. The other part probably isn't as obvious. It's with the sanding. The surface of the controller isn't smooth. If you want to lay down some decals, you need to sand it flat. Well in doing so, you can start to remove details, just like when working with Gundam model kits. I forgot to go back and make sure the detailed parts were still there. So when I went back to panel line the details, paint just went everywhere. Not that big of a deal to me, but it's something to be aware of for next.

And yes I think there will be a next time. Although the kit didn't turn out the way I wanted, I learned a lot and I had a ton of fun doing it. But before I tackle another one, I want to use the one I have to see how well it holds up. I think I'm going to play through Final Fantasy 13 and then take photos again. I figure 50-100 hours of gameplay should give me a good idea if my painting approach will hold up.

Sunday, May 20, 2012

Weekly WIP - Full Armor XN Raiser (Part 10)

Sorry I didn't update last week. Life sort of got in the way. Since then, I've been doing a lot of decal work and sanding. Completed decaling all of the parts I've painted.


For the most part this went pretty well. Have a few blemishes, but nothing too major. I did ruin one decal, so I'm going to have to order a replacement one. There is one issue that I'm not sure about. Some of the decals cross over panel lines. I'm not sure how to handle this. I need to play around with a few practice pieces and see what works. Will be reporting back on it.


Also been doing a ton of sanding the past few days. Here's my box of parts that are ready for wash and then  some primer.


Here's my box of parts I want to finish before clean/prime.


Here's my box of parts that I haven't really touched.


There's something like 400-500 parts for this kit.

What else I'm into...
Party Down. It's a television show about a catering company in LA, where the waiters are all doing this to get by while they try to make it big. Each episode takes place at an event they're working. I discovered this show probably 2 years ago. A week or so later, I found out it had already been cancelled. There are two seasons of the show. Recently, I started watching some of the episodes again. It's still pretty funny. If you're looking for a laugh, give it a shot.

Wednesday, May 16, 2012

Completed! - 1/144 HG G-Bouncer (Setsuna F Seiei Colors)

I used this kit to try out a few things before tackling my Mecha 2012 contest kit. Tried out Tamiya putty, making my own decals,and trying out the colors I want to use.


Thoughts on the kit...
This kit is pretty cool. I like the design. The all white really works. Because it's all white, it's like a blank template which makes custom paint jobs easy. If you want to try out painting, this kit makes the prep work pretty easy. There are a few seam lines to deal with. Nothing out of the norm though. I do have two complaints though. The shoulder pieces did not line up at all. Not sure why, but a minor seam line became a major effort. I also didn't like the clear green piece. The color isn't my real issue, as it can be painted with a clear green to darken it up. The issue I have is with the extra chunk of plastic on the inside of the hook. Doesn't seem to be a safety thing so I'm not sure what it's doing there. It's in a really tough spot to remove. On top of that, it's a lot harder to remove blemishes on clear plastic. I didn't mess with as I didn't care for this kit. In the end I would recommend this kit to someone. Here's hoping this becomes an MG.

Thoughts on my work...
For the most part, I'm not happy with this kit. Shading looks ok. I'm starting to feel more comfortable doing it now. Was a bit disappointed with a few things I thought I had under control. My application of the decals did not go well. Tore a few. Smudged a few. Had issues with the setting solution. Just wasn't working for me this time. My masking didn't go so well either. There wasn't much on this kit, but there are little imperfections all over the place. Not too worked up about this though. I didn't try real hard on it. Like I mentioned earlier, this is really another practice kit. As for what I did focus on...

The Tamiya putty was ok. Seems to work for the most part. Takes a while to dry though. Seems to work best for tiny imperfections, but anything more than that, I didn't have much luck with. You can see that in the shoulders. They were more than a little off and this putty couldn't really get the job done. I guess I could have done multiple layers, but I didn't want to waste the time. 

Decals came out pretty well. I just designed them. I did not print them. I had Samuel Decal do that. For some reason the gray parts weren't actually gray. The came out as some black/white pattern. Kind of weird. Wish I would have known about that before hand, but I assume this is why his gray decals are metallic. Also had a bit of an issue with the red logo. When using the setting solution, the decal began to run. For the most part I got rid of the really bad runoff, but you can still see some pink around the edges of the logo. I believe I got carried away with the amount of solution used and that cause the problem. For more info on decals, check out this youtube video.

The colors half worked. Red and white turned out good, but I had already used these so I expected this. The blue and gray not so much. There wasn't enough of a difference between the two shades to give a highlight/shade. As for the gray, the highlight color was too dark and a bit metallic for me. 

In all, I think this kit is good, but my work was not. This kit is no where near my best. But in the end, I think I learned a lot and got try out some new things. Looking forward to starting my next practice HG. Still don't have a kit that's showcase worthy yet, but I'm optimistic about my Mecha 2012 kit.