Showing posts with label 1/100 RX-93-v2 Hi-v E-V-O. Show all posts

Tuesday, January 29, 2013

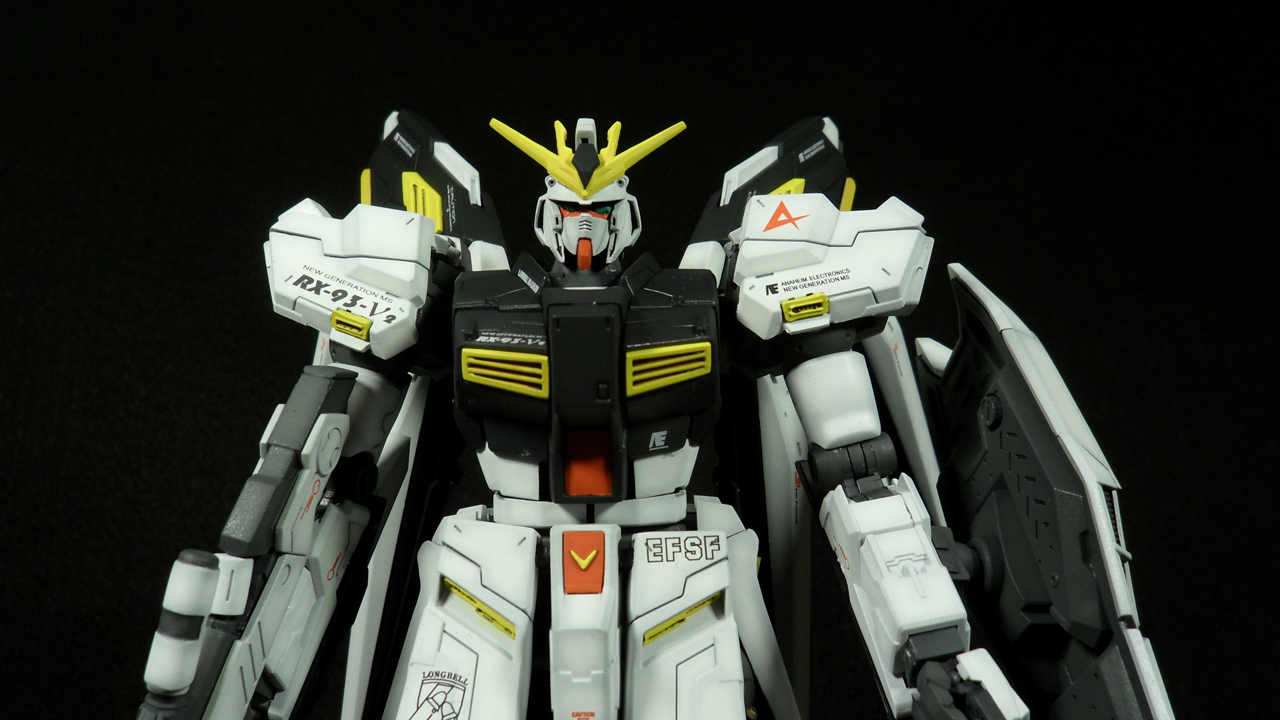
Completed! - 1/100 RX-93-v2 Hi-v E-V-O

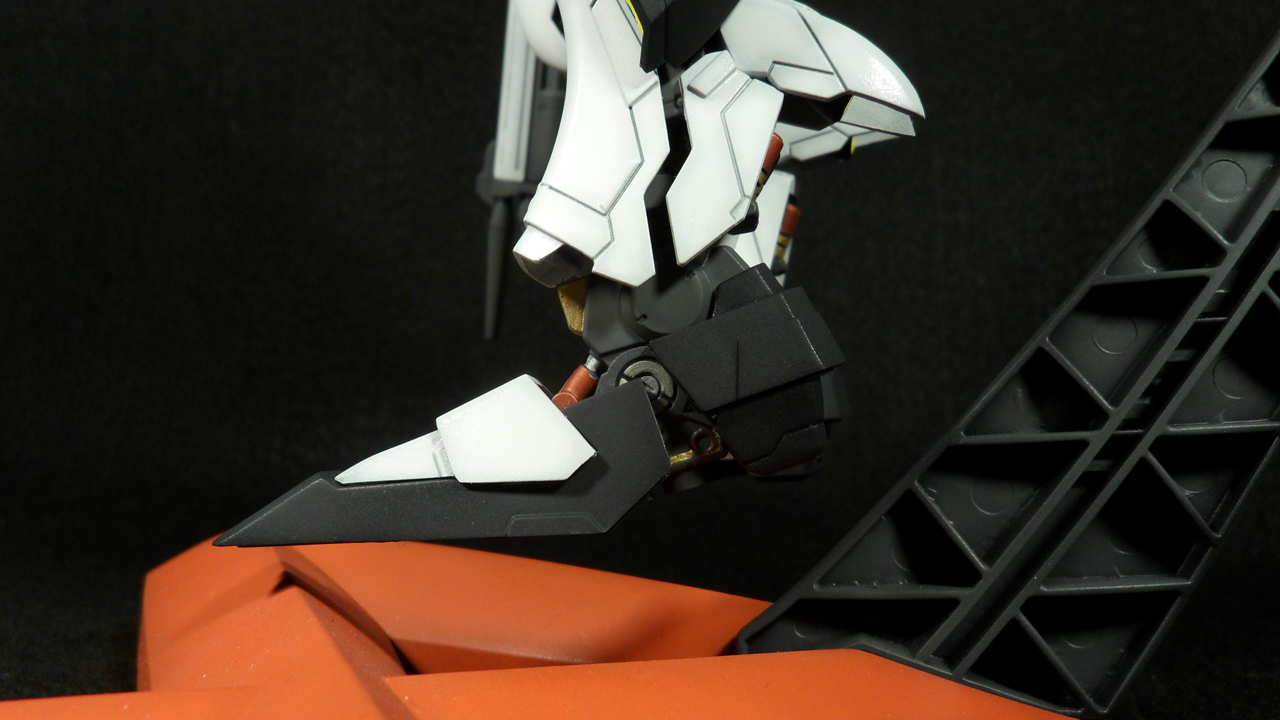
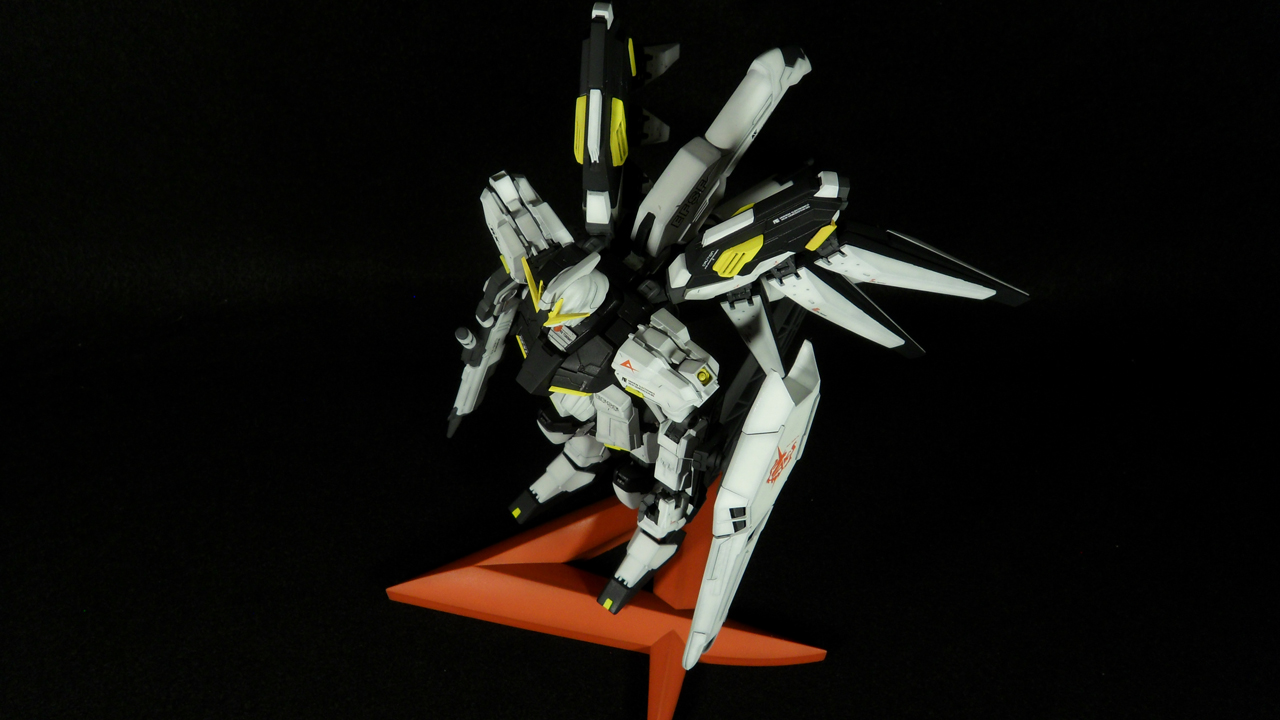
Finally finished the Hi-v E.V.O. Here it is!


Ran out of photo space here and there's no way to pull from flickr, so here's a sample. Rest of the picks can be found here: Hi-nu E.V.O. Gallery.
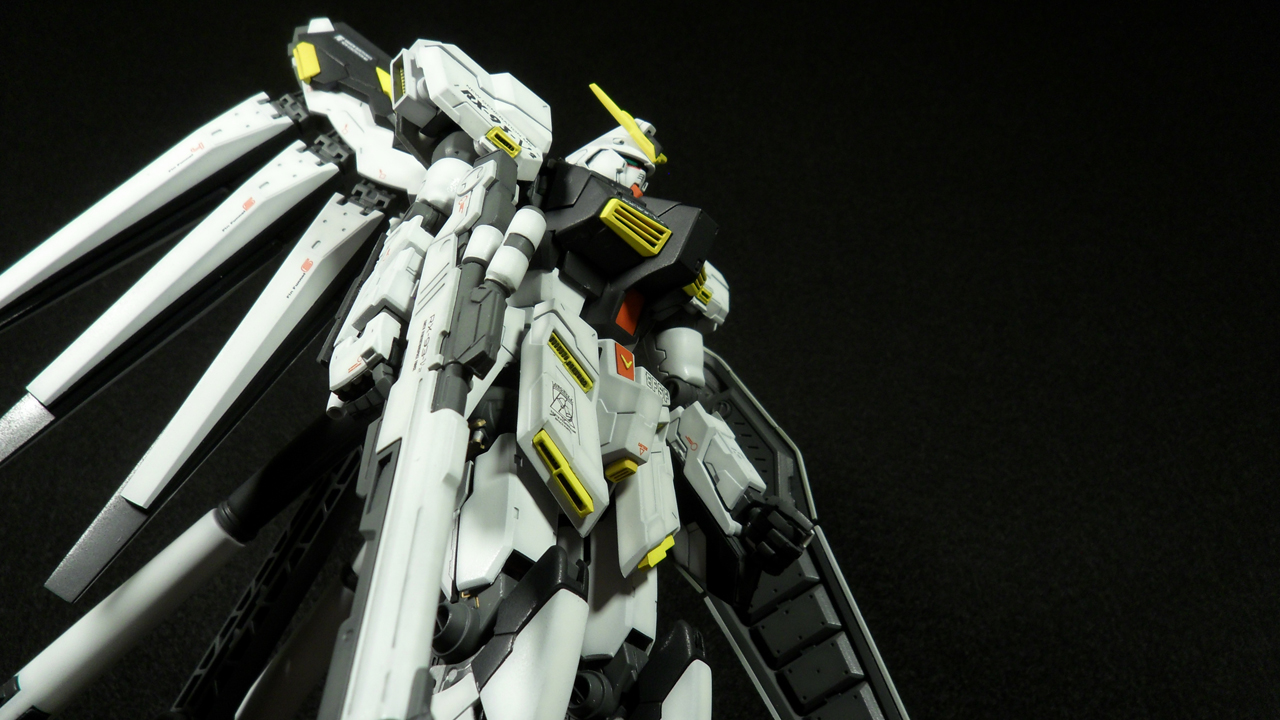


Thoughts on the kit...
For a non Bandai kit, I was pretty happy with what I got. I really like the look of the kit. The larger size and added detail really make this kit look amazing. There were a few seam line issues to deal with, but other than that everything fit well and the kit feels pretty solid. The base for the stand is pretty good. The rest of the stand, not so much. So many dimples in the plastic. That was a bummer. But I think if your only real complaint is the stand, the kit is really good.

Thoughts on my work...
I fairly pleased with my work. The two things that really stand out to me is the dust and the scratches. I have no idea how so much dust got on this kit. I tried really hard to prevent it, but half way through I just stopped caring. Once the parts are washed for painting, they are always covered unless I'm painting. I just cleaned the room and covered it in plastic. I don't know what happened, but this guy is a magnet for dust. As for the chipping, that was my fault. I just got carried away building it. I mean I put so much time painting and detailing that I couldn't wait to see it together. So when parts were a little snug, instead of trying to find what the problem was, I went with brute force. It got the job done and there wasn't anything too bad, but there are a few spots that I have noticed.

I also tried detailing the inner frame on the kit. Well really just the legs. It's the only frame parts that are exposed. It was actually kind of fun. I didn't really want to do it, but so much of the leg armor was exposed, I felt I had too. I was really nervous when I started. Would look at photos over and over to make sure I was getting the right spots. But after a while I stopped looking at the boxes and just did whatever I thought would look good. I will definitely be doing this again for kits with exposed frames.

In the end I'm happy with this kit. Tried detailing for the first time and found out it's something I really like. Had some issues with dust and scratches, but I don't think it's anything too major. I don't think this kit is better than my Marasai, but it might be my second best kit. If you have the resources to build tis kit, I highly recommend it.

Friday, December 21, 2012

Weekly WIP - 1/100 RX-93-v2 Hi-v E-V-O, (Part 5)

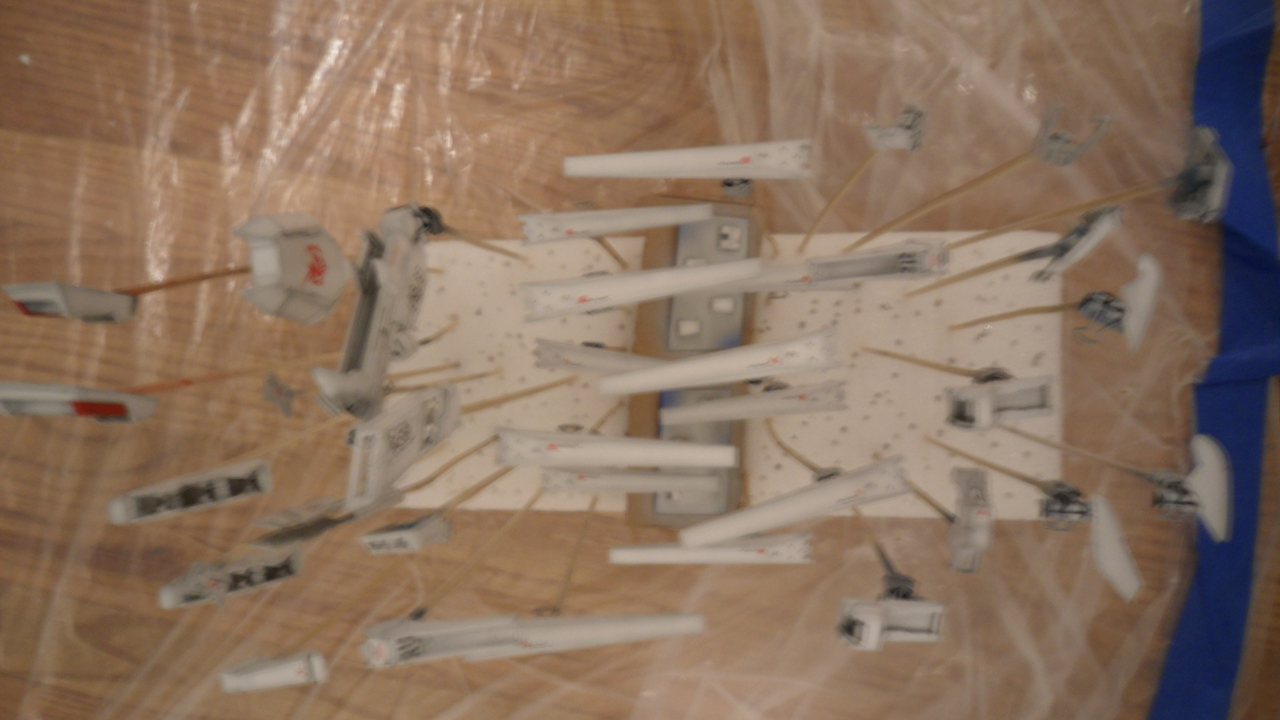
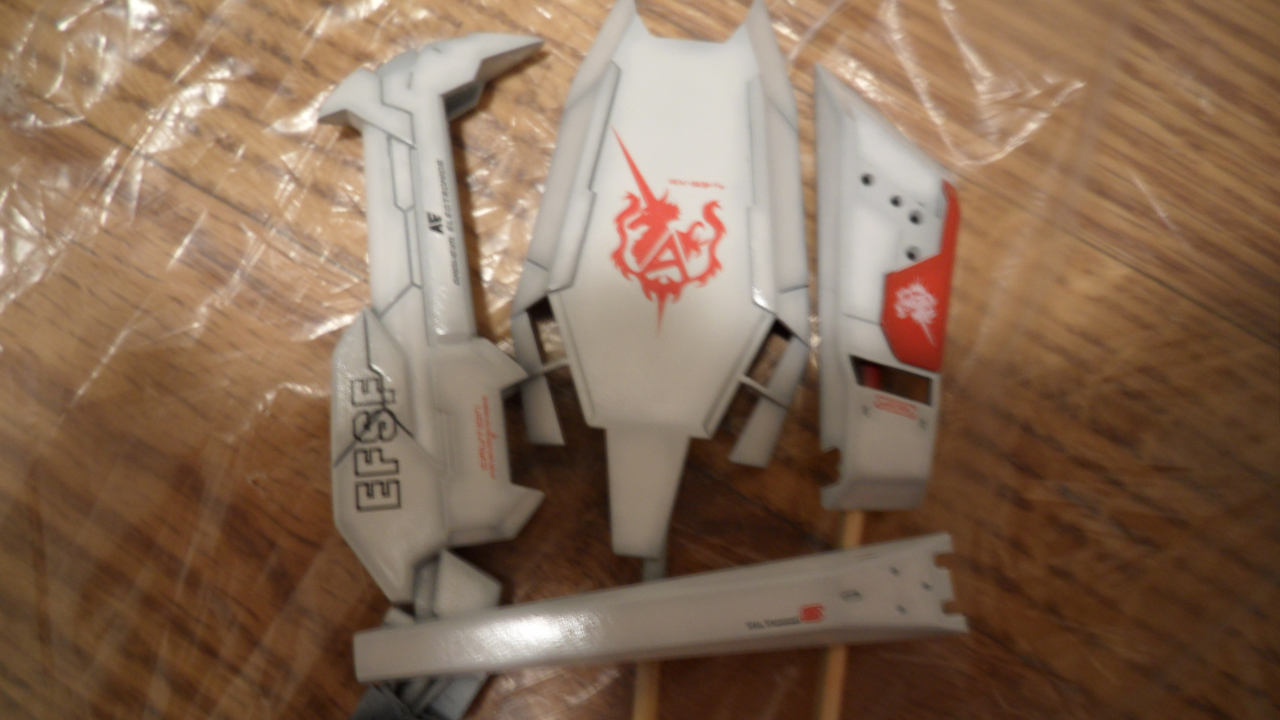
Quick update here. With the holidays coming up, haven't had much time work on this. And probably won't for at least another week. Did manage to get all of the panel lining and decals put on all the yellow, red, white, and blue parts. Here's were things stand now.


What else I'm into...
Christmas! Hope everyone gets a chance to spend some quality time with their loved ones. Happy Holidays!

Sunday, December 9, 2012

Weekly WIP - 1/100 RX-93-v2 Hi-v E-V-O, (Part 4)

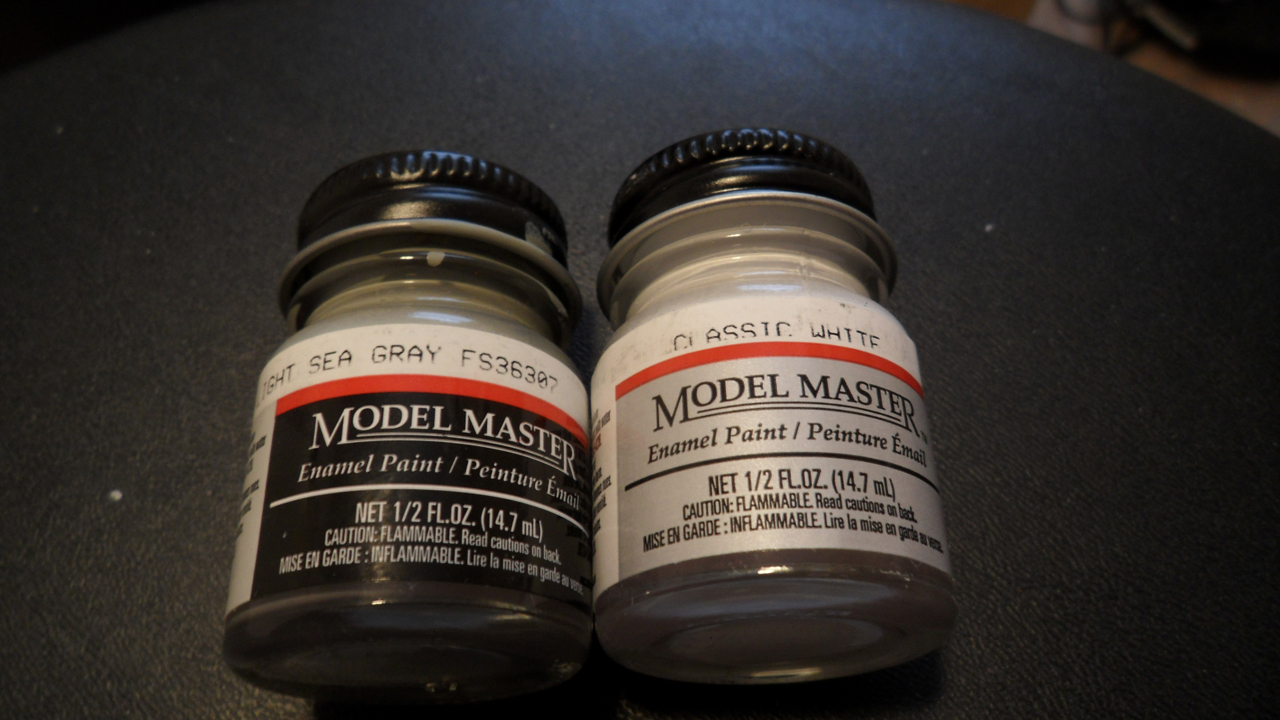
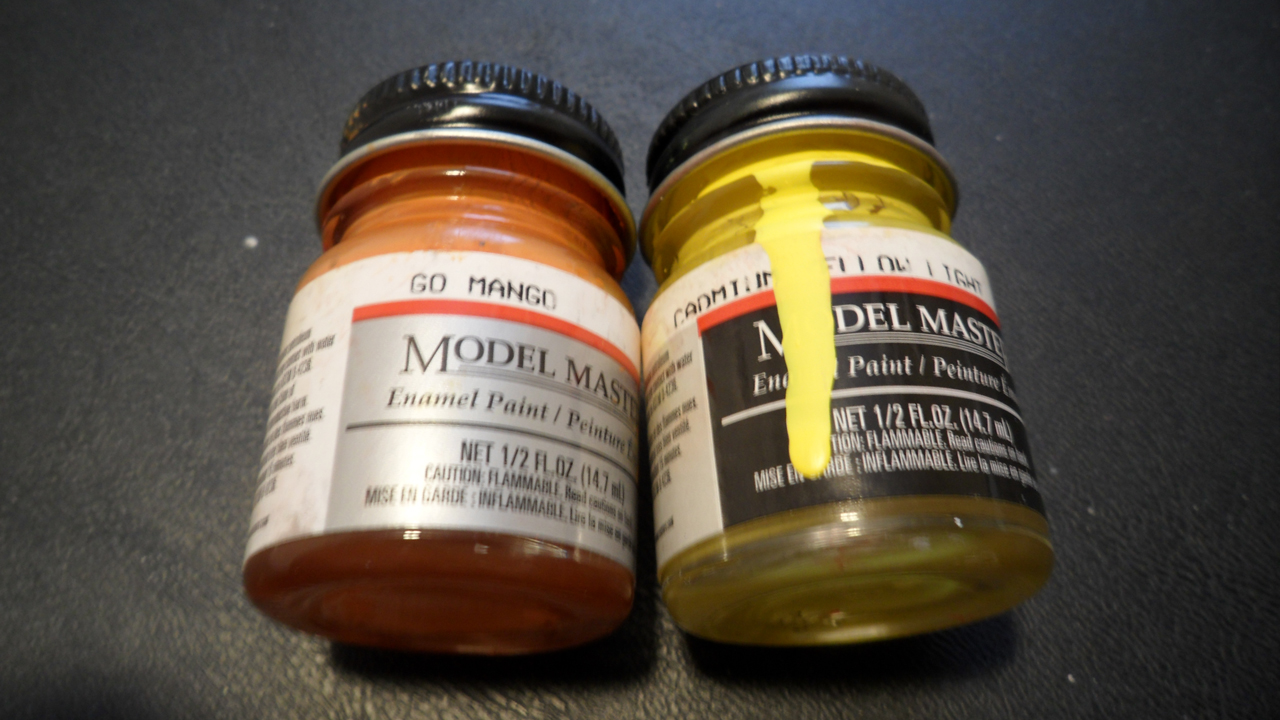
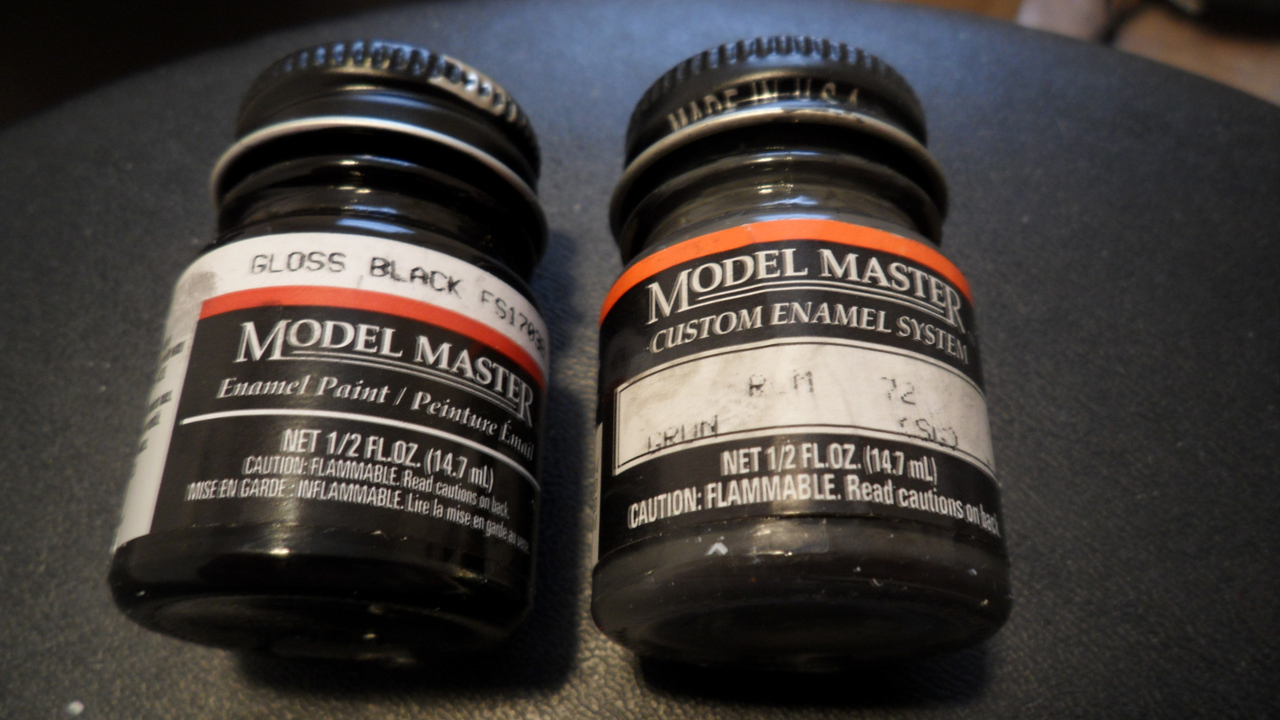
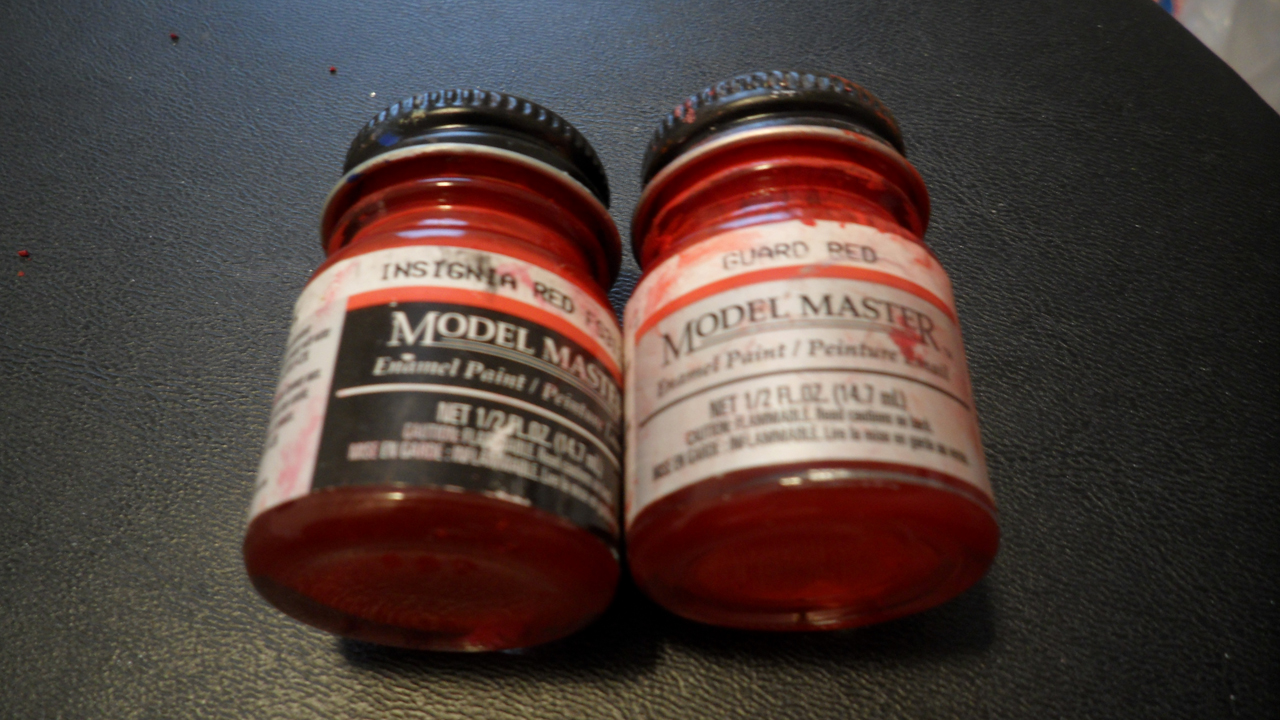
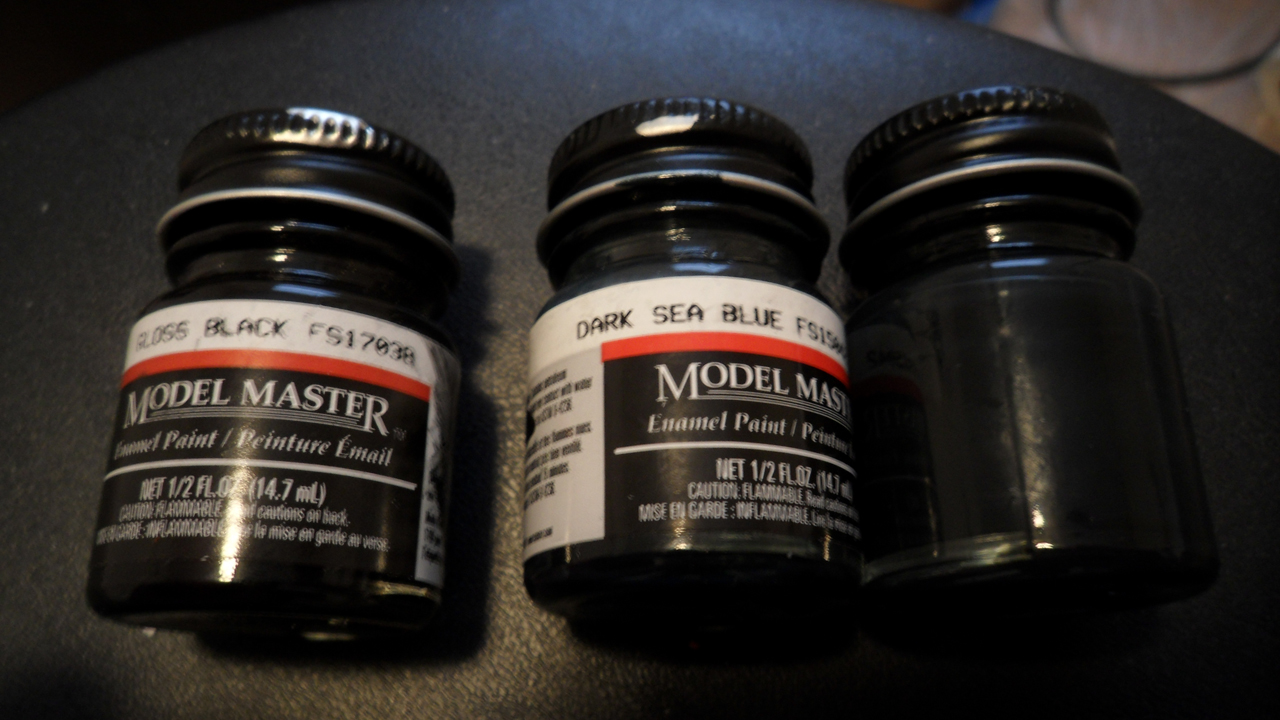
Managed to do some more painting. Here are the colors I used.

For the white, I base coated with Model Masters Light Sea Gray and highlighted with Model Masters Classic White. 


For the yellow, I base coated with Model Masters Go Mango and highlighted with Model Masters Cadmium Yellow Light. 


For the yellow, I base coated with Model Masters Gloss Black and highlighted with Model Masters Grun RLM 72. 


For the red, I base coated with Model Masters Insignia Red and highlighted with Model Masters Guard Red. 


For the dark blue, I base coated with Model Masters Gloss Black and highlighted with A custom color. I didn't track the exact ratio, but it's probably about 60-70% Model Masters Dark Sea Blue and the rest is Model Masters Gloss Black. 


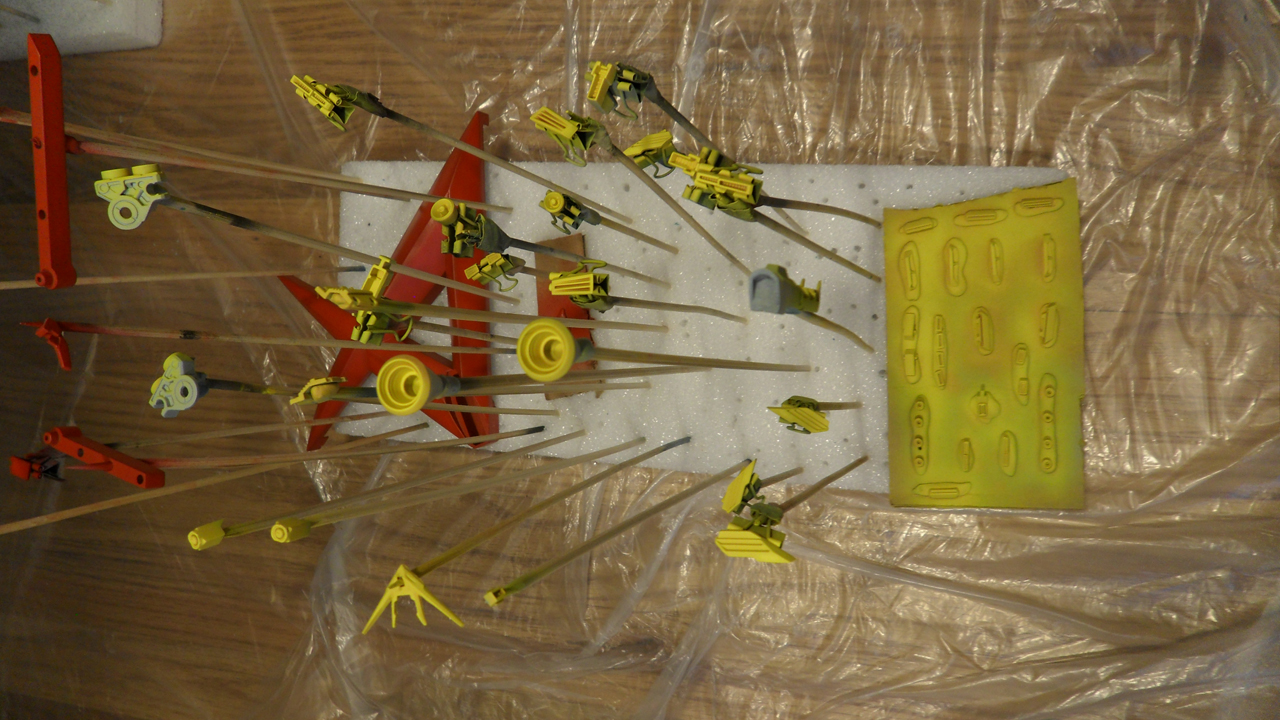
Last week, you saw what the red looked like. This week I managed to finish the yellow...


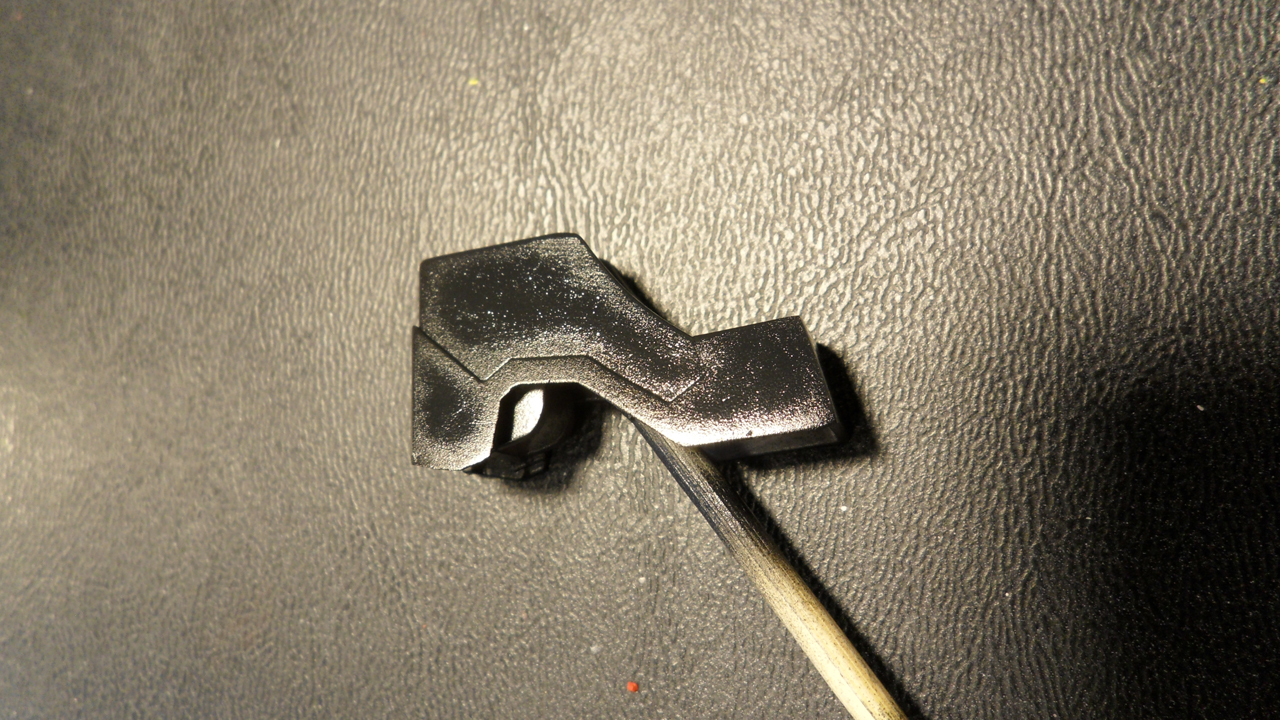
the dark blue...


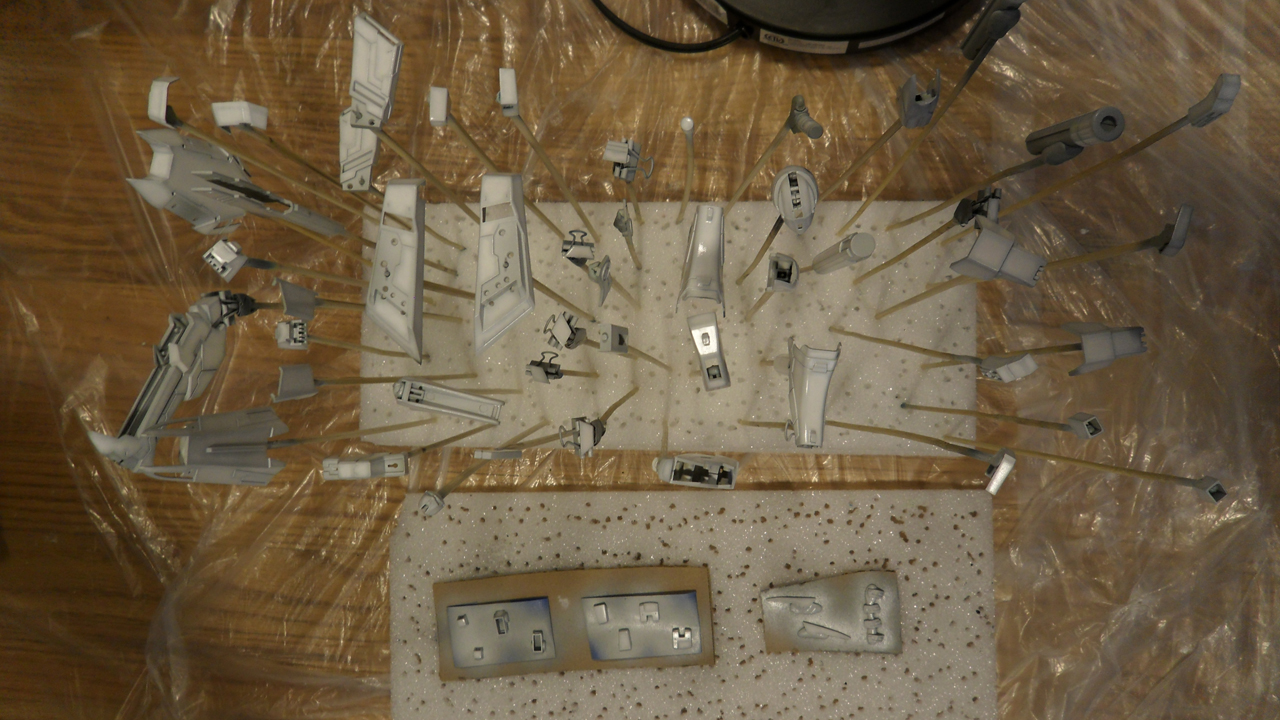
and most of the white.


Still have one more tray to highlight. Shading takes so long :(


Plan for this week is to finish the white, apply a couple of gloss coats to level things out, apply a panel wash, and start applying the decals.

What else I'm into...
Capcom's Street Fighter 25th Anniversary Tournament. Was a really great tournament with some of the best players around. For the past 4-5 months, Capcom ran 8 qualifier tournaments all over the world. Yesterday was the Grand Finals where all of the winners of the qualifiers competed. Very cool. Very high level play. Was a blast to watch. You can check out the archived footage here: http://www.twitch.tv/capcomfighters. If that wasn't enough, Capcom announced a new free PC game, Street Fighter x Mega Man. Game is to be released Dec. 17. So excited for this.


Monday, December 3, 2012

Weekly WIP - 1/100 RX-93-v2 Hi-v E-V-O, (Part 3)

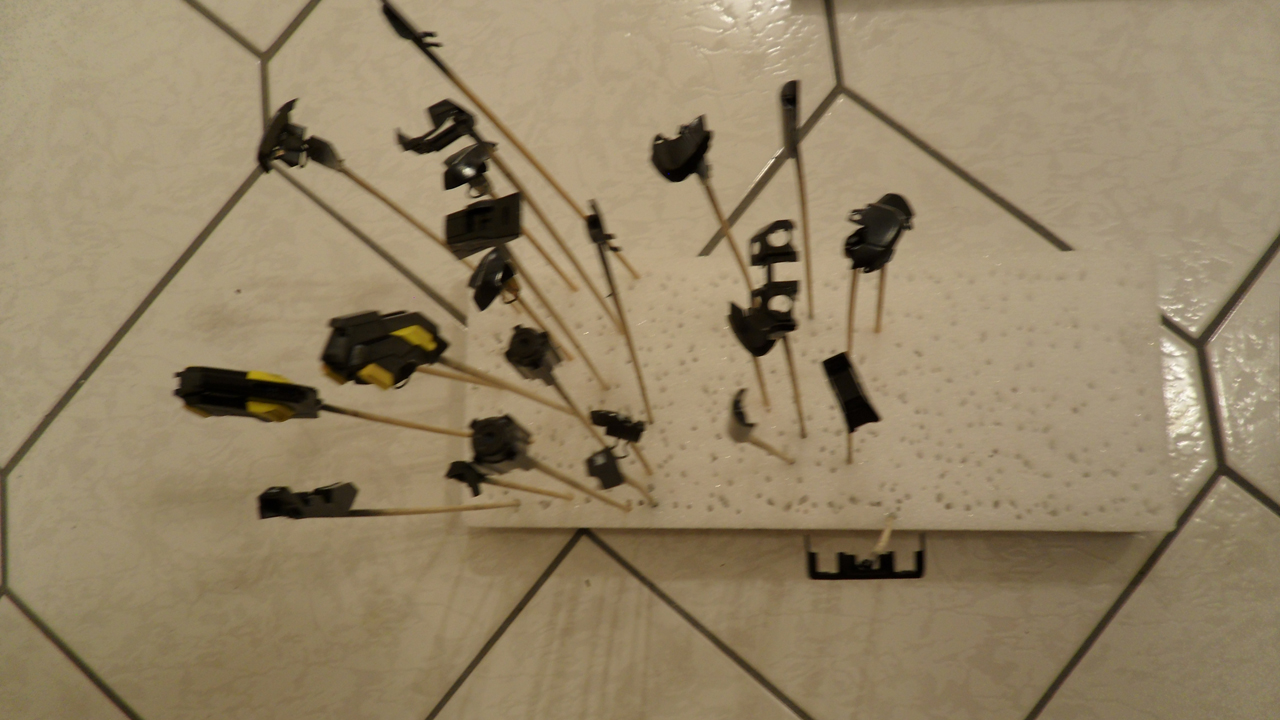
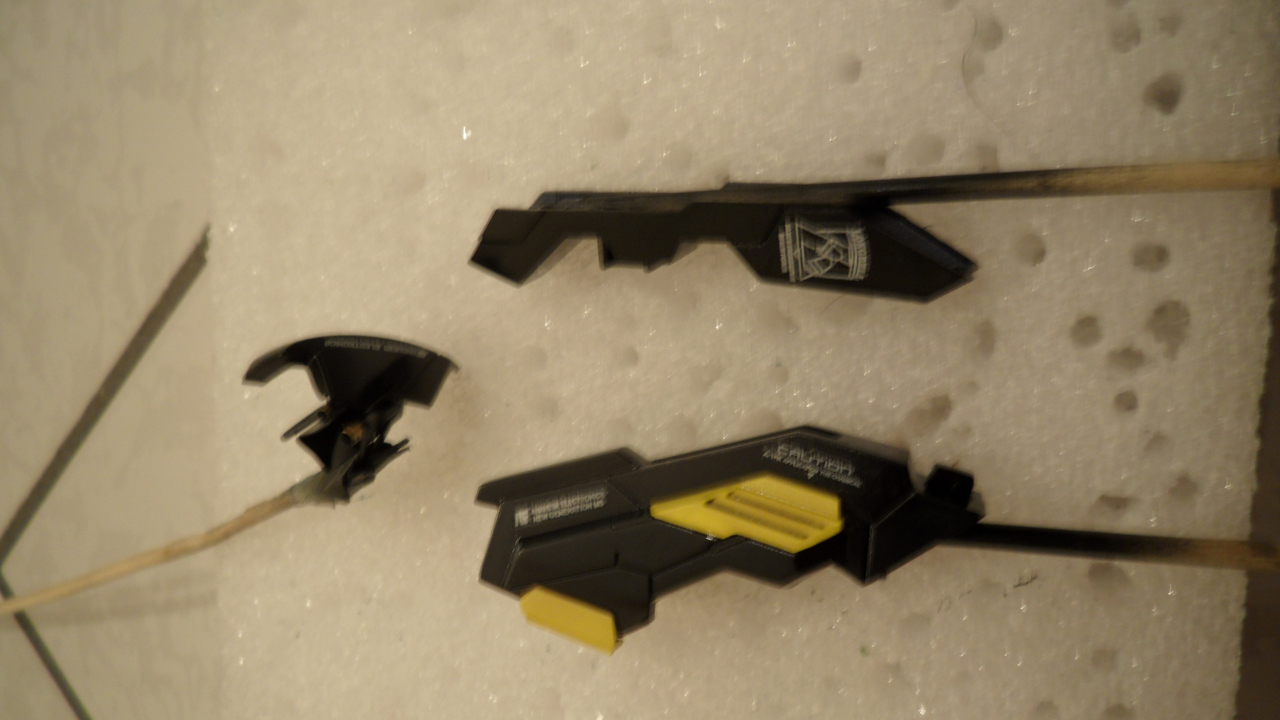
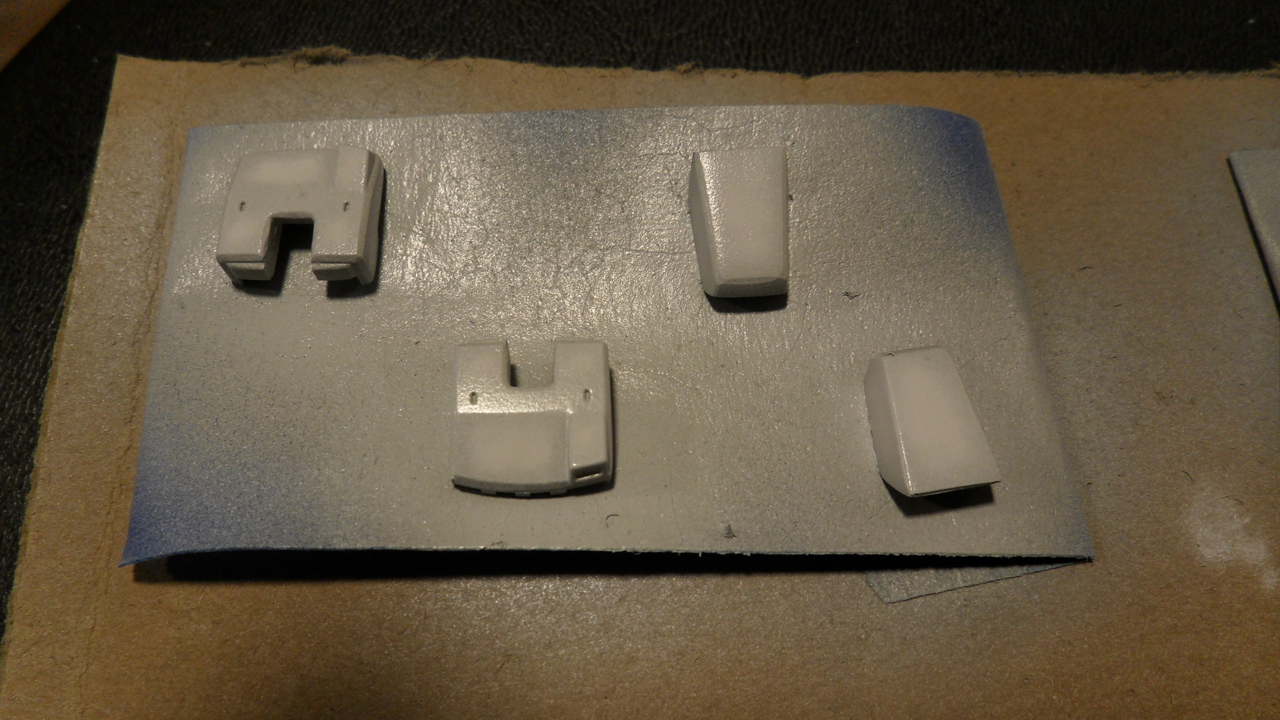
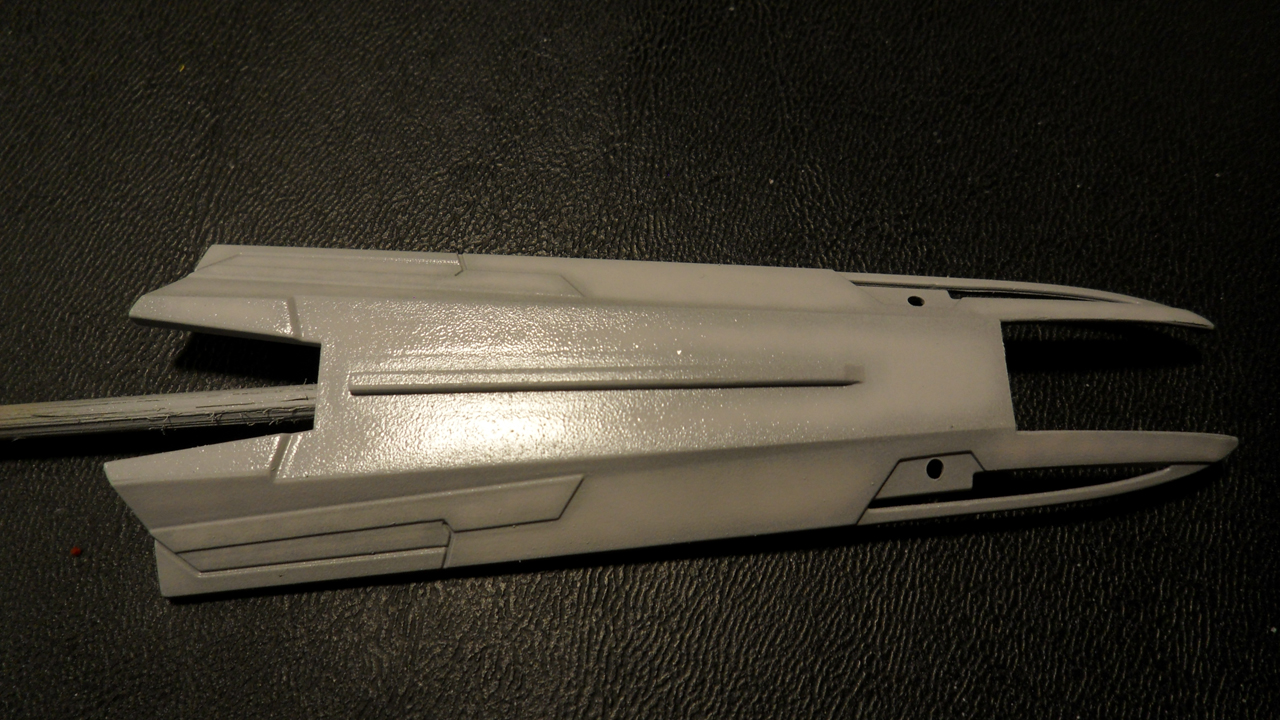
Sorry for the lack of updates. Been sick... again. Pretty much back to normal. Didn't get much done since the last update. Got some painting done. Priming was a pain. No idea what the issue was. Will report back when I figure it out. Anyways, I managed to get all of the white parts primed.


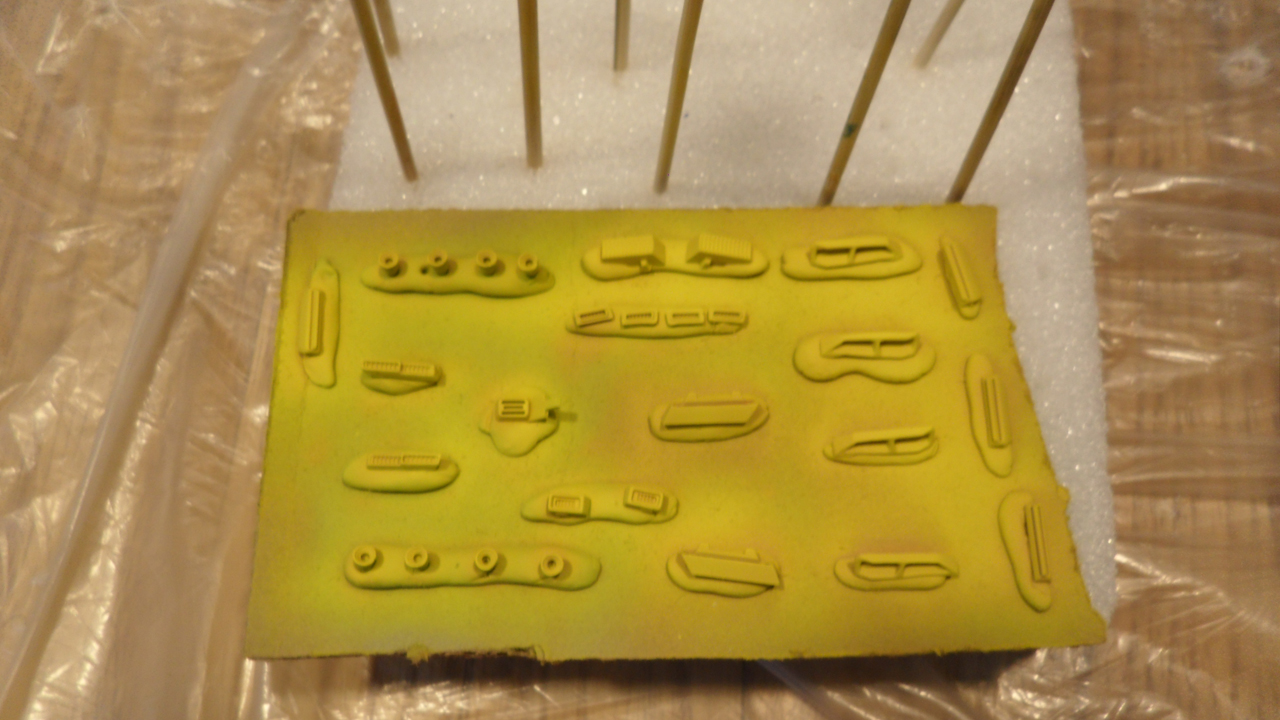
Got the yellow parts primed and the base coat put down.


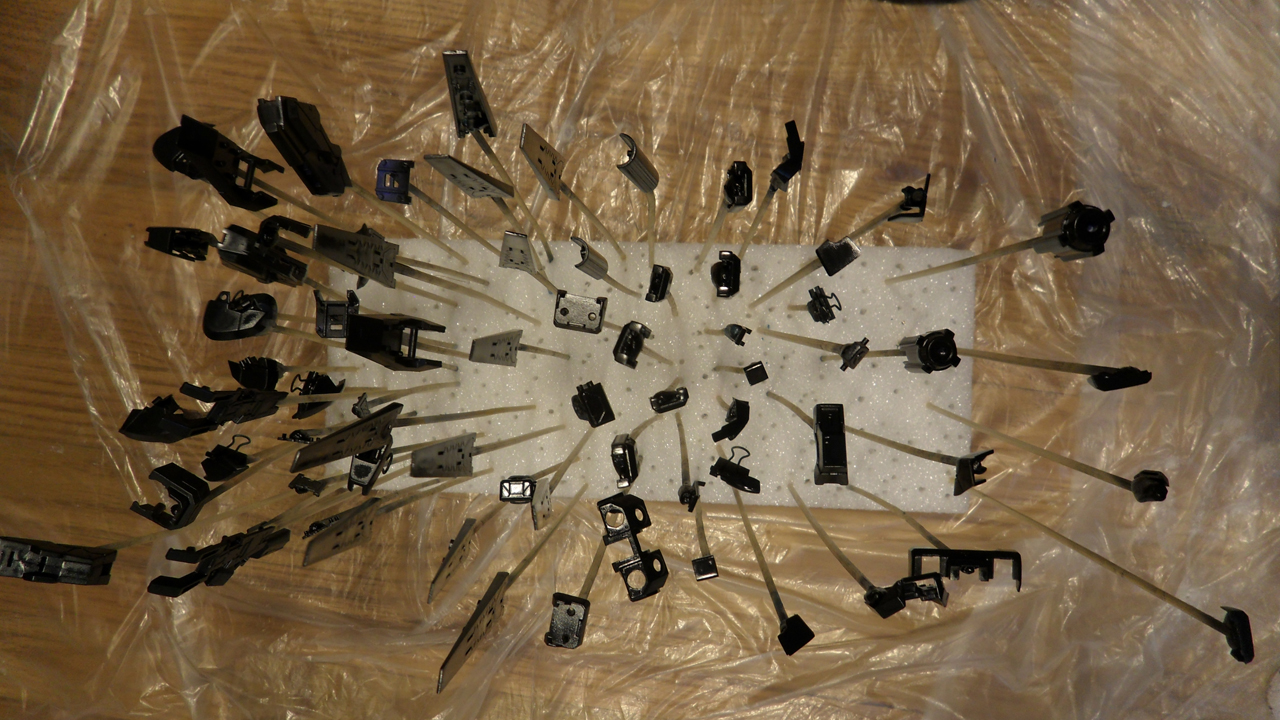
Made a lot of progress on the red. They're primed and fully painted. Just needs some gloss to level things out and then a flat coat and they'll be all done.


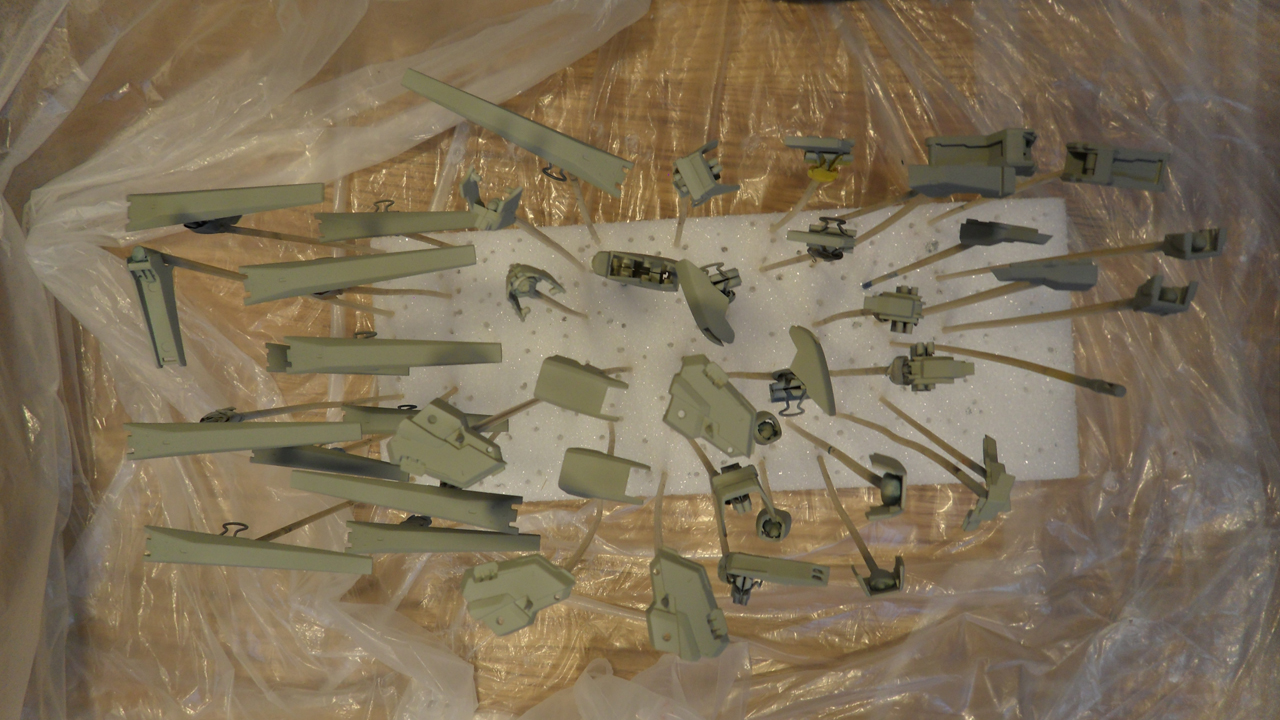
Most of the other parts are all cleaned up. Ran out of foam boards so they're just hanging out until I get the other parts done.


And there's still a few parts that need clean up.


Well that's all for now.

Monday, November 19, 2012

Weekly WIP - 1/100 RX-93-v2 Hi-v E-V-O, (Part 2)

Going to make this quick. So much more sanding to do and I'm in a groove so I don't want to stop. Here's the kit snapped together.


Here's what I have of one of the arms.


What I have finished of the backpack.


This is half of the funnels.


And the base.


Waist.


Shield and gun.


Torso.


One of the legs.


And here are the parts I'm working on.


Lastly, the parts I haven't even touched.


Well that's all I have for now. So until next time...

Monday, November 12, 2012

Weekly WIP - 1/100 RX-93-v2 Hi-v E-V-O, (Part 1)

So this post isn't going to go exactly how the way I had planned. I'm currently in the process of moving and my camera is MIA at the moment, so there are no photos to share. But I will announce that I am currently working on the GoGo 1/100 Hi Nu Gundam. Mostly doing an OOB. There are a few parts that need work. The kit isn't up to Bandai standards, there are some parts where the details just didn't come out right. For those parts I'm either removing them or modifying them slightly. For some reason there are a few hollow parts, like the back of the V fin and the back of the side skirts. Those will definitely be filled in. Going to go with a Nu Gundam color scheme. The blue just doesn't feel right to me. As of this moment, I have the base sanded, cleaned up, and ready for painting. I'll be painting the A red and the rest dark gray. I've sanded the torso, waist, backpack, shield, and rifle parts. I'm currently working on one of the legs. Hopefully, by next week I can have both legs done and all of these parts cleaned up. And I'll definitely have photos for the next WIP. So until then...

Sunday, August 12, 2012

What's in the box? - 1/100 RX-93-v2 Hi-v E-V-O

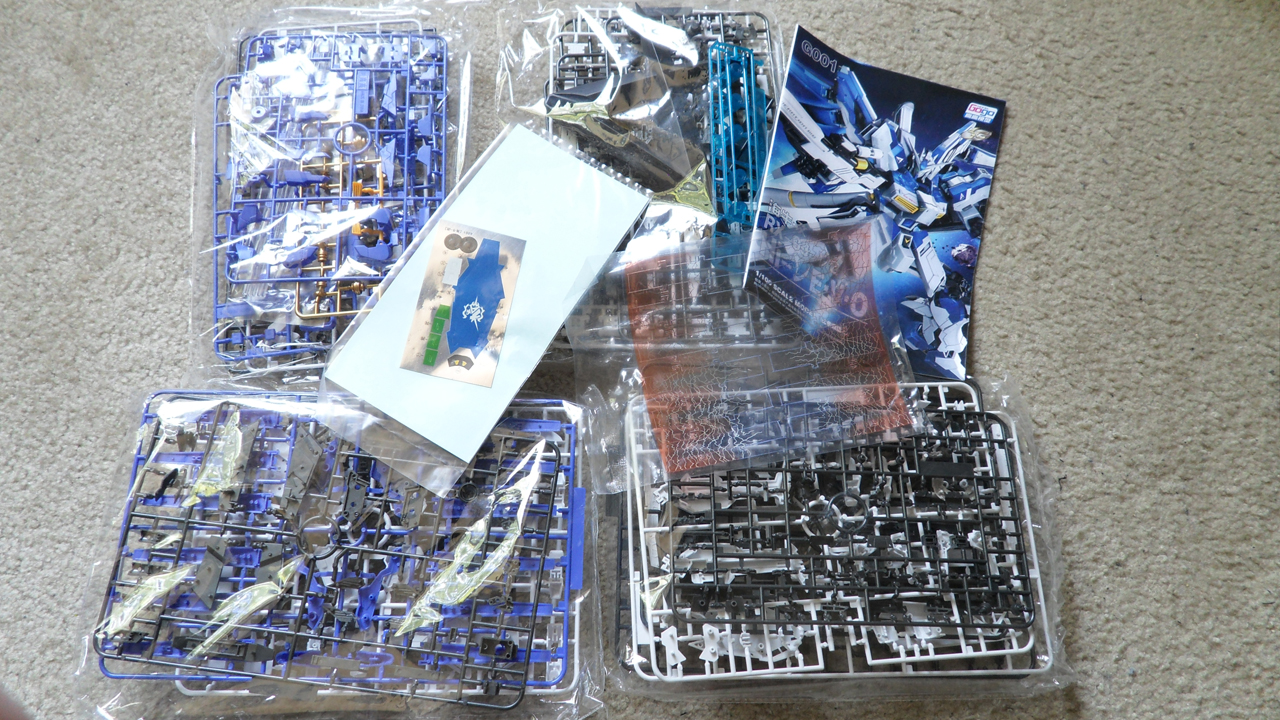
Here is the 1/100 RX-93-v2 Hi-v E-V-O model kit.  I ordered this kit from Gundam Central. Box was totally f'd. They put 2 kits in one box, which is weird. But I don't care. Box is the same size as the MG Ex-S Gundam box.


Here is what's in the box.


Manual is pretty impressive though. Artwork is pretty good. Plenty of color photos. Love the splash page in the middle.


Speaking of the decals, I'm pretty disappointed that they are so damaged. I'll probably get some decals from somewhere else to replace these.


Oh, and there's stickers too. They don't seem very good, but I wont be using them.


As for the kit itself, the plastic is a little different than your standard Bandai kit. Smells funny too. There's definitely something on the plastic. I assume this is model release. Can't see it in the pics, but in person you can. Details look ok. Won't really be able to judge this until I build it. For the most part it looks like a solid kit. Gold doesn't look so great. Will need some painting. Kit also comes with a stand which is nice.


There's also a bunch of effect parts.


Overall I'm pretty ok with what I got. Looking forward to building this.