


Thoughts on the kit...
I really like this kit. I'm a big fan of the design of the suit. I really like the color separation and use of effect parts. I love how very few seam lines there are. I think the only seam line issues are with the sword handles and the sword hilts. Really easy to add the clear effect parts after gluing and painting by cutting it in half. Almost forgot about the seam line on the back of the head. I didn't have a simple workaround for this. Just sort of left it. I think the better way to go would be to scribe a panel line on the other side so that it looks like it belongs. In summary, I highly recommend this kit.
Thoughts on my work...
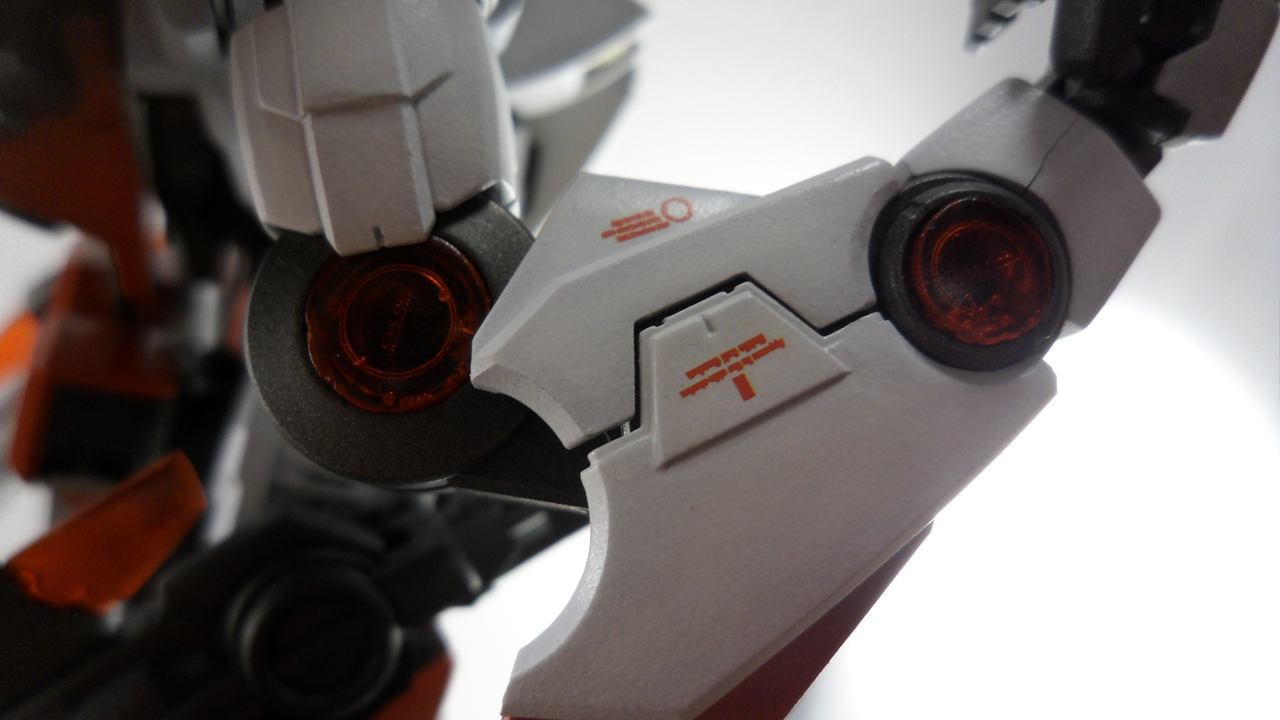
I was a bit over ambitious when starting with this project. I wanted all the red effect parts to glow using LEDs. I quickly discovered that the swords likely weren't going to glow. But I figured out a way to get the rest to work. Was able to carve out some areas in the leg. No big deal. Started carving out areas in the arms and realized I would have to run the wires into the chest for the batteries. Not a huge deal, but required some extra work and planning. Back required some gluing and blu-tack to seal everything up, but once again, no big deal. GN drives required no modifications. So the next step was to get the the green effect parts red. Tried out resin casting for the first time. After a few trials, I was finally able to get the parts casted in the correct shapes. However, I couldn't get rid of the bubble. If I wasn't working with clear resin, I don't think the bubble would have been an issue. But since I lacked any form of vacuum chamber, I had no way to deal with this problem. This experience was a lot of fun and I'm glad I did it but I likely wont be doing much resin casting in the future. Even with the bubble issue, I was pretty happy at this point. What I didn't know was the nightmare that would come after painting. The parts for the arms not longer fit. For some reason I can't explain, the head wont light up. The legs can light up, but the wiring has become a little suspect and so they tend to flicker a lot. At this point, instead of just smashing the kit like I really wanted to, I gave up and just stopped with the LEDs. It was a nice concept, but I just couldn't get it to work.
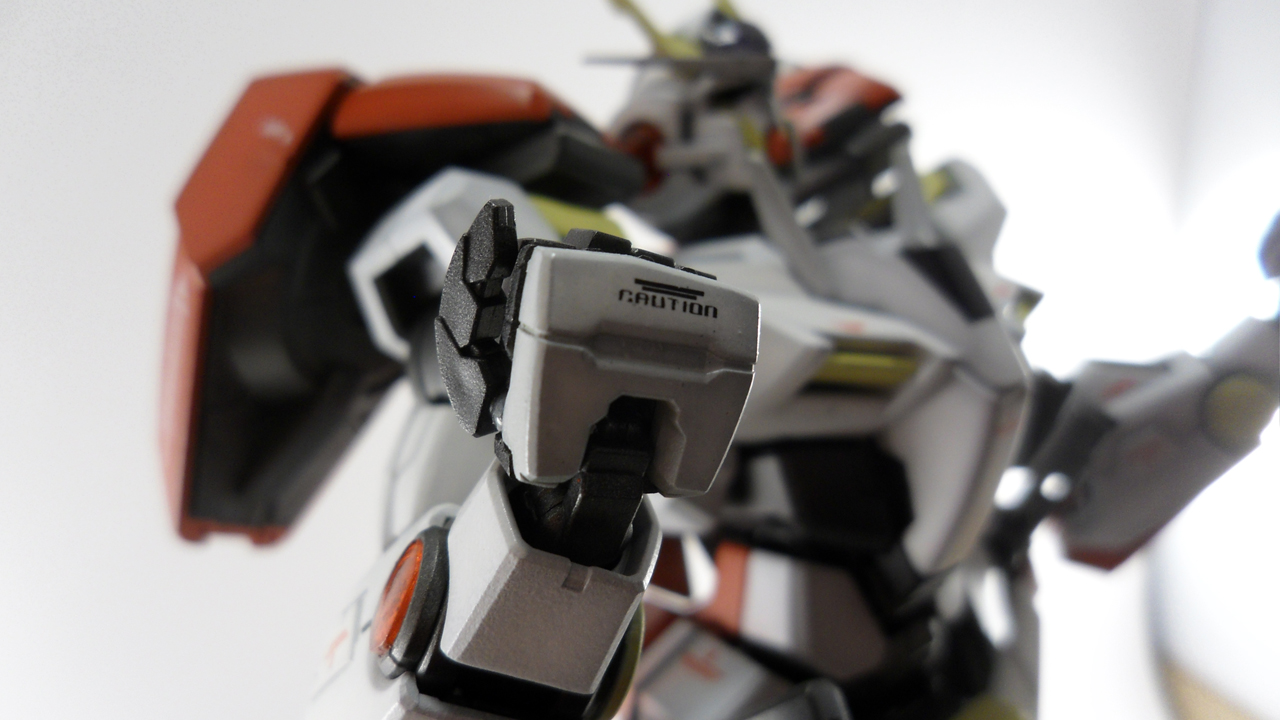
I also tried out shading for the first time. I went with a pretty light shade. For my first time, I think it turned out ok. Was going for a subtle shade. I really hate the excessive shade look. Looking forward to improving my skill in this area as I think shading really enhances the look of the kit. I put a ton of decals on the kit. First time I've tried it without a manual or reference images. In doing this, I realized how much fun it is. I may never use a manual for decals again. Did run into a few issues though. The first one I applied on the forearms was upside down, so I just put all of them upside down. Might be wrong, but I think by making them match, it's less noticeable. Also, one of the decals on the inner thigh moved. Not sure how this happened. Paint got a little messed up with the head. The clear part on the v-fin just would stay. So I tried gluing it. Despite being really cautious, I still managed to get glue on my fingers. And from there it just seemed to spread. This happened on the last day so there was no time to redo the damaged parts.
In all, this is my best model to date. I still have a ton of room for improvement, but I'm pretty happy with this kit. It's not showcase worthy, but I like enough to show it off on my desk at work.
No comments:
Post a Comment