Sunday, November 27, 2011

Weekly WIP - MG Strike Freedom (Part 10)

What I'm working on...
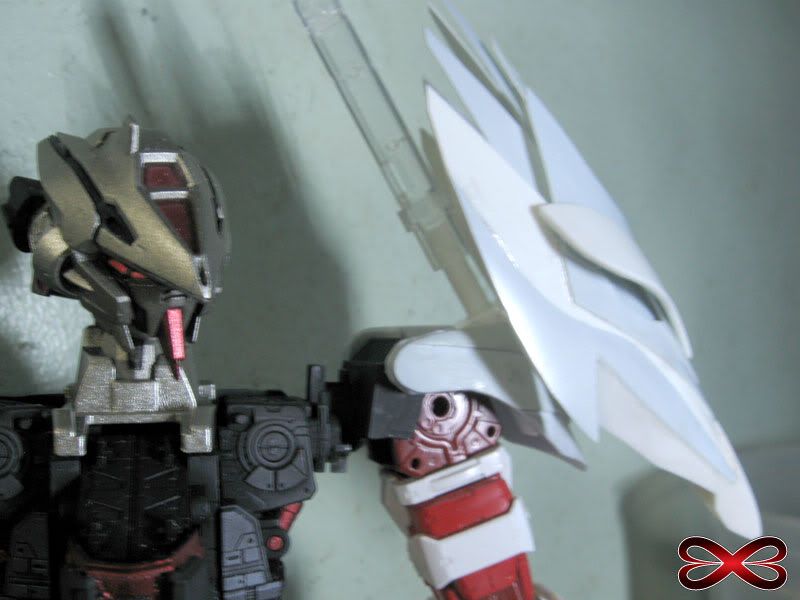
So after I week off, I got back to work the Strike Freedom... and it's been a nightmare. Every little bit has been fighting me. First, there are tons of seam lines on the wings. Been trying to figure out how to do the frame for the wings. There are a lot of different pars for the movable wing gimmick. So far everything is going ok, but I worry they wont be able to hold the weight. Might use crazy glue instead of the normal modeling glue.


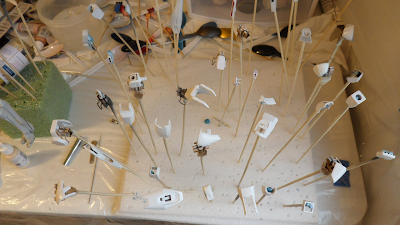
Started priming the armor for the left leg, left arm, and some of the left wings. 


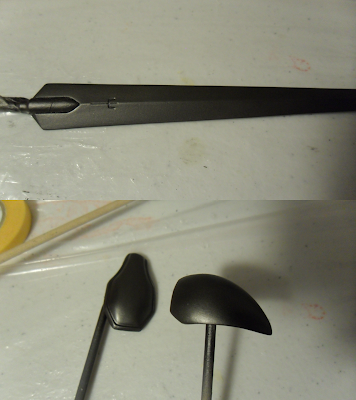
The painting started off great. Primer was spraying real nice on the first funnel. 


Then I got to the second piece, another funnel. As you can see below, that one didn't go nearly as well. 


After a lot of playing around with the airbrush I discovered the problem was the primer drying on the tip of the airbrush. I have no idea why it was doing this. Never happened before. Tried a few different things to fix the problem, but nothing worked. So I wiped the tip of the airbrush every minute or two to help prevent this. For the most part this worked. Took FOREVER, but it got the job done. Now I've just got to clean up before I continue painting. Fortunately, not all pieces are as bad as this one.


Well that's all for now. Hopefully things will go better next week and I can get the arm and leg done.

What else I'm into...
Hanna. Saw the movie this week and I found it to be surprisingly good. If you haven't seen it, give it a shot.

Do not try Southern Comfort Fiery Pepper. It is terrible. It may be the worst drink I've ever had. I can't believe there was someone somewhere that tried it and said "WOW! They should sell this!" 

Thursday, November 24, 2011

What's in the box? - 1/100 HG Deathscythe Hell

I'm a huge fan of all Deathscythe kits, especially this one. It looks like nothing else and it's one of the most evil looking "good guy" gundams. With all of the Wing Master Grades coming out, I'm unrealistically optimistic that this will be this will be one of them. So until that day, I'll just have to settle with this kit. On to the box!

As you can see in the images above, the kit was made in 1996 and goes for 1800 yen. However, being an older kit, it's not hard to find it for cheaper.  So in the box, you get 8 runners.

The first plate is the B plate. Not sure what happened to A. I assume A is for the 1/100 HG Deathscythe. The B plate is all white and mostly the leg parts.


Next up, the plate is the C plate.This contains the grey pats. Mostly for the joints, backpack, and manipulators. 


On to the D plate. This has all of the clear green effect parts. I believe this is the same as the HG Deathscythe. 


The next plate is the F plate. Once again I assume E is for the HG Deathscythe. From here on out, I think these parts are unique to the Deathscythe Hell. This runner contains the dark blue armor for the skirt armor, head, shoulder, and arms. Looks like there's a ton of detail... too much detail for my tastes.


The next runner is the G plate. This is another dark blue runner. It contains all of the wing armor and the feet. Like the previous runner, these parts appear to have an excessive amount of detail. 


The sixth runner is the H1 plate. This is another grey runner. It has random armor and weapon parts.


The second to last runner is the H2 plate. This is a gold plate. Not happy at all with this plate. A lot of the gold appears to have rubbed off. Makes them look really bad with the silver undercoat showing through. Not sure how to remove this stuff for painting, but I'll worry about that later.


Last plate is poly caps (PC-111). These appear to be your standard set of poly caps.


With all of the runners are some foil stickers. These look ok, I suppose. I wont be using them, so I don't really care about these.


And as always, at the bottom is the instruction manual. This manual is smaller than a newer 1/100 HG/NG kit. Even with that the artwork looks pretty good. Not much in the way of action poses, suggesting that this guy has very limited articulation. But that is too be expected with a mid 90's kit.


Well that's all. Hope this was helpful.

Monday, November 21, 2011

Weekly WIP - Clare (Part 2)

Wasn't really feeling the Strike Freedom project this week. So I figured I would work the Clare project until my gunpla mojo returns.

What I'm working on...
Since you last saw this kit (WIP 1), I finished the little bit of clean up that needed to be done and then re-primed the kit. I am using grey Krylon primer. Works pretty great, but mother nature didn't seem to like it. As I was priming is started getting pretty windy. I was applying a second coat to make sure I got the entire kit covered when a gust of wind blew all of my piece off the table and crashing to the ground. Luckily, nothing was damaged. The Krylon dries pretty fast so only 2 or 3 pieces had any noticeable defect. Nothing a little sandpaper couldn't fix.

With that mess over, I was able to start painting. For this kit, I am going to try shading for the first time. Going for a real subtle shade. First up, the white clothing. I used a mixture of Gloss White and RAF Medium Sea Grey for the base coat. 


Then I hit it with plain gloss white. For the first coat, I did a light misting over the entire kit.Barely any white could be seen at this point. Then I went over all of the raised areas with 2 coats of gloss white. Lastly I did another misting coat to blend the grey and white. I think the end result looks pretty good.


Up next, the face. Lot going on here. First coat was Light Flesh. Clare in very pale so I didn't want to start with a dark base. Turns out, I probably went too light on the base coat. After that, I used a mixture of white and Basic Skintone. I hit the raised parts with the first to coats and then a light mist coat to blend. Lastly, I went over just the raised parts with a mixture of white and Highlights Flesh. 


I'm not entirely pleased with this result. The shading didn't really come through. Since I don't want to re-paint it, I think I'm going to try using a wash. Hopefully that will fill in the lowered areas and give it some depth.


Next up the hair. First I tried a mixture of Gloss White and Cadmium Yellow Light. This color did not work at all. Way too bright. Attempt #2 was a mixture of Cadmium Yellow Light, Bristish Bulg LT Stone, and RAF Medium Sea Grey. Seemed to be a pretty good base color. After that I added a little Gloss White to lighten it up. 


My shading didn't work so well on this part. I think I got carried away with the mist coat. I'm going to try a wash on this too to see if that can improve the situation. 


Lastly, I tackled the steel armor. First I went over the parts with 3 coats of Gloss Black Base. I followed that up with 3 coats of Klear Koat. After that, I buffed out every piece so they were as smooth and I could get them. Then I went over them with 3 light coats of Steel.


This is what they look like now. A little darker than expected, but that's ok. The pieces are also very dull. Hopefully after some buffing and polishing I get the effect that I'm looking for.


What else I'm into...
South Park. I love this show and last week's episode is a great example of why. Over the top, offensive, and  very funny. And as a cherry on top, lots of your momma jokes. Seriously, who doesn't love those.


Thursday, November 17, 2011

Builds to Watch - Dragon Ronin Astray by MatanglawinX

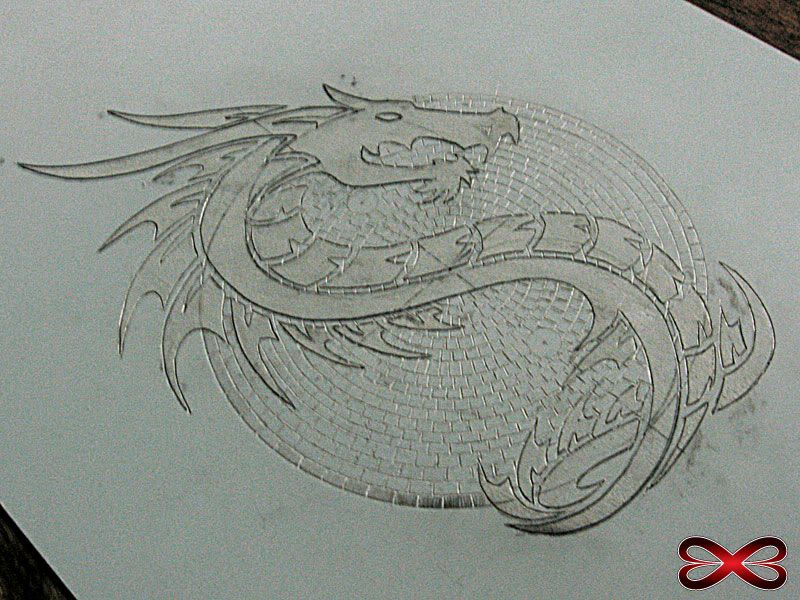
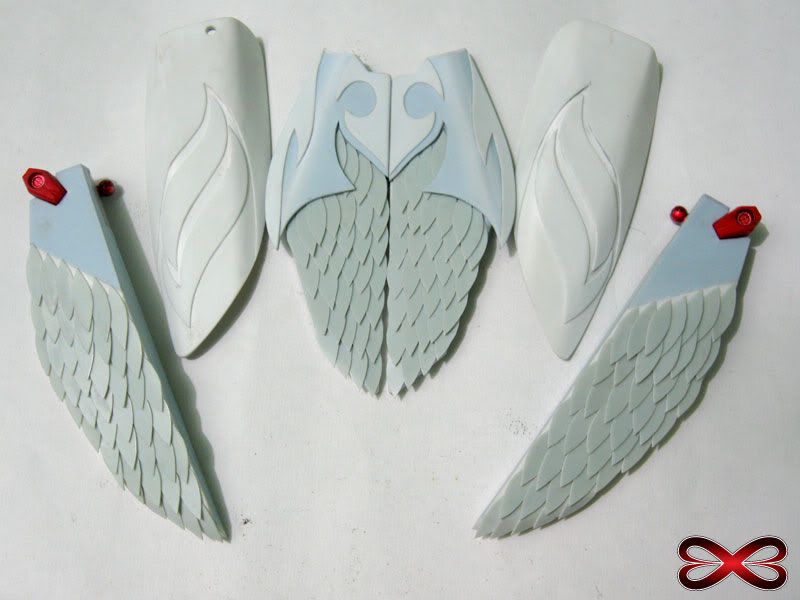
If you haven't seen this kit check out the WIPs on MatanglawinX's Blog. When I ran across this I was totally blown away. The base, the dragon armor, and the shoulders... all amazing. Don't believe me? Check out the images below.


In my opinion, this kit looks unbelievable. MatanglawinX, I wish you luck on this amazing project. Can't wait to see the end result.

Monday, November 14, 2011

Kit Building - Kotobukiya M.S.G. Gatling Gun

So the weather stinks today, so I decided to start a new segment on my blog which I will call Kit Building. My favorite part in the model building process is building the kit. Lucky for me, with any "completed" kit, I get to do this twice, final assembly and the initial snap fit. So from time to time, I just like putting a kit together with no intention on painting it right of way. In these Kit Building post, I'll go over the steps in the building process and my opinion of the final result.

With the intro out of the, it's time to start building. Today I'll be working on the Kotobukiya Modeling Support Goods Gatling Gun. Check out the unboxing here.

Step 1 - Looks like we're starting around the wind up gimmick and building around it.


Step 2


Step 3


Step 4


Step 5


Step 6 - A half dozen pieces and 5 steps later, the wind up gimmick is finished. Time to turn this into a gatling gun.


Step 7


Step 8


Step 9 - The basic shape of the gun is done. Time for the detailed parts. First up, an ammo pack.


Step 10 - Then the top handle.


Step 11 - Next up the gun handle.


Step 12 - Lastly, add on all of the details.


Size Comparisons
Since there is no scale for these kits, size comparison is important. First up, with a 1/100 NG Exia.


Personally, I think 1/100 scale is the right scale for this kit.

Next up, an older 1/44 HG Zaku II.


The gun is about the same size as the mobile suit. Not really appropriate to match these in my opinion.

Lastly, compared to an SD Unicorn and Hyaku Shiki.


Ok, this obviously isn't made for SDs. But I think you could make a pretty interesting "base jabber" type craft with 2 of them. Would probably fit a 1/144 scale kit too...

Final Result:

I've got to say, I like this kit. The wind up gimmick is fun. The detail on the kit is pretty good. All of the parts snapped together and fit like they should. My only complaint is that I don't have a kit to use it with at the moment.