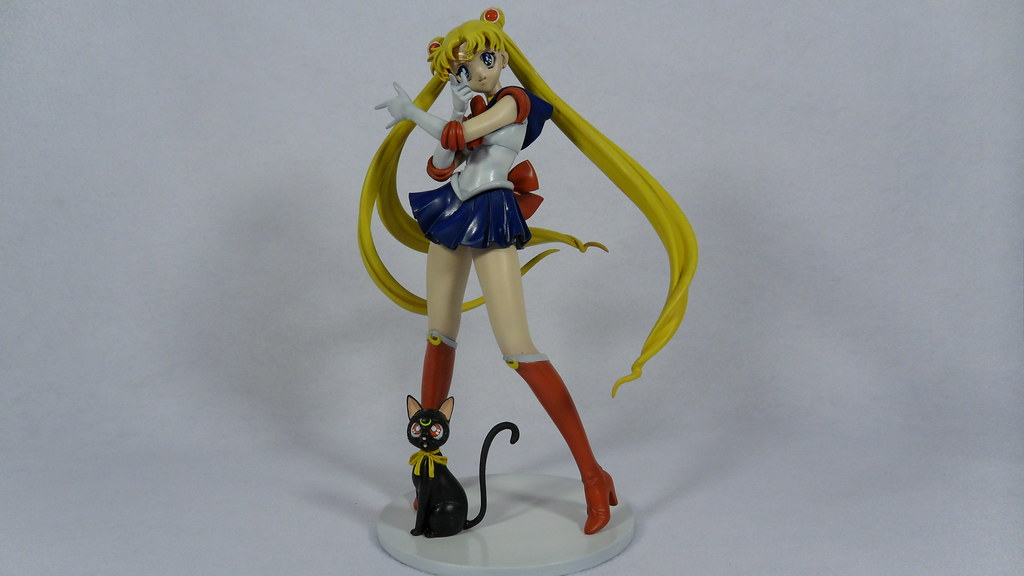
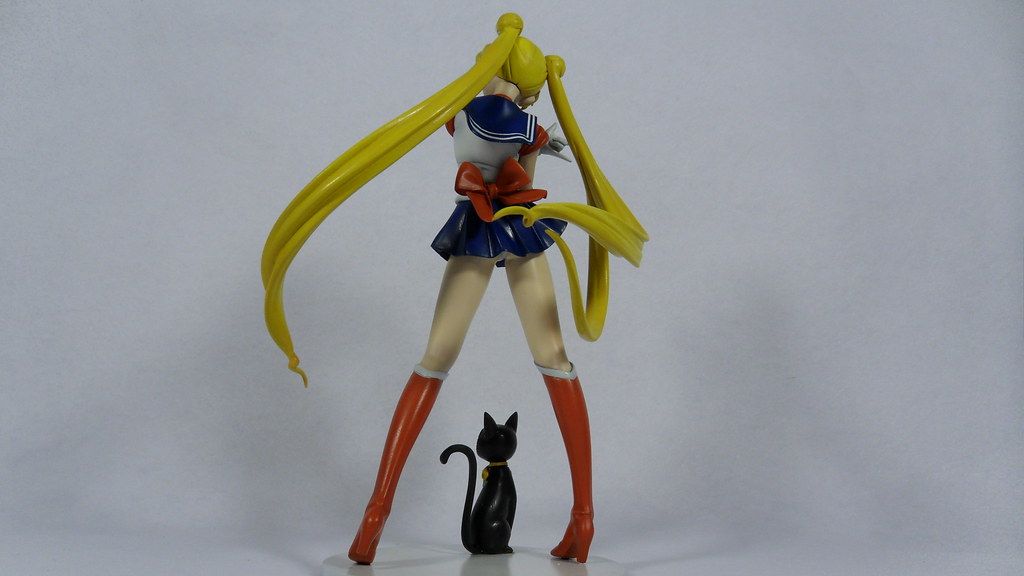
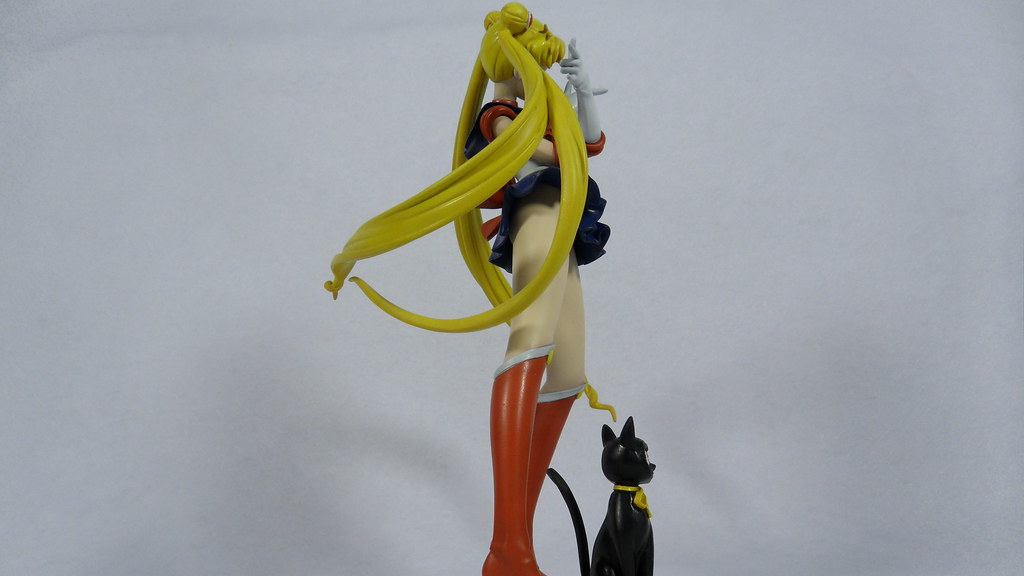
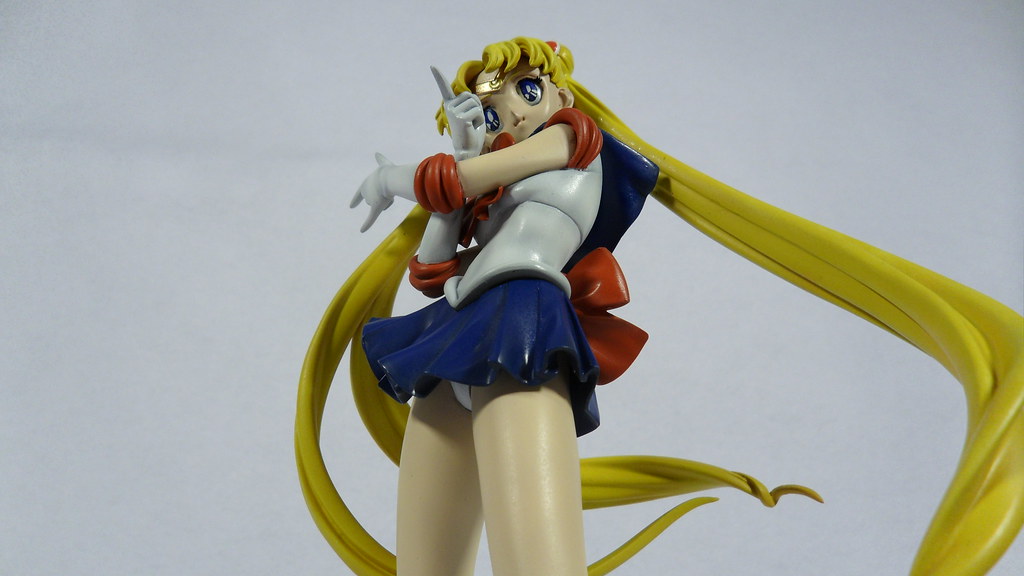
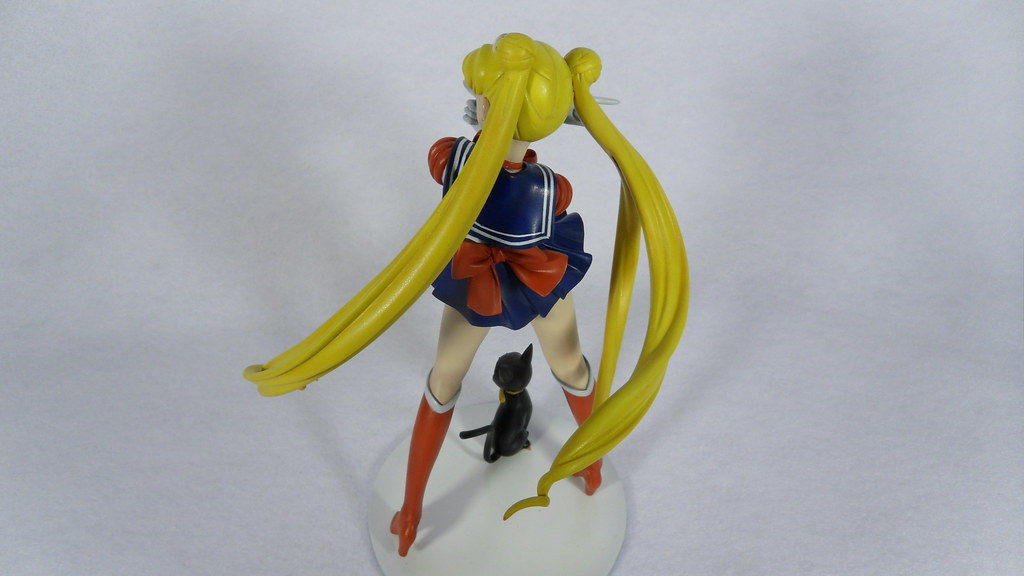
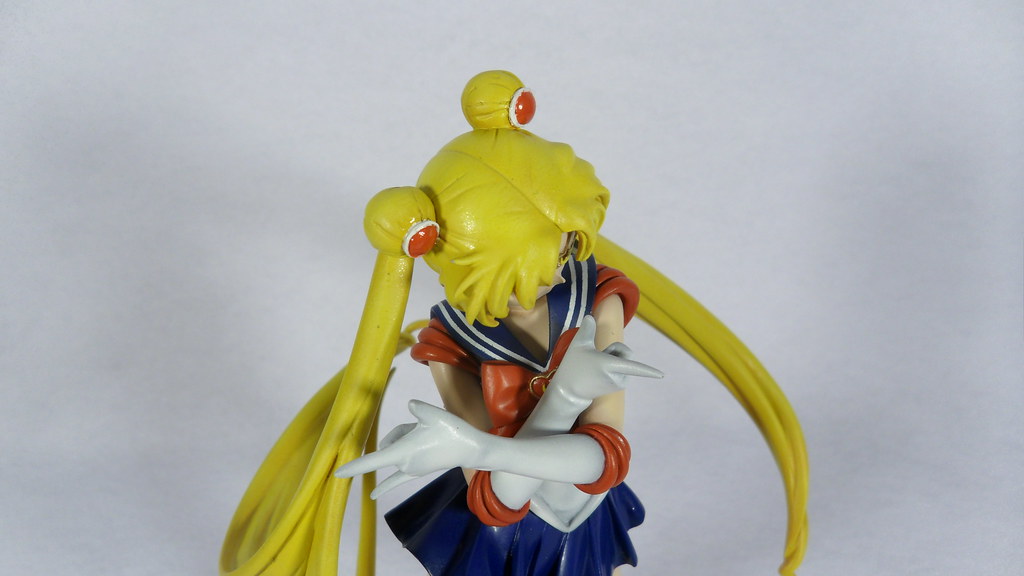

Thoughts on the kit...
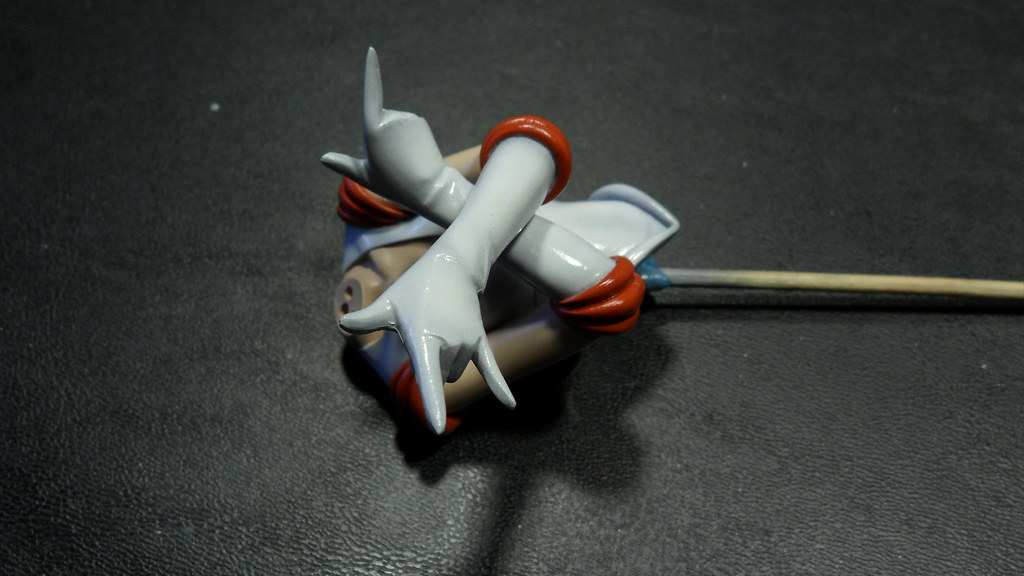
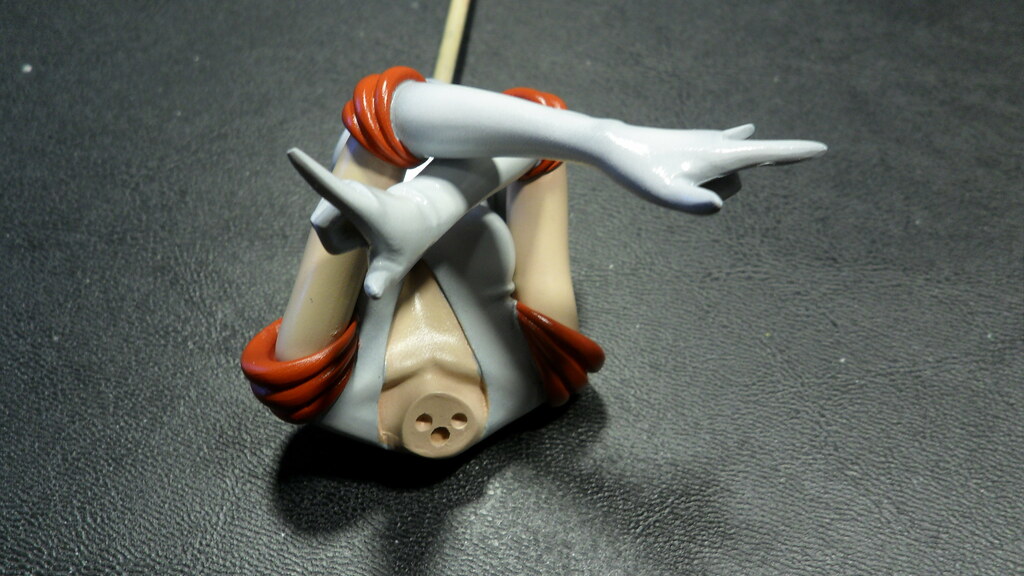
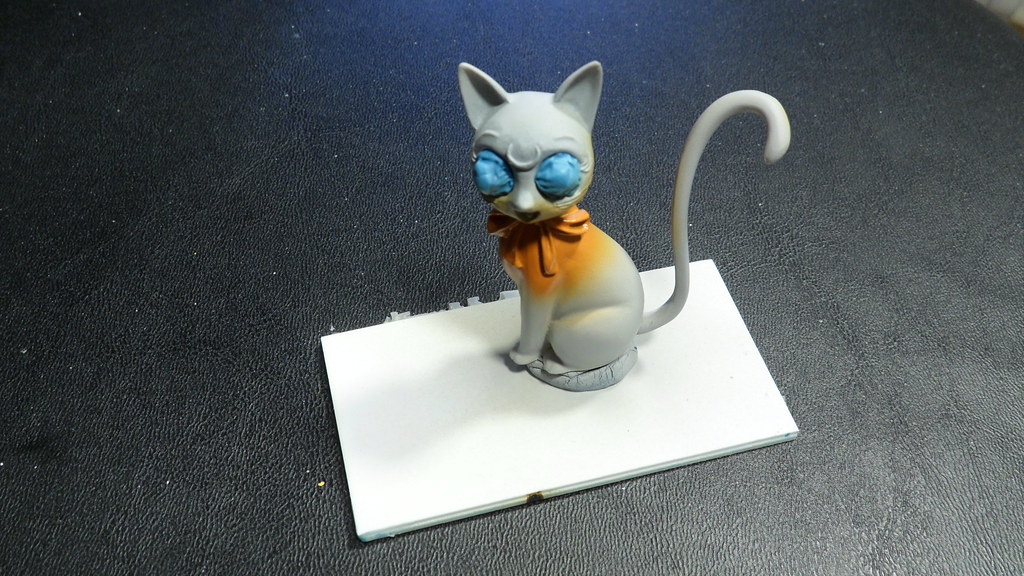
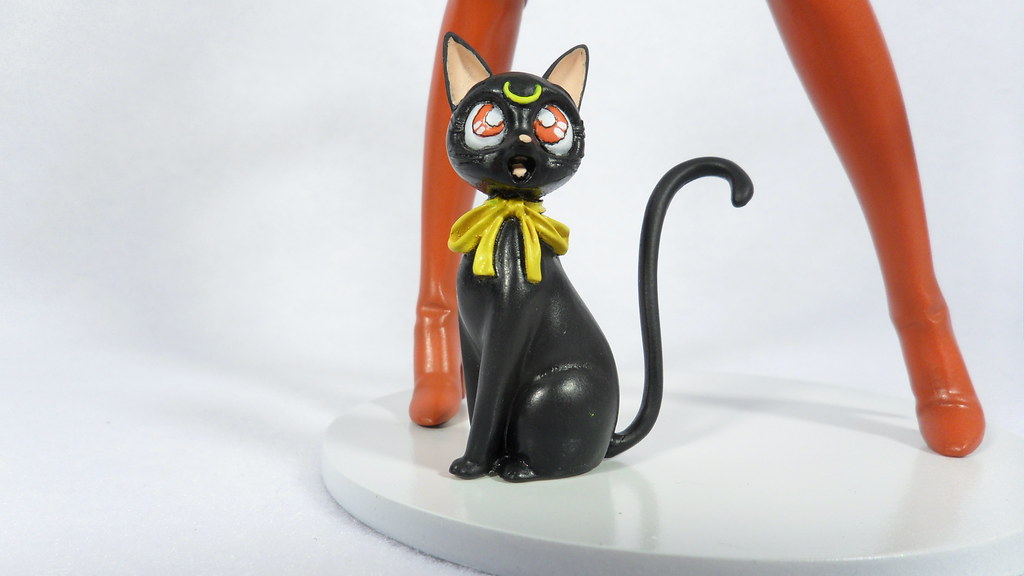
I bought this kit from e2046. The kit arrived in pretty good shape. Not much in extra cleanup to do. Really just the shoulders, where I feel the pour marks are in really bad spots, and getting rid of the seam lines in the hair. Luna had a little flash, but for the most part everything looked great. This kit does not come with a base. I took it from another kit since I won't need it for that one. If you like the look of the kit, I recommend getting it.
Thoughts on my work...
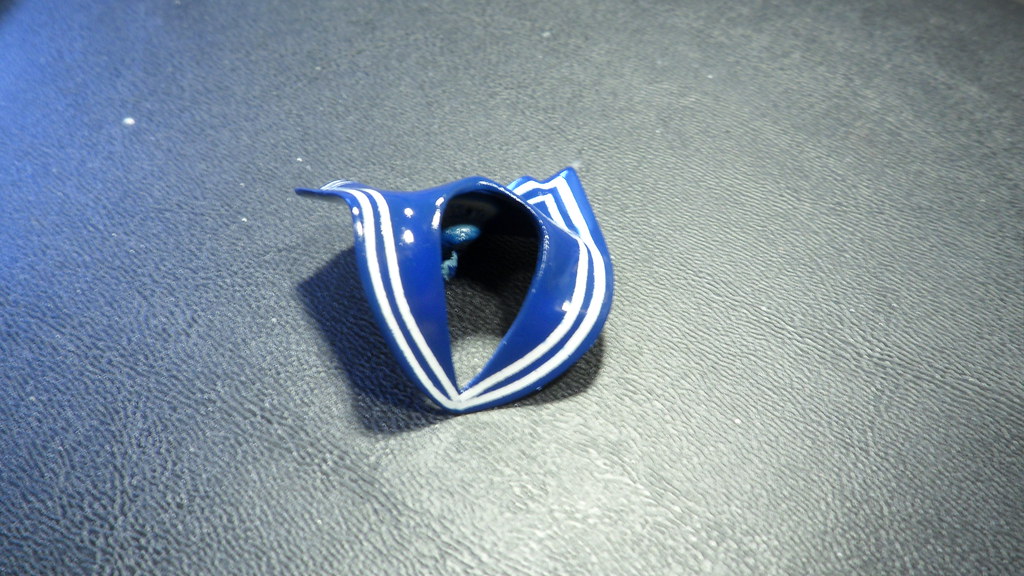
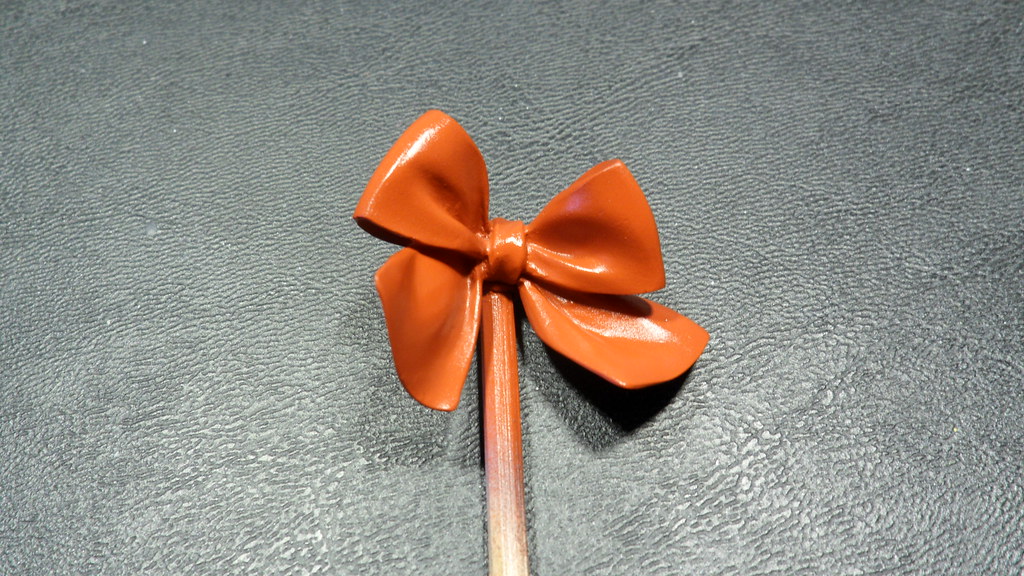
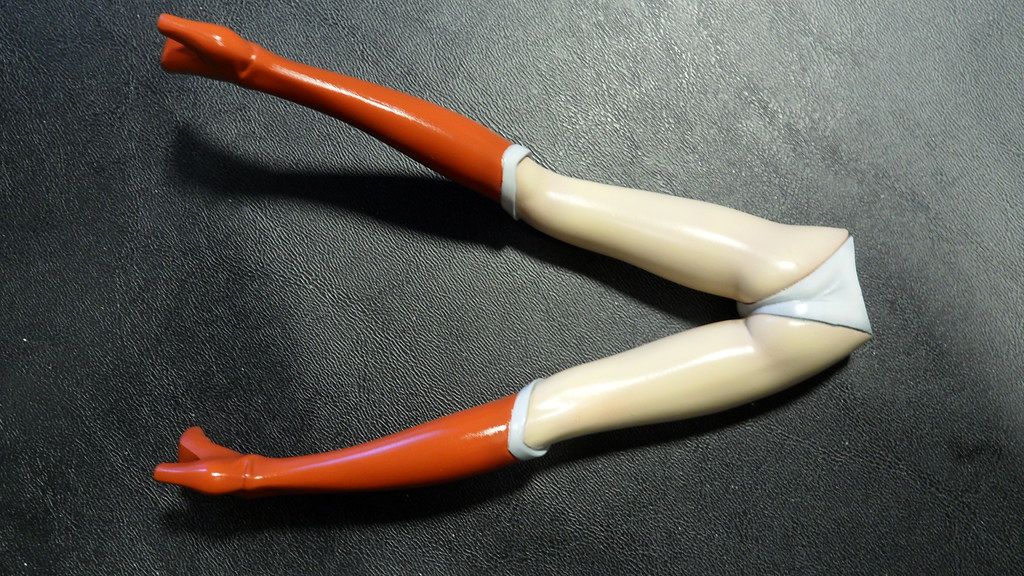
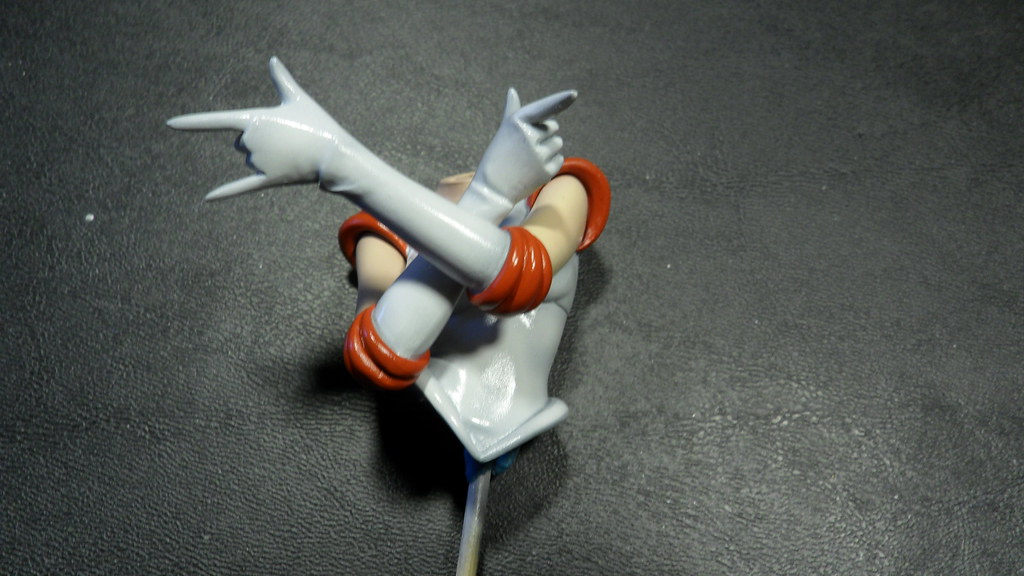
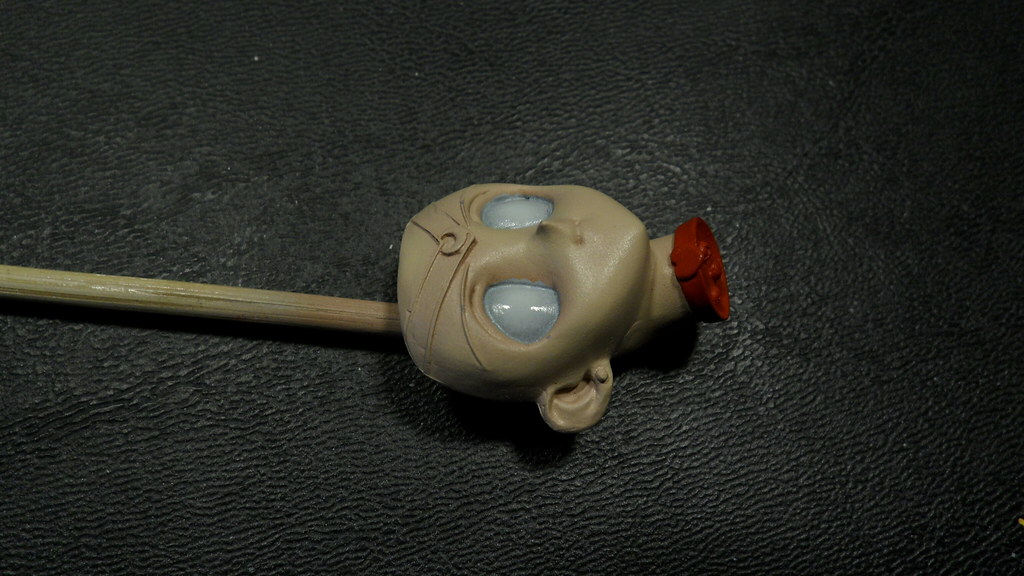
If you checked out my video on the Psylocke kit I made, you know was not happy with how it turned out but I felt that I learned a lot from that build. After completing this kit, I fell that those thoughts were completely accurate I'm really happy with how this turned out. There are still some mistakes, but they are smaller and I was able to work around or hide many of them. I did lose the earring. Could have scratch built some, but I didn't care that much. Also messed up the color of the shoulders, but I don't think it's a big deal.
In the end I'm happy with this kit. I built this kit for a friend and now I don't want to give it up. It's far and away the best figure I've done. Yes, I know I've only done 3 figures, but this kit makes me really motivated to do another figure and to push abilities in figure painting.