


Thoughts on the kit...
This kit is made up of 3 other kits. So I'll break down my thoughts on each individually.
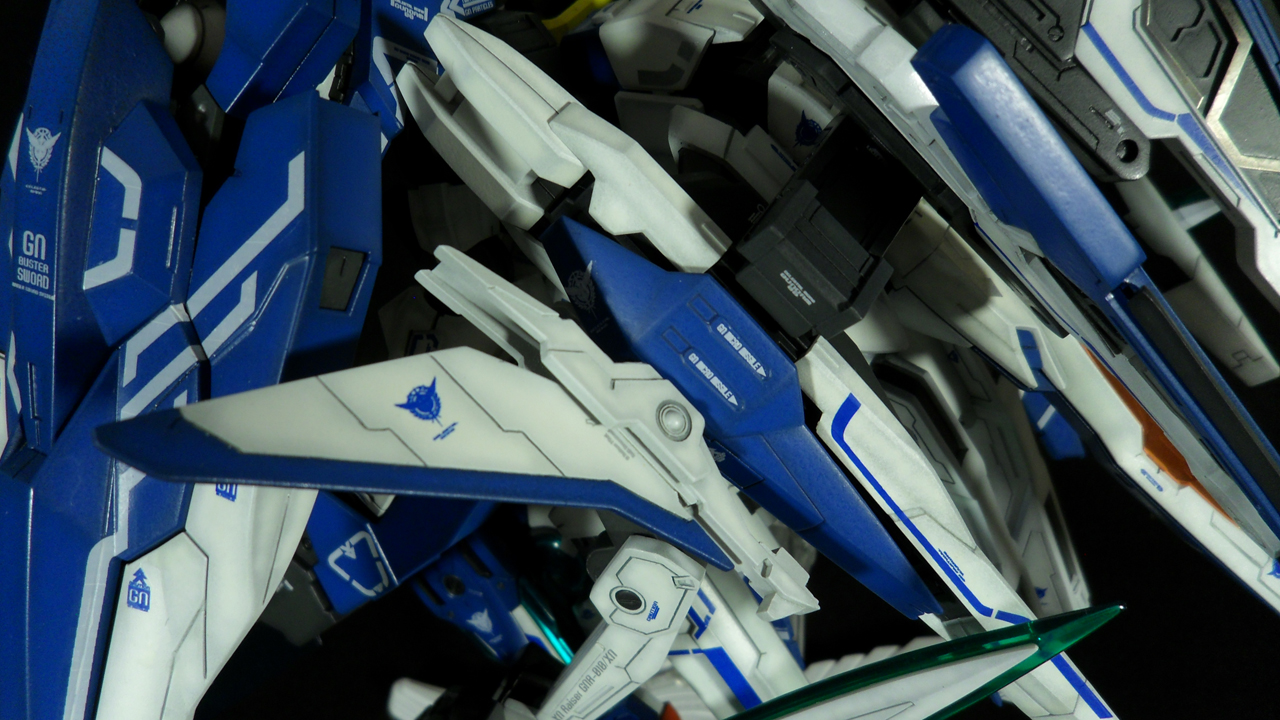
1/100 MG 00 Raiser - I really like this kit. The 00 Gundam is a great kit to build. There's only one visible seam line on the whole thing and it's on the back of the head. Not an easy fix, but at the same time, when do you ever see the back of a gundam's head? The 0 Raiser is pretty cool too. Lot's of interesting detail. And the you have the option of a clear or clear orange canopy. There are seam lines on the 4 fins, which are an easy fix, but rather annoying because you have to do the same thing 4 times. The GN Sword III is pretty cool too. Although I don't like that there's a nub on the visible part of the sword. I'm sure they had to do this, but it's almost impossible to keep the part clear and make the invisible. I also don't like how the clear green on the sword is a different clear green than the rest of the kit. I really recommend this kit for everyone. I haven't build a lot of Master Grades, but of the ones I have, this is my favorite.
1/100 MG 00 Seven Sword/G - Once again, there are a lot of positives for this kit, mostly because the 00 Gundam is such a good kit. It's not as good as the 00 Raiser in my opinion though. There are so many seam lines on each of the weapons. It's just a lot of work to clean up. Especially when you double the weapons. It also has the same issue with nubs on the clear parts, but I really believe that it's required for the kit making process. If you're looking for a fun build this kit is for you... but the 00 Raiser is better.
1/100 XN Raiser Resin Conversion Kit - So this kit can look really great, if you want to put in the time and have the skill to clean it up. Although the manual is really nice, the instructions are terrible. You're better off looking for instructions for the HG version and going from there. For the most part, much of the work that needs to be done is sanding. The edges aren't always sharp, there are imperfections in the resin, the edges of the panel lines are pretty rough. But the biggest issue for me was the main body of the XN Raiser. This part just wouldn't go together right for me. Needed lots of glue and putty. Had to straighten out the center piece as well. And after all that work, the parts wouldn't line up right. I tried to salvage it, but it doesn't look so great. Plus there is a giant gap in one place that I have no solution for. I really can't recommend this kit to anyone.
Thoughts on my work...
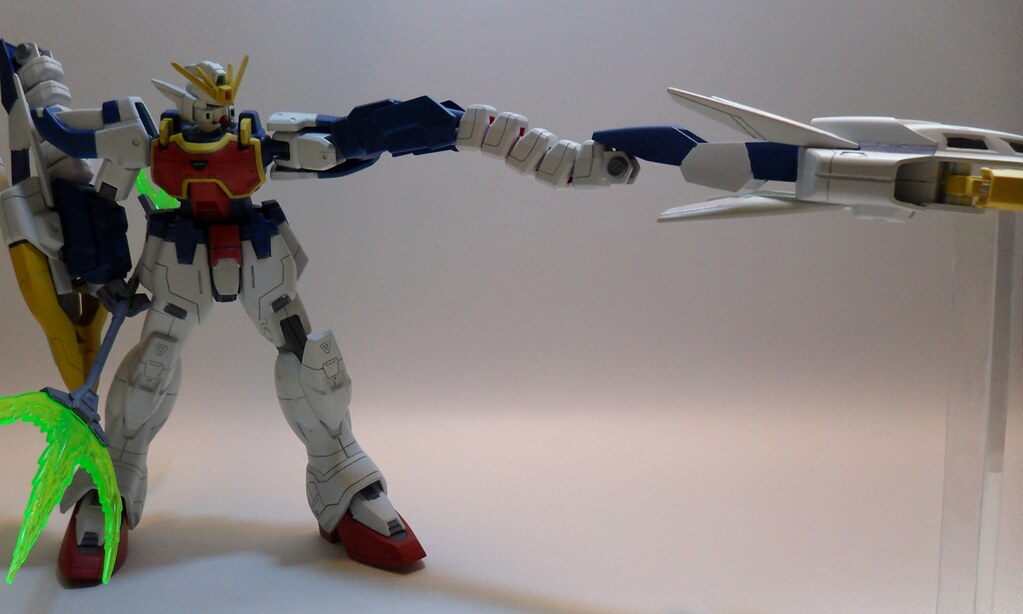
For the most part, I'm pretty happy with the way this turned out. The resin conversion parts were really challenging. I spent most of my time working on those parts. In all I spent 100-110 hours on this kit. There are over 500 parts and over 200 decals (from Samuel Decal). I made 3 changes to the kit. The first was to try and salvage the body of the XN Raiser. I used putty to blend the uneven parts. Then scribed in some panel lines. It doesn't look so great, but it's pretty well hidden so I think it's ok. The next change I made was to the parts that hold up the twin drives. I decided to remove the switch. So I locked it up in the up position, and then used pla plate and putty to fill in the gap in the blue part. Looks pretty good. The last part is the attachment to the action base. This kit is so back heavy that the standard action base connector can't support the kit. So I used the same connector and carved in a place in the backpack for it to go. It was working pretty good. But you may notice in the photos that the kit was starting to lean to one side. You may also have noticed that I forgot to add a part on one of the guns. Well I didn't realize that until I took all the photos. So I added the part in and tried taking a few more photos. The kit started leaning more and more. I tried straightening it up and I heard crack and the connection to the action base broke. So the kit is no longer standing at the moment. So I can't image I'll be redoing the photos. So tired of working on this kit that it might be a while before I work on this kit again.
Overall I think this is my best kit to date. There's a lot of room of improvement, but looking back at where I was a year ago, I'm really happy with it.
Then Now

No comments:
Post a Comment