Friday, December 30, 2011

Kit Building - 1/100 NG F90II - L Type (Part 1)


You can check out what's in the box here. Now lets start building.

Step 1 - Instructions start with the feet/ankles.

*On this kit I only reduced the nubs on parts where the nub was in the way. This was intentionally done to show where the nubs are on the completed kit.


So the completed foot/ankle looks good but there are 2 things to point out. One, the instructions are a little goofy. The piece you see is F5. Well it's backwards in the instructions. Build enough kits and you may not even notice. If this is your first kit, it might cause some confusion. Secondly, the white ankle armor has a terrible connection. Three of the four I can kind of get to stay, but the other doesn't hold at all. Glad to see Bandai got rid of this type of connection.


Step 2 - Next are the legs.


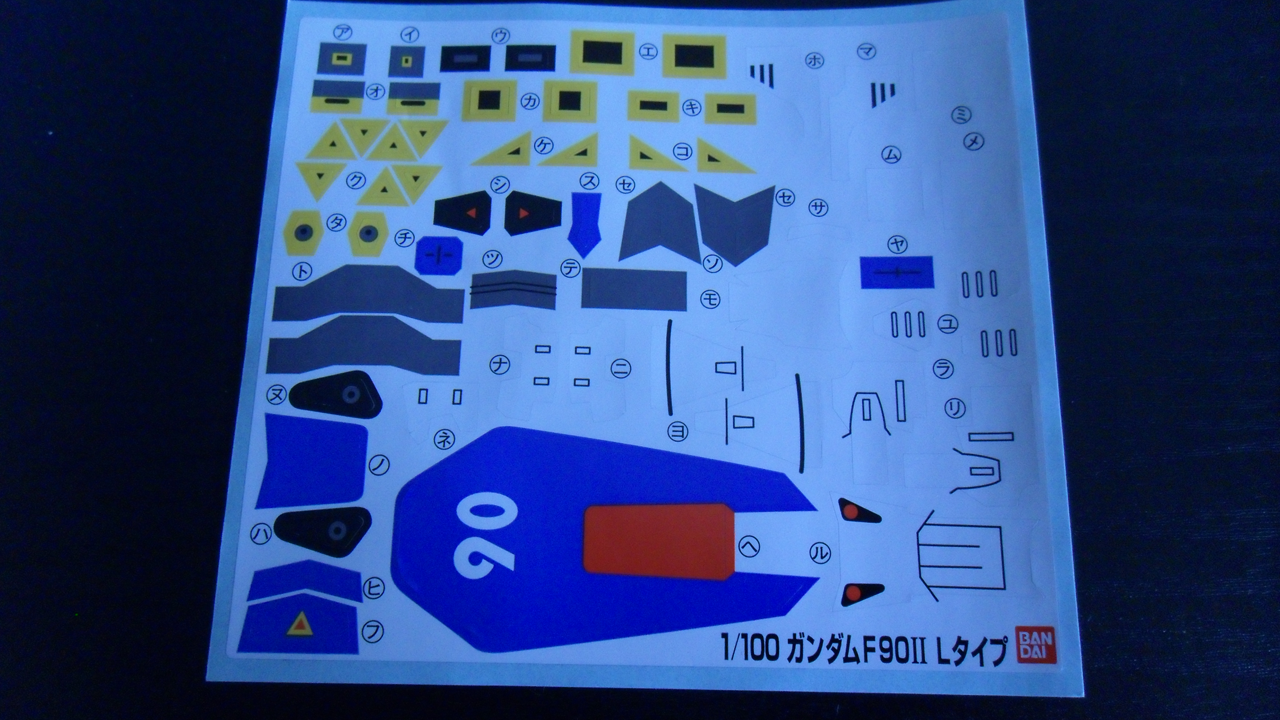
So this is the first multi-color part I had to de-nub. I should have explored this piece a bit before cutting. On the underside you can see that it's really the yellow plastic laying on top of the white. So if you aren't careful removing the nub, you can take a big chunk out of the kit. Some putty can fix this, but I would recommend sanding in this situation over using a hobby knife.


Step 3 - Next up are the arms. Pretty standard stuff here. Instruction include some red armor parts. I assume these are for the normal F90II. Not sure why this is done. Maybe this kit is like the 1/100 HG Tallgesee III and it makes multiple kits?


Step 4 - In this step the torso/waist is built. You can really see the age of this kit here. The waist is molded with the torso, so there is no articulation here.


Step 5 - Next up, the head. It's interesting that the face is molded with the helmet. I sort of like this. Not for an MG, but for a 1/144 kit I can see this being nice. I also like the blue eyes on the kit. Nice change of pace from the standard green.


Step 6 - Time to put it together now. Well the joints are a little bit flimsy. This doesn't really bother me as I tend to make my kits fixed posed, but this could be a problem for others.


Well that's all for now. Next time, weapons and accessories! And there's a lot of them.

Thursday, December 29, 2011

What's in the box? - 1/100 NG F90II - L Type

Just sort of felt like building something to get my gunpla juices flowing after my Christmas vacation. Had a 1/100 No Grade F90II - L Type just lying around which I figured would be a quick and simple build. First saw this kit a long long time ago, but couldn't afford it at the time. When I went back for it, it was gone. So a year or so ago when I saw it again, I had to buy it. Problem is, I have a backlog of kits now so who knows when I'll get around to painting it. But at least I have it! Enough talking. Time to see what's in the box.


First up the manual. Bandai's instruction manuals have come a long way since 1991 when this guy came out.


And then some stickers. These stickers are very different from modern day stickers. Fairly thin and feel more paper like.


Lastly, the important part. The kit itself! The lettering for this kit jumps around. Looks like some these parts are reused in other kits. The first runner is B. This has the blue, yellow, and multi-color parts.


That's right. I said multi-color parts. Interesting to see a single piece with yellow, blue, and red. Not sure why Bandai stopped this, but it's interesting and much nicer than stickers. Seems weird that they only did it for some parts and not others. Seems like the shield could use this.


Next up the C plate. This is all of the white armor pieces.


The next runner is E. This has all of the red parts. Seems to be a second back piece. The manual doesn't indicate unused parts, so I'm curious to see what else is extra.


Next there are all of the grey joints and weapons on the F, L1, and L2 plates.


Lastly there are some polycaps, 2 clear beam sabers, and the eyes. I'm not a fan of the blade and handle in one piece, but I like this blue color. I don't generally use beam sabers on my kits, but I think I'm going to find one to use these.


I'm looking forward to snapping this guy together. Look at all of those accessories!

Wednesday, December 28, 2011

Completed! - SD Blaze Zaku Guile

Way back in the summer meadeslemicah (aka Meads) and I started a build off. The plan, to build an SD Blaze Zaku to look like a Street Fighter character. Below are some pics of my kit, modeled after Guile.


Don't forget to check out the kit Meads made on his youtube channel.


Tuesday, December 20, 2011

Weekly WIP - Clare (Part 3)

Sorry for the delay. Busy getting ready to go home for the Christmas.

What I'm working on...
Had some ups and downs this time. Firstly, I lost one of the armor parts. Luckily it's the back piece and will be covered by the cape so hopefully it wont be noticed. As for the rest of the armor, I chose to redo the paint. I wasn't really happy with the color. Too dark. So I switched to a lighter color. Last time I went to the store they I was trying to choose between steel and stainless steel color. I went with steel and I should have gone with stainless steel. So once I decided to repaint, I went back to the store and of course... they didn't have it. So I settled with Alclad II Duraluminum. After painting I'm happy with the results. Gives a nice smooth shine, yet isn't reflective like chrome. Looks more armor like and like the color in the anime. 


Fixed the cape. What I did was glue a thin piece of pla plate to cover the gap. Obviously this wasn't going to do the job on it's so. I then covered both sides with putty. This will fill in the gaps as well as give some rigidity to the pla plate. After that, trimmed the excess pla plate and then lots of sanding. End result looks fairly good to me. Not perfect, but good enough. Also found a lot of defects in the cape. Nothing some putty couldn't fix, but kind of annoying.


Did some painting on the face. I got a little sloppy with the paint on the eyes. Went a little outside the lines. Should be able to fix it. I stopped there on the eyes. I'm terrified to do anime eyes (or any eyes really). Seems like a tough challenge so I'm saving it for the end. I like how the lips turned out. Did a mixture of Vallejo Flesh Base and Light Flesh . Sorry no ratio. I just eyeballed the color. Made a nice pale lip color that's just right for the kit. At first I thought the eyebrows were too dark, but once I put the hair on, I think they work. 


Lastly, I did some work on the base. Tried polishing for the first time. Didn't go real well. Started rubbing off the paint. Had to redo the piece. The second time I put 5 coats of clear to prevent me from getting down to the paint. After using polishing pads I went over it with some Tamiya polish. Not sure the I picked a good color to polish. In the end I think it looks ok, but nothing special. After that I hand brushed the red symbol. There is a nice mistake in the middle. Fortunately it's covered up by her feet. Lastly I did an enamel wash on the lettering. I think it looks good, but I wonder if I should paint the letters white. I'm really conflicted about it.


What remains is the main chest piece that I broke (more on that later), the sword which needs some touch up and some gold, and part I'm most worried about... the eyes. Almost done!


What else I'm into...
Christmas! Ok the holiday is nice and  but what I'm most excited about is going home. I haven't been back since April and I haven't seen my family since June. On top of that I am not one of those people that likes a white Christmas (the forecast for where I am currently). When it's cold, dark, and wet for 4 months or so, I get no pleasure out of snow on Christmas. Give me sunshine and temperatures in the 60s (forecast for where I'm going). 

Since I'll be gone the rest of the week, there will not be a Weekly WIP next week. But I shall return Jan. 1. So until then, I hope you guys have a good holiday season and I'll see you next year.

Wednesday, December 14, 2011

Kit Building - 1/100 HG Deathscythe (Part 2)

Continuing the build...

Step 9 - Building the backpack. Very simple design. Seems odd after all the detail on the other parts.


Step 10 - Next up, the shoulder supports for the wings. Even these parts have a lot of panel lines.


Step 11 - Assembling the upper body. Looks pretty good. Definitely needs paint though.


Step 12 - Would think the next step is the arms and legs, but it's the shield. The gears to make the blades swing open is a nice little gimmick for such an old kit.


Step 13 - Finally it's time to assemble the entire body of the kit. Looks ok. The panel line thing still seems weird. Some parts have a ton of detail. Others have almost none. Doesn't really make sense to me.


Step 14 - Would think the weapon would be the last part, but I guess it's the wings.


Step 15 - So this is weird, the wings have add on parts. There are a few other sections that could use more parts to help with color separation. Not sure why they chose to the wings to do this on.


Step 16 - Final step, attaching the wings. The result looks pretty good. Still don't like all of the panel lines. Given that I'm currently working a new MG and SD, I'm a bit underwhelmed by this kit. It was probably pretty good for it's time, but now it just doesn't stand up. Speaking of standing up, that's about all it can do. The limited articulation makes it hard to get any decent poses.


However, on an action base the possibilities open up. Currently I have the unpainted kit like this.


After some time, I decided to lift the left arm and open the shield and add the effect part. Personally I think it looks pretty good for an HG. Well that's all for now. For those thinking about taking a trip back in time and building this kit, I really don't have any complaints. Except for the excessive panel lines... and the gold parts. They stink and you'll have to repaint those.