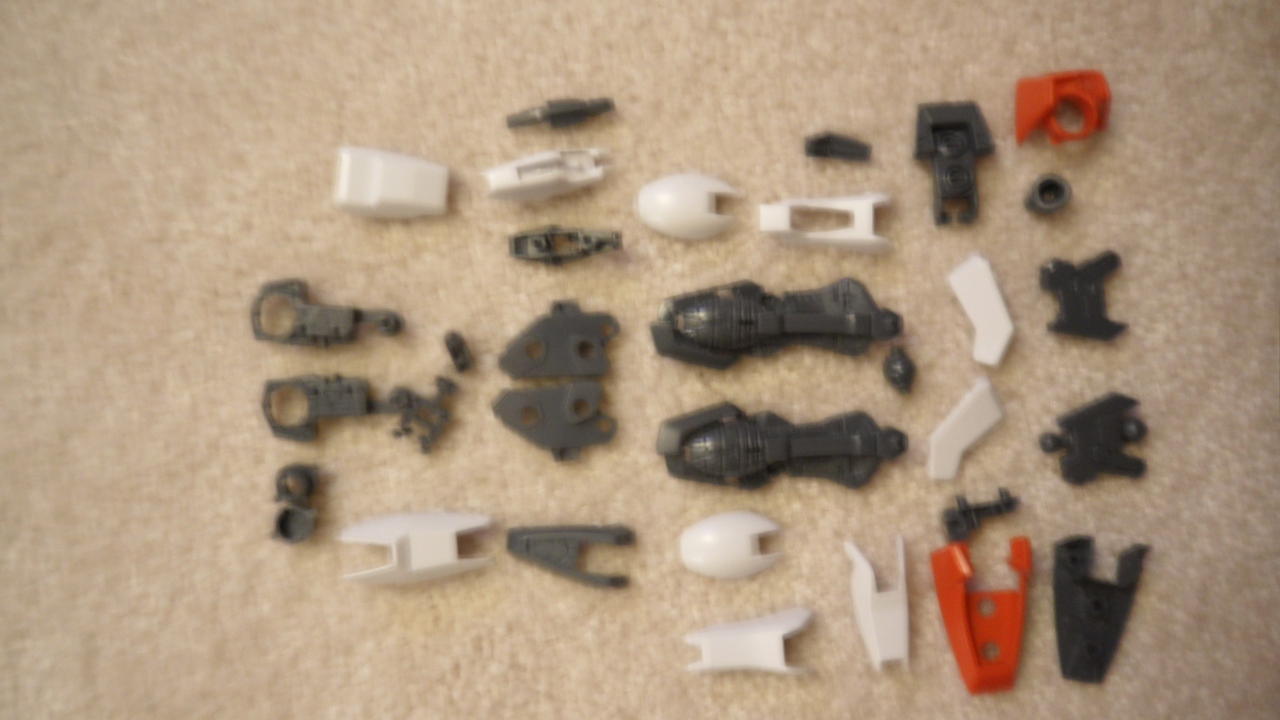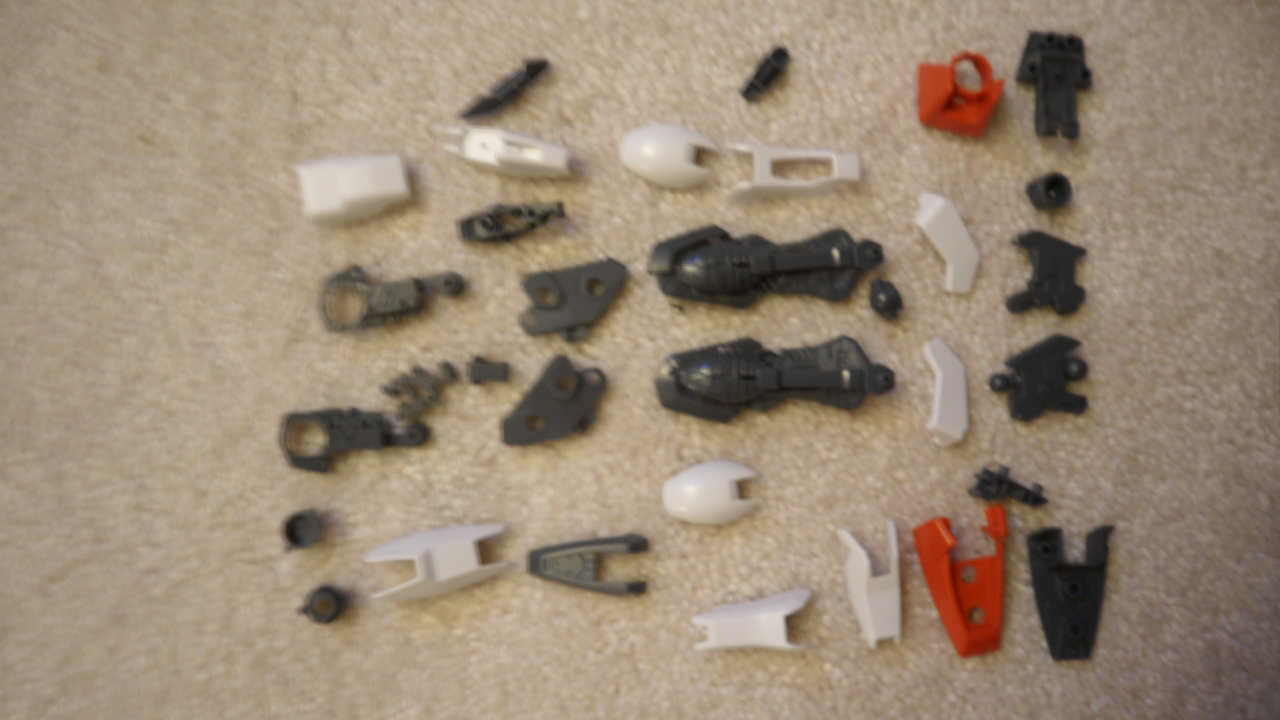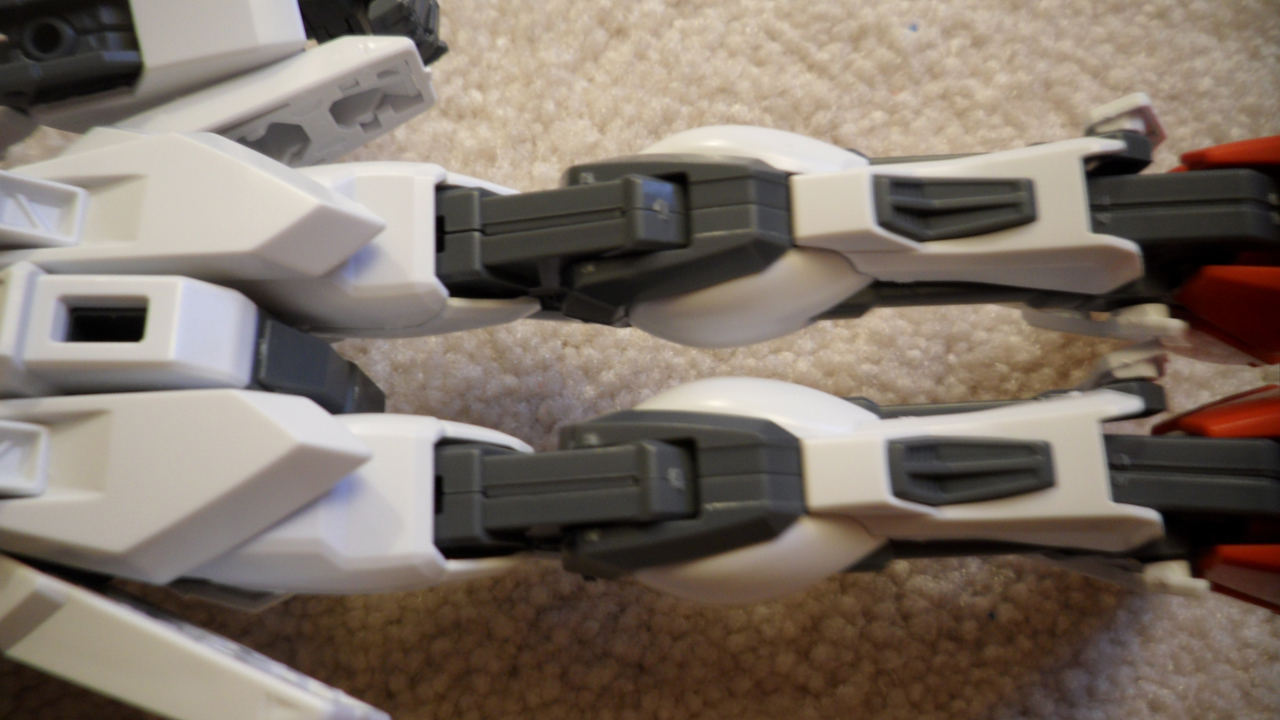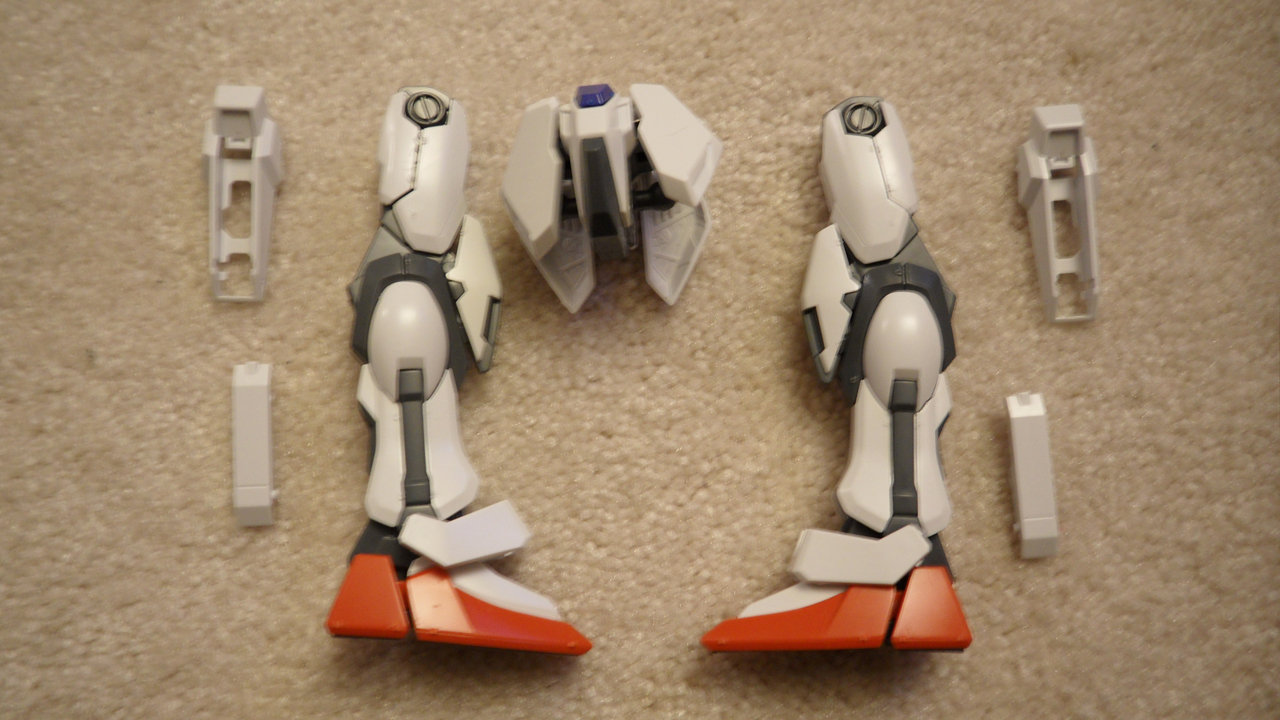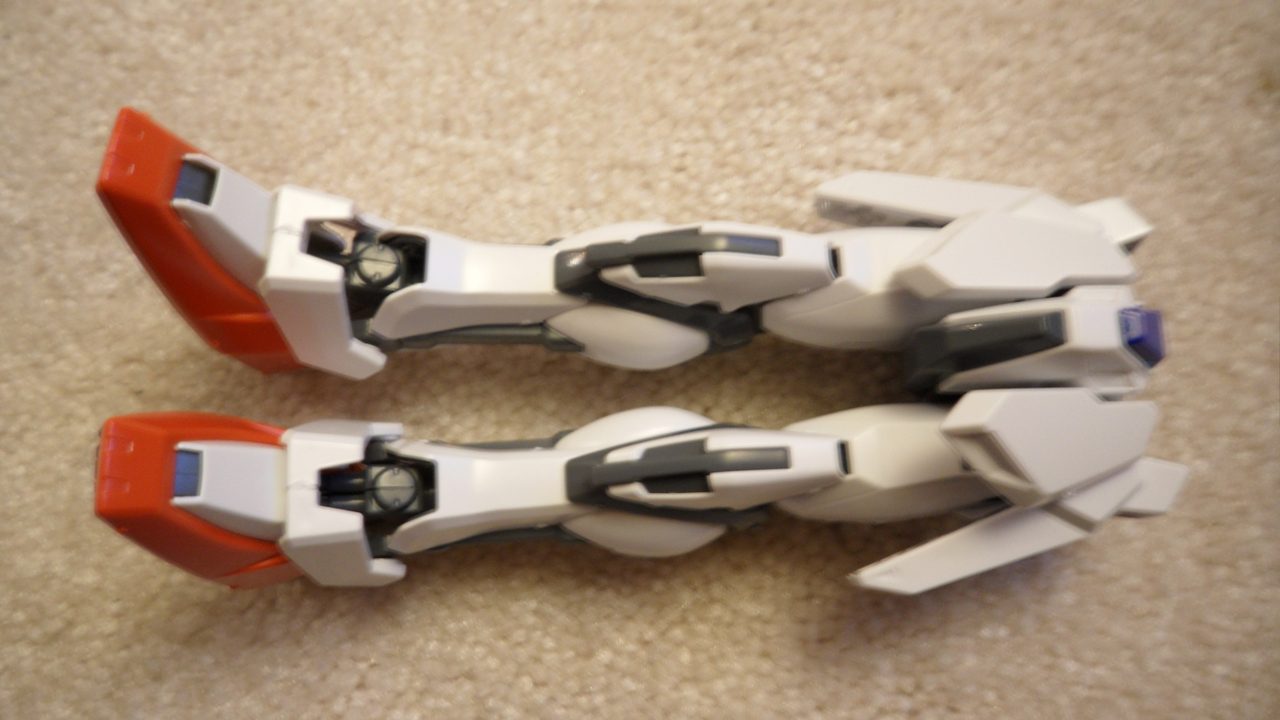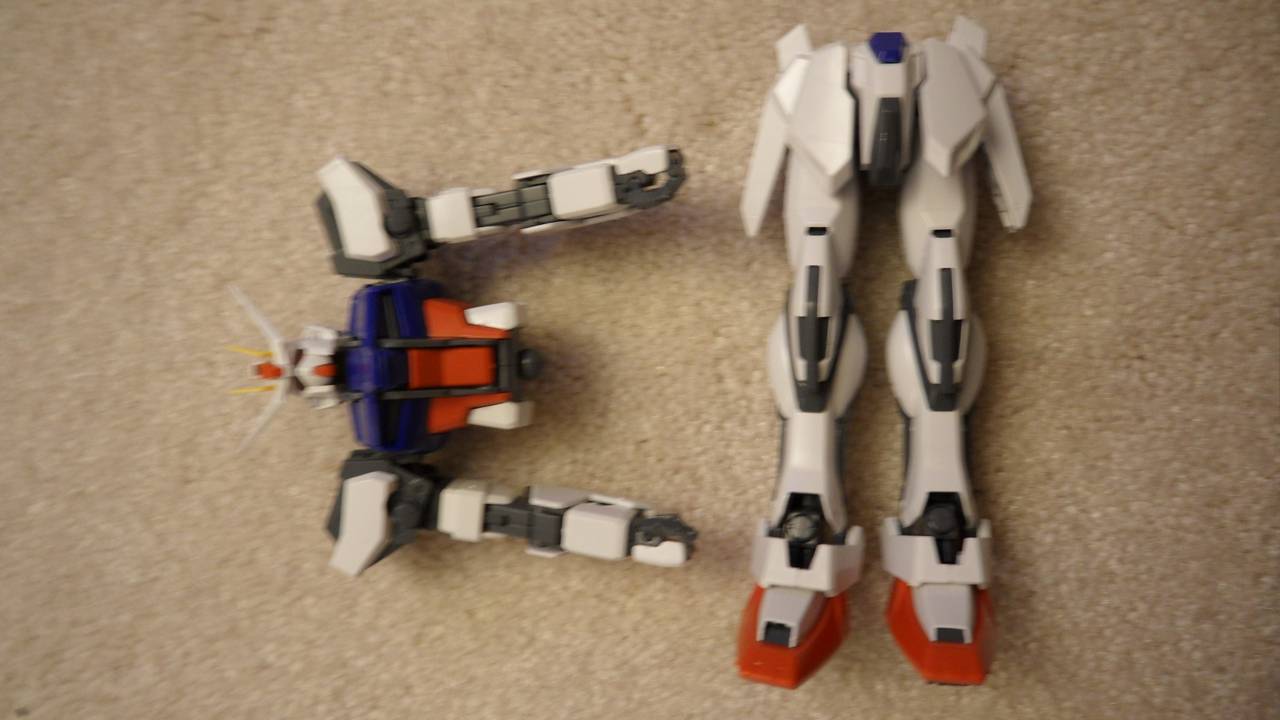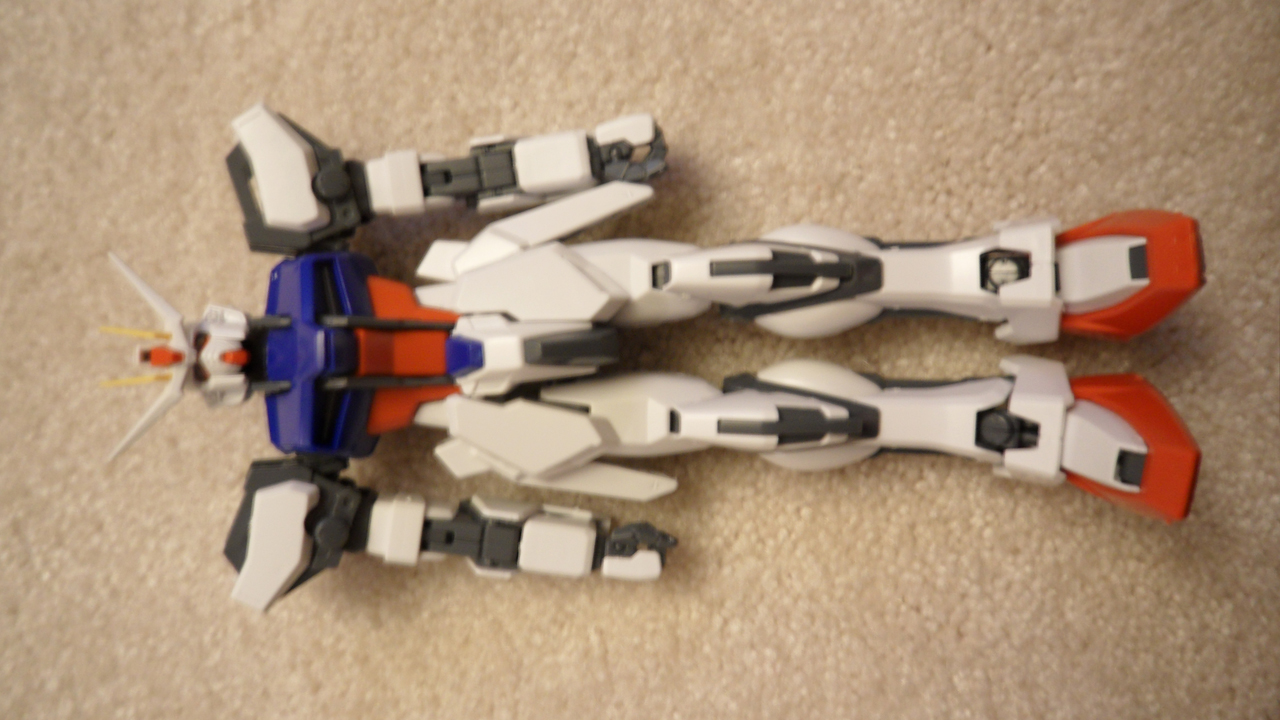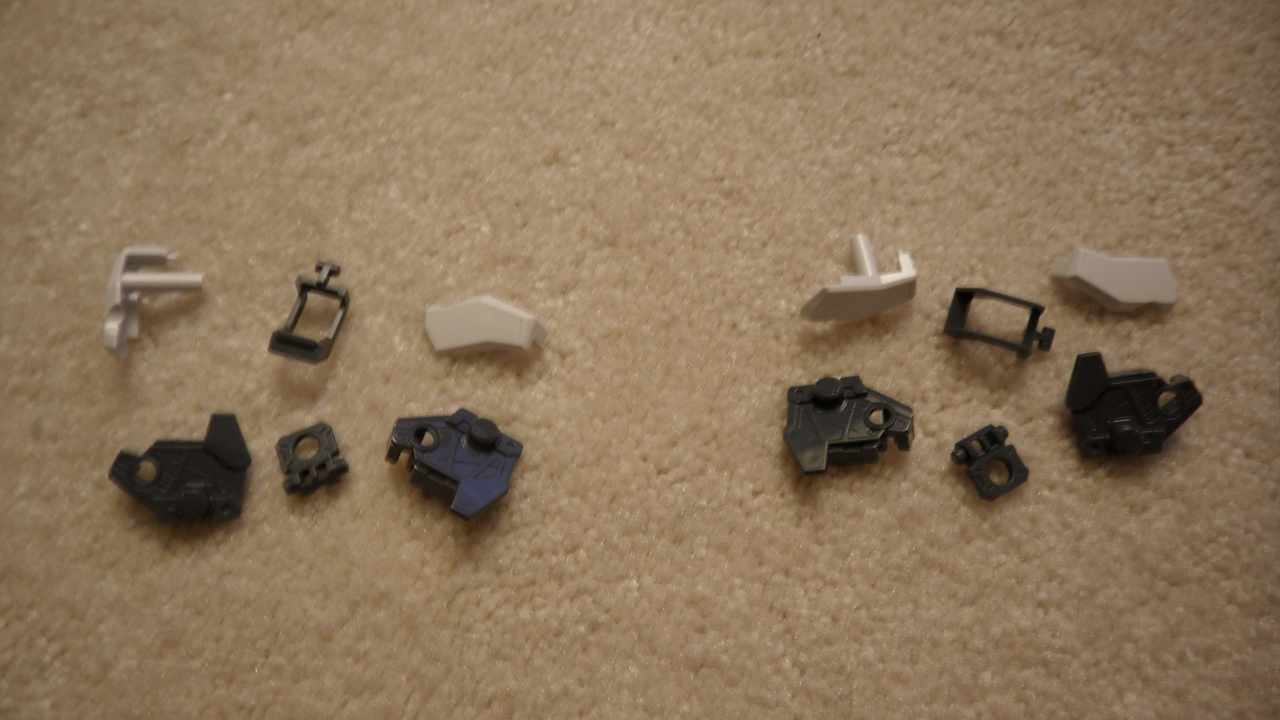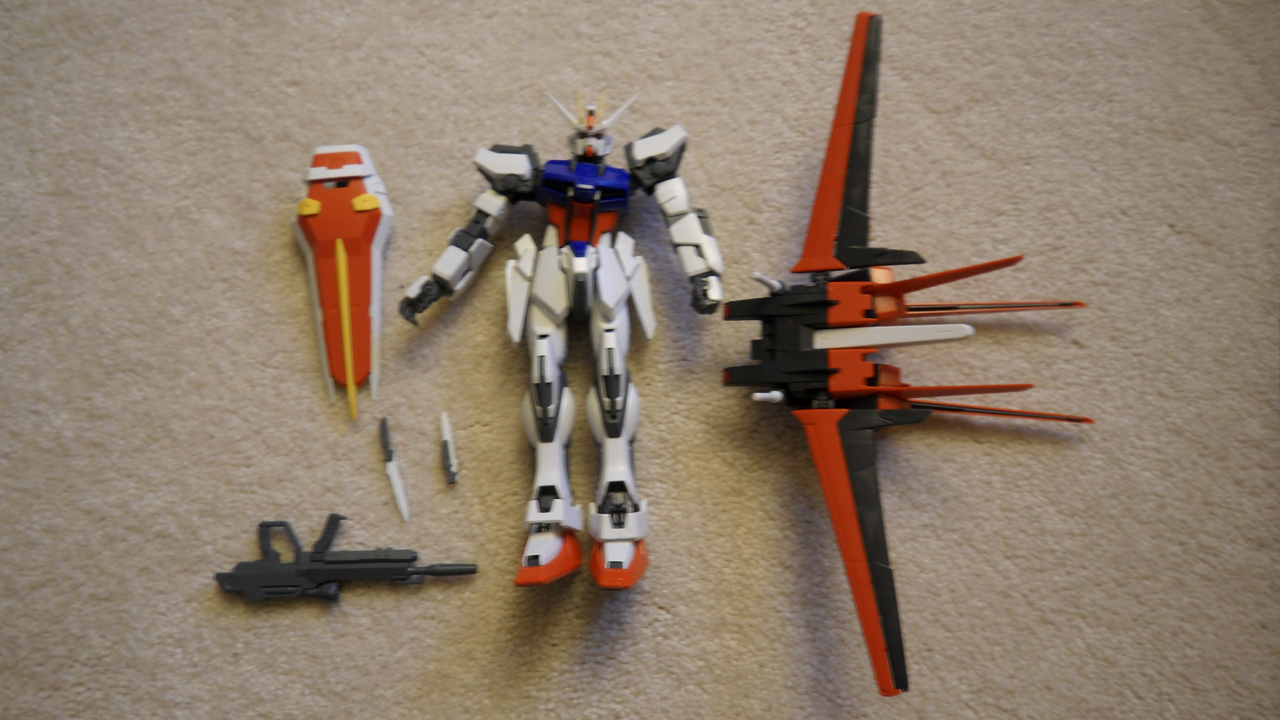
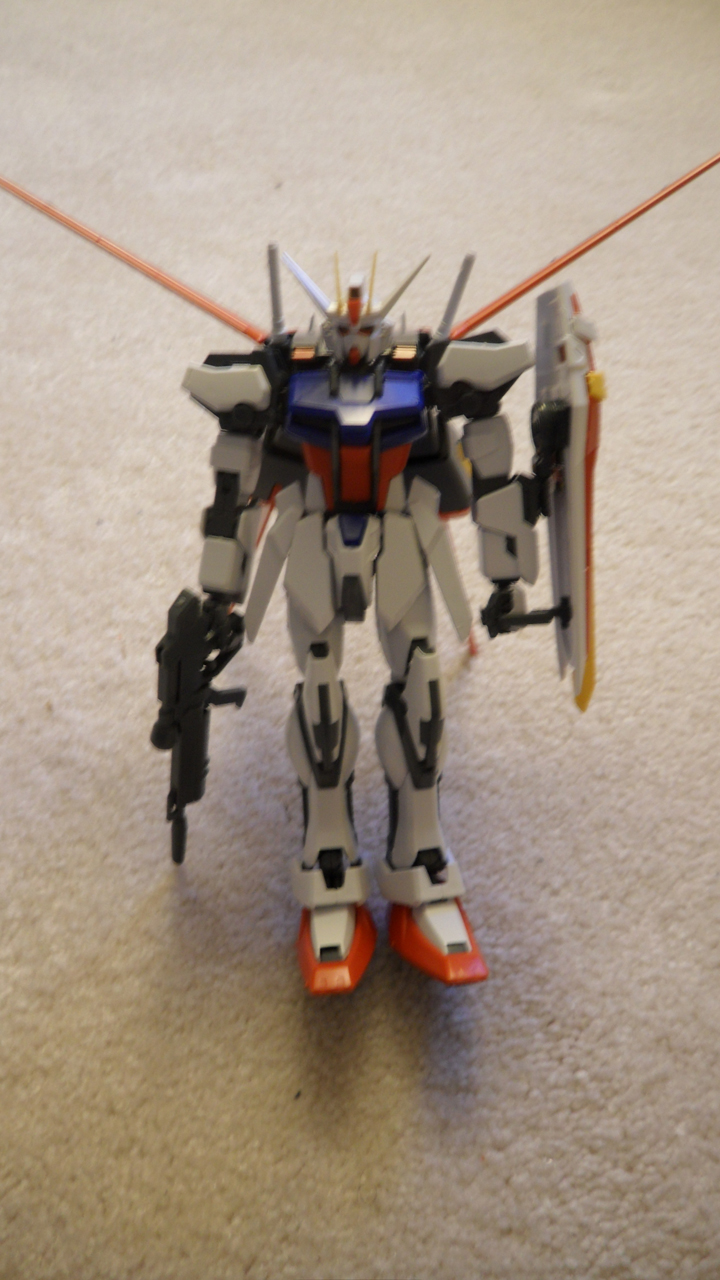
Time for final assembly.
Kit looks good. Obviously it's back heavy. I'm willing to bet that wont be fixed in the 2.0. Hand doesn't hold the gun well. I assume this will be fix and the hand will be fix posed. Not a fan of fixed posed hands, but I understand why they changed.
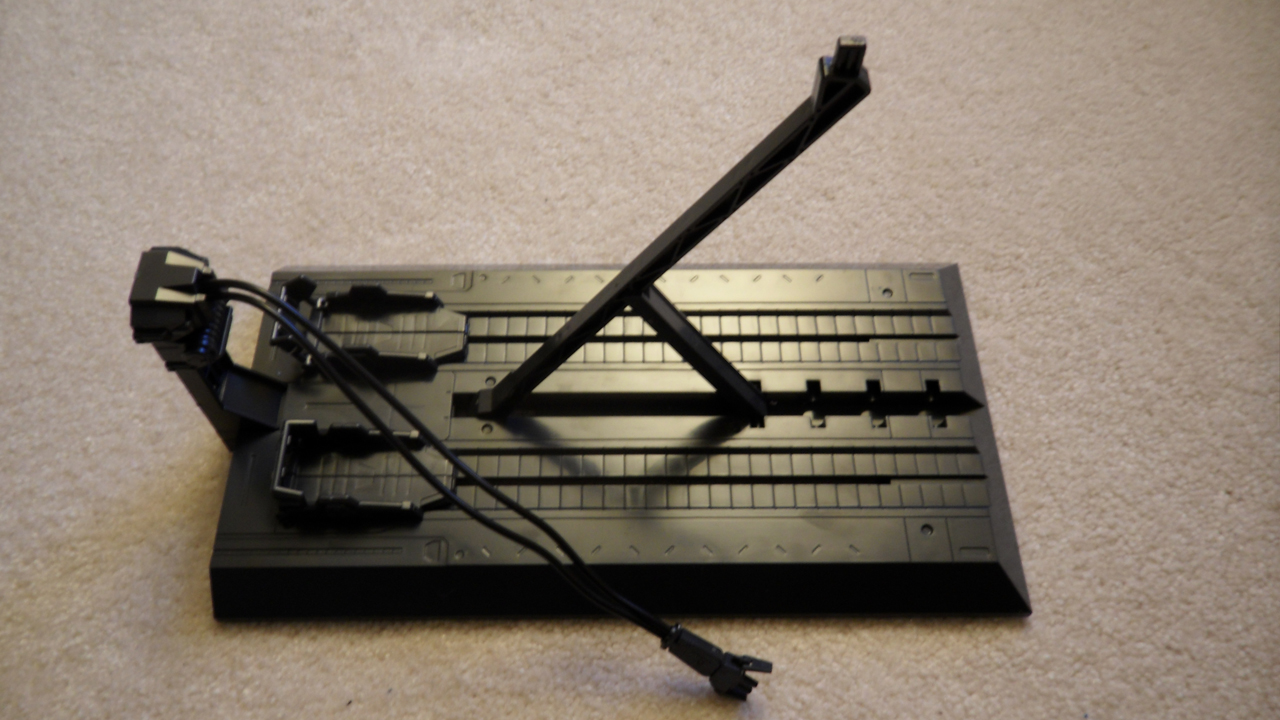
Also get a nice little bonus with this kit, a launch pad action base.
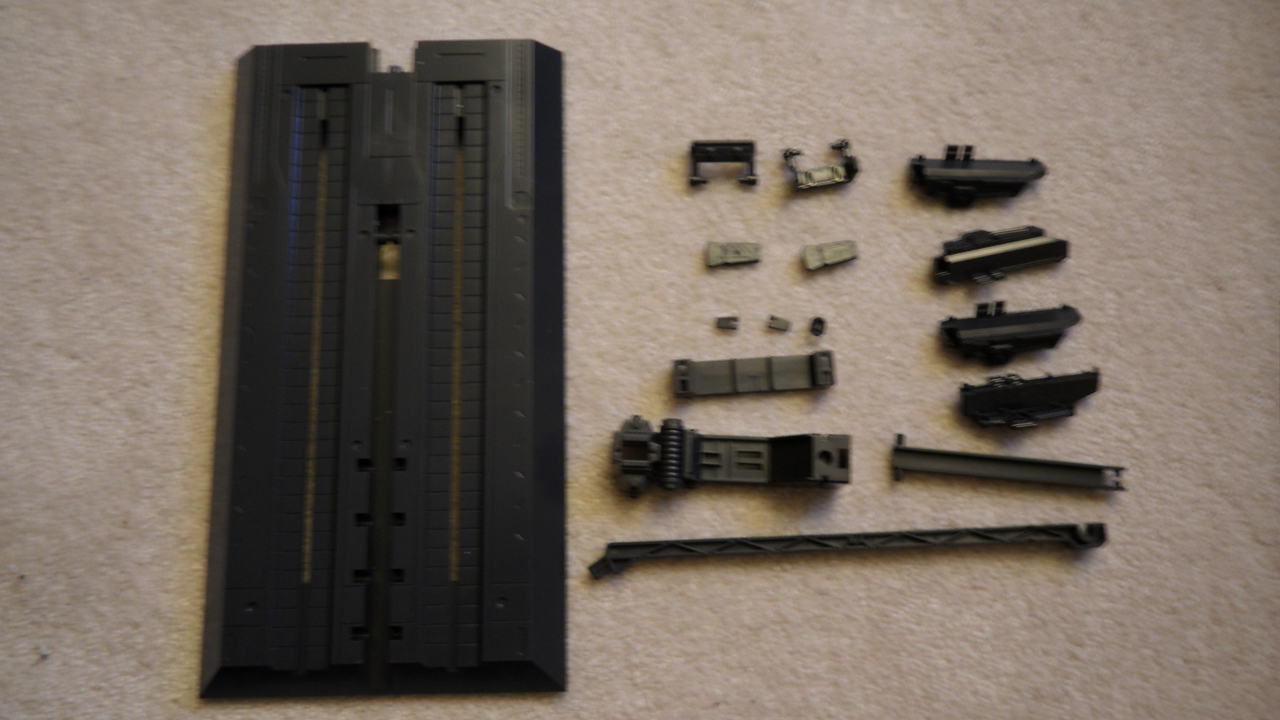
Base looks pretty amazing. Big fan of this. Seems unlikely that it will make the 2.0.
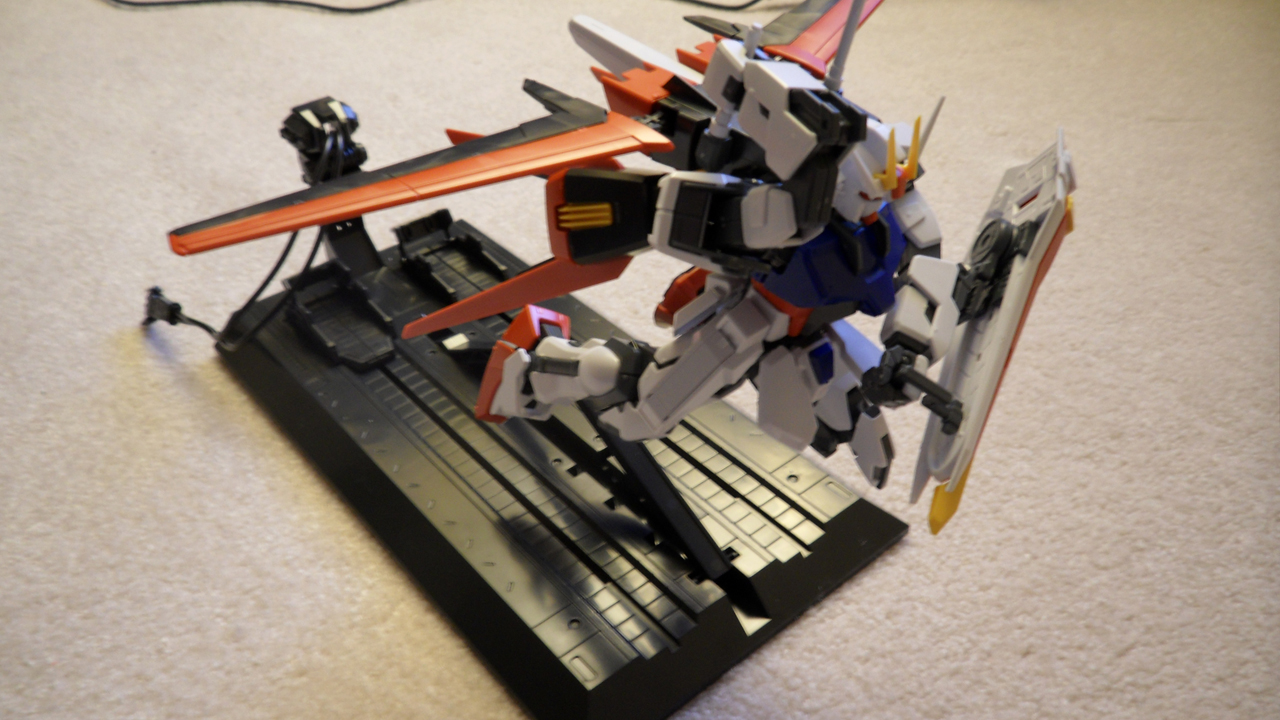
Putting the kit on the base...
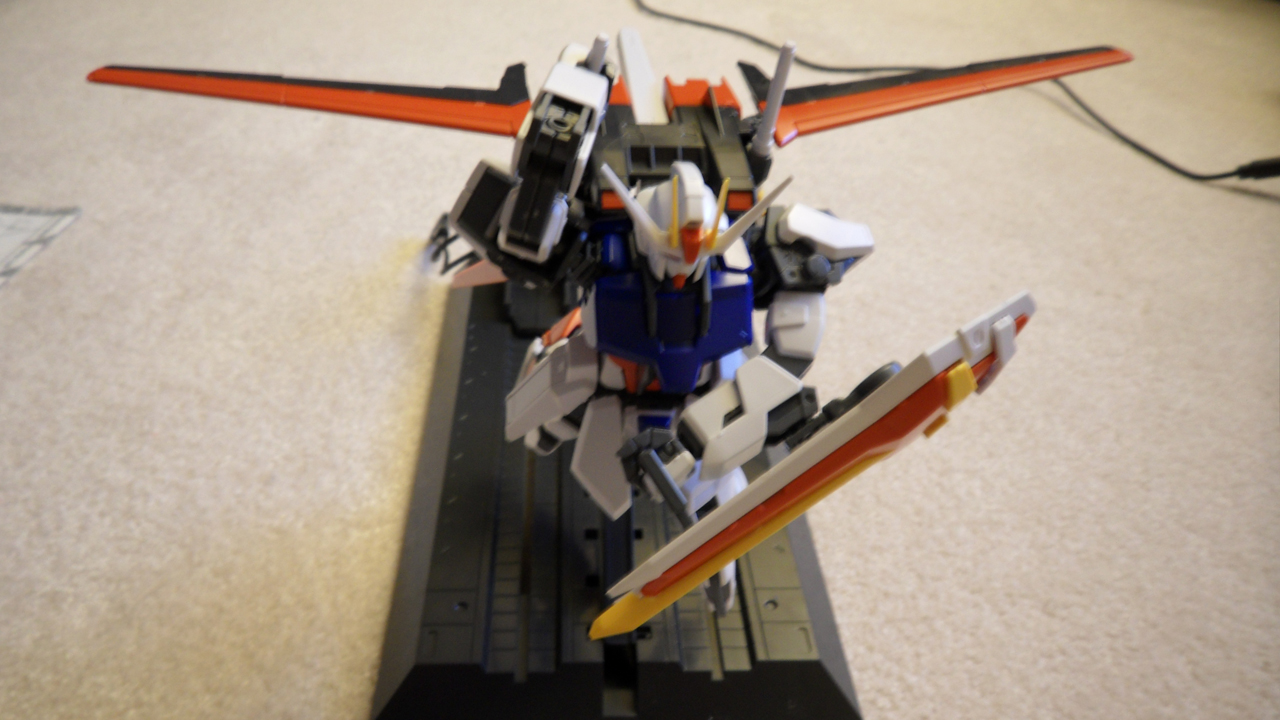
Kit fits really good on the base. It's also very sturdy. If you've got the space, this is a great base. Wish Bandai would put this out as an Action Base 4.
Final Thoughts...
This kit is pretty solid. Articulation in the arms and legs are what you expect from an MG. Waist could use some help in the articulation department. I assume there will be so details added to the armor. Hopefully there will be backing parts to the skirt armor and the shield. Love the action base, but I don't think it will make the 2.0 upgrade. It's pretty obvious that the kit is outdated compared to the newest master grades, but I don't think it's so bad that it needs a 2.0. There are so many suits that don't have an MG (DOUBLE X!!!!!!) that I would rather have than a 2.0 Aile Strike. And I would be saying that even if I didn't have the 1.0. Hopefully there's something unexpected in the 2.0 that makes it worth getting for those that have the original.
Showing posts with label Master Grade. Show all posts
Sunday, December 23, 2012
Saturday, December 22, 2012
Kit Building - 1/100 MG Aile Strike (Part 5)
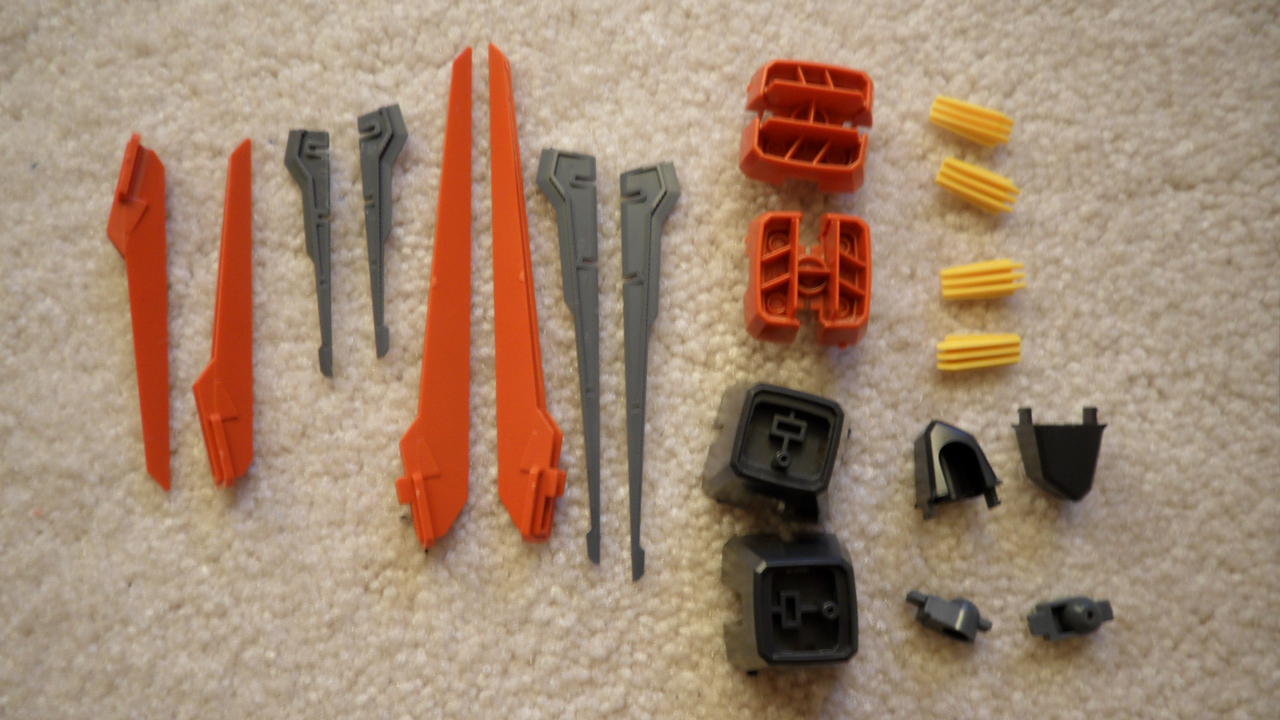
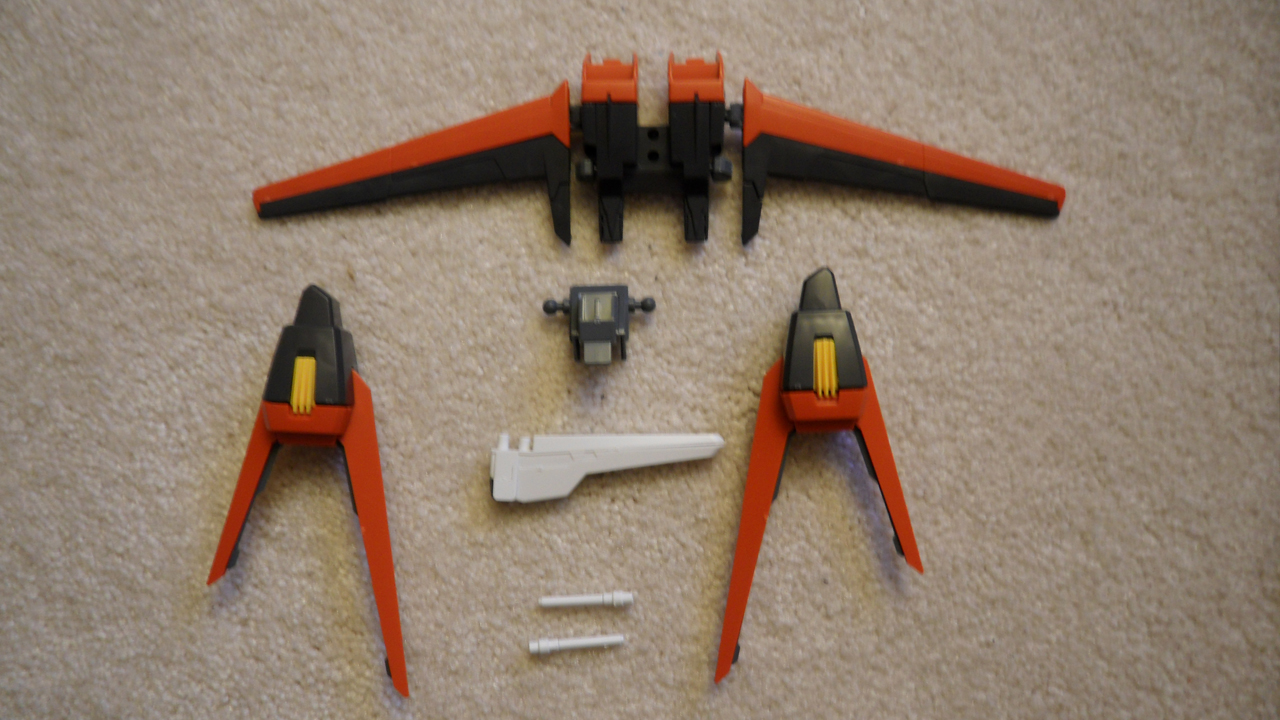
Now for the Aile Strike pack.
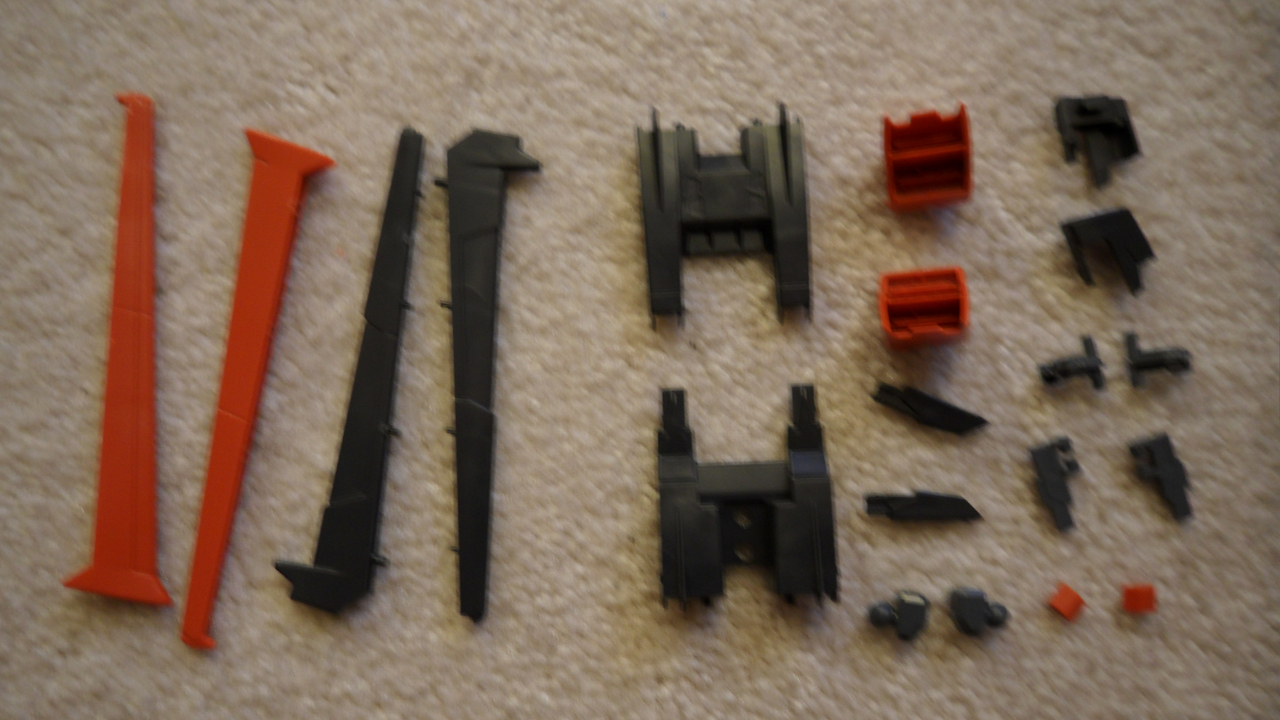
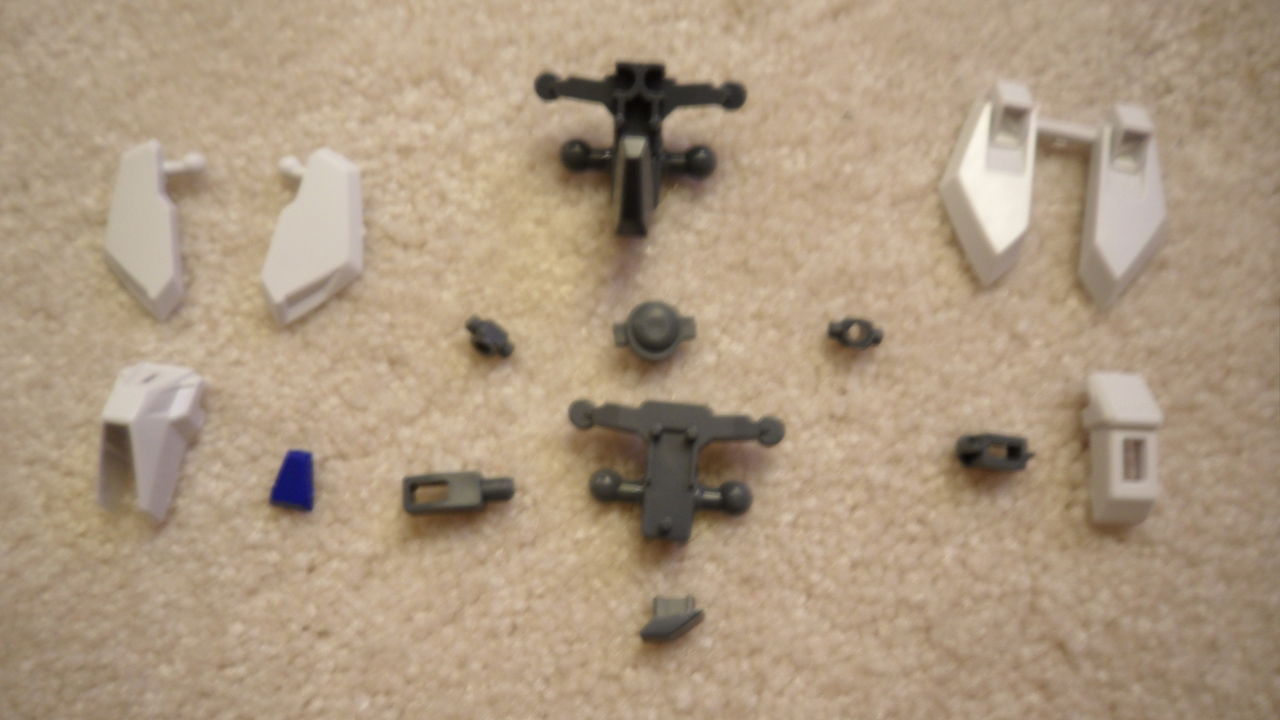
First up are the wings.
The parts that hold the beam sabers look kind of lame, but other than that, this looks good.
Next are the thrusters.
Once again I think this looks pretty good. I assume on the 2.0 the thrusters will be gray and the red part will snap on over it.
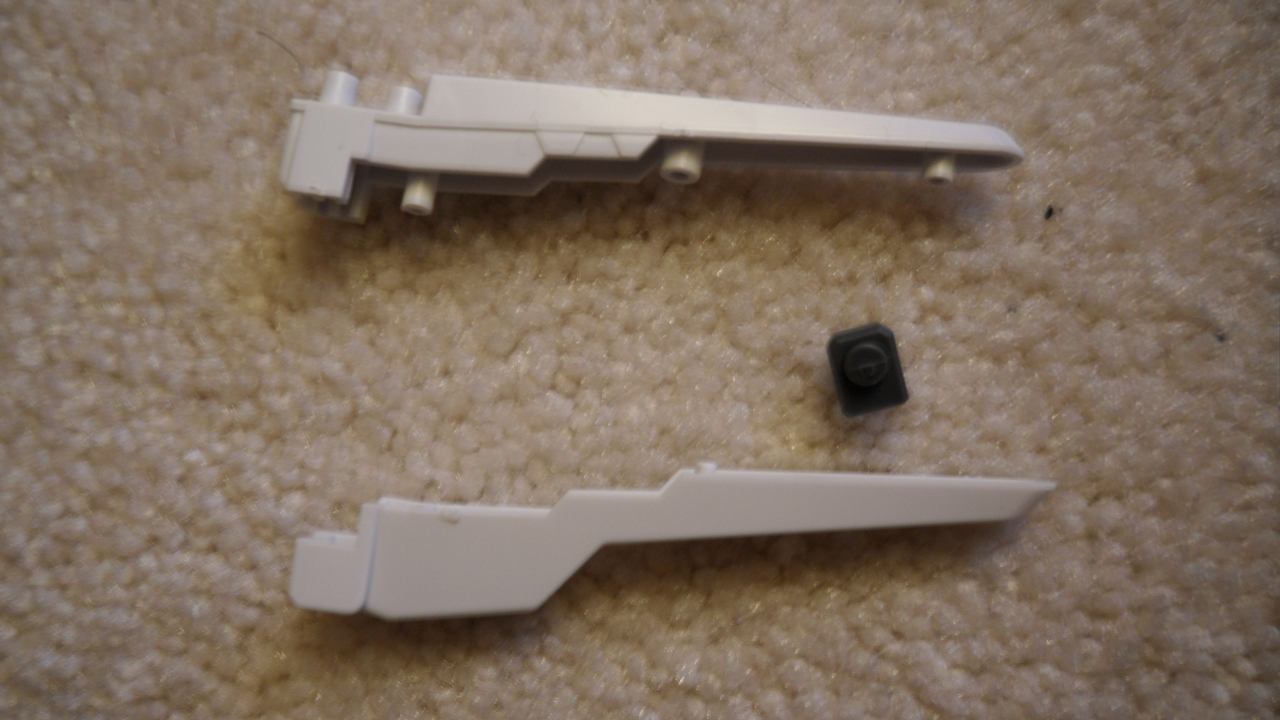
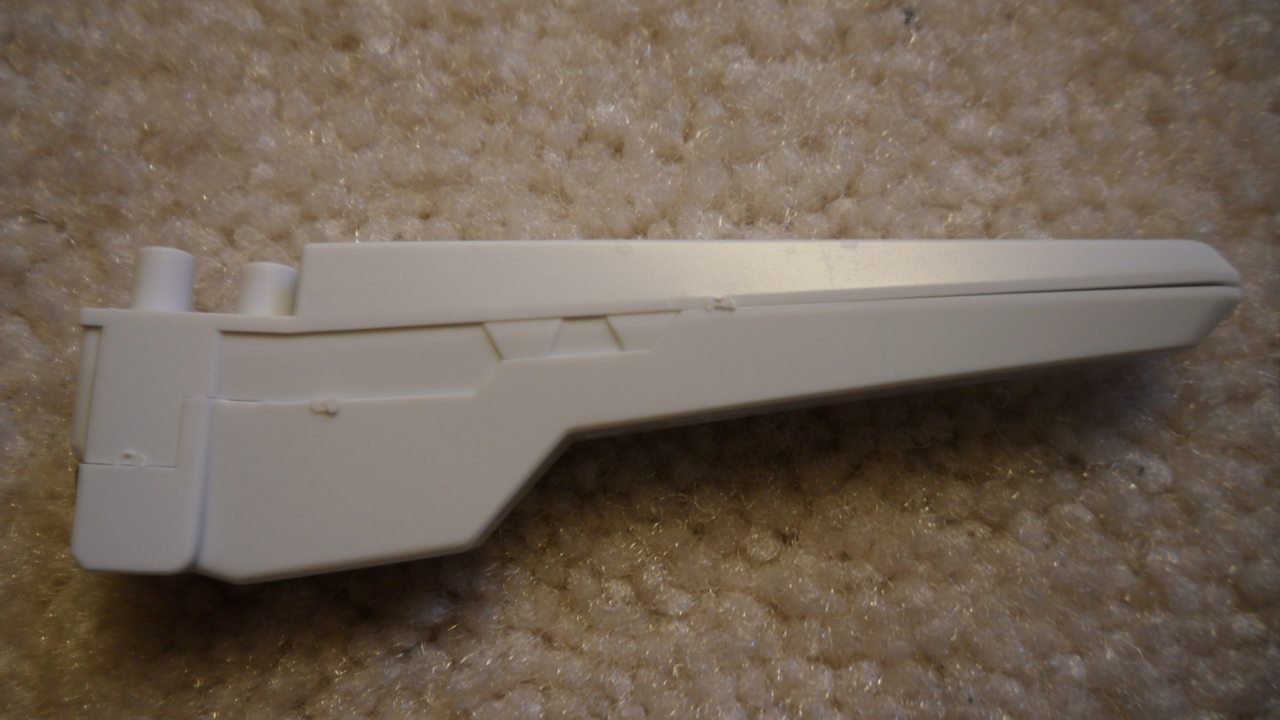
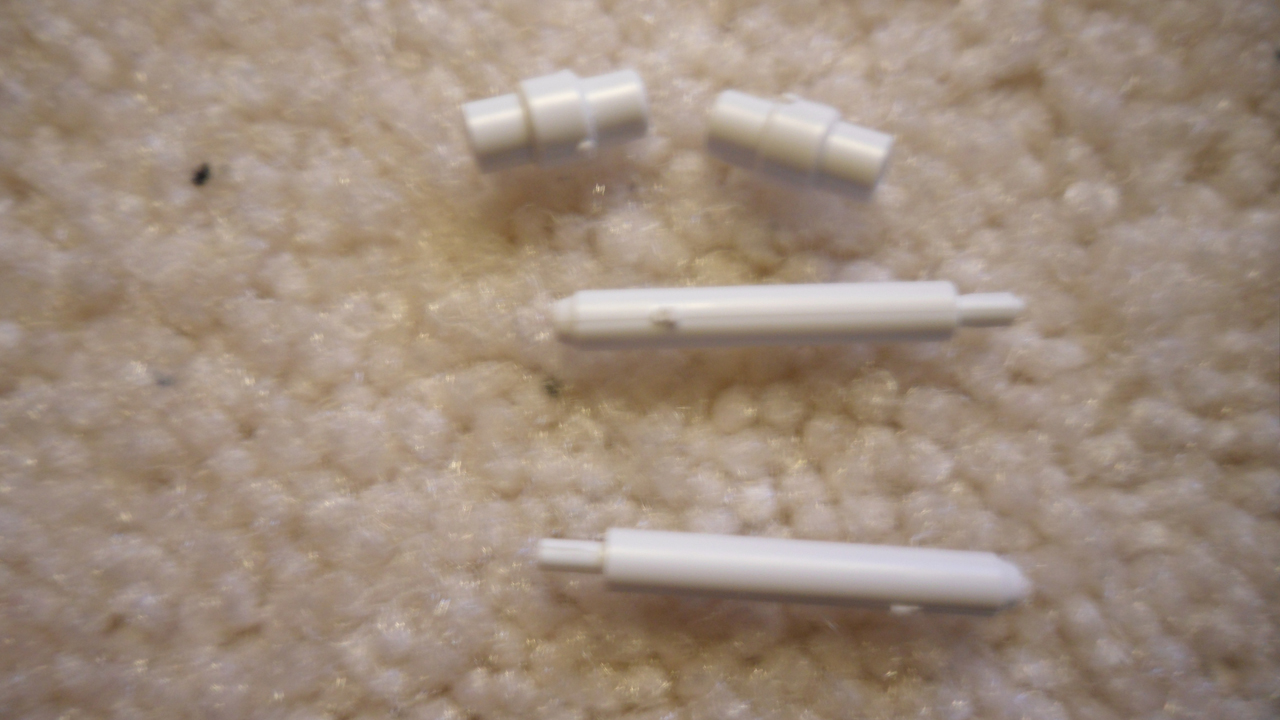
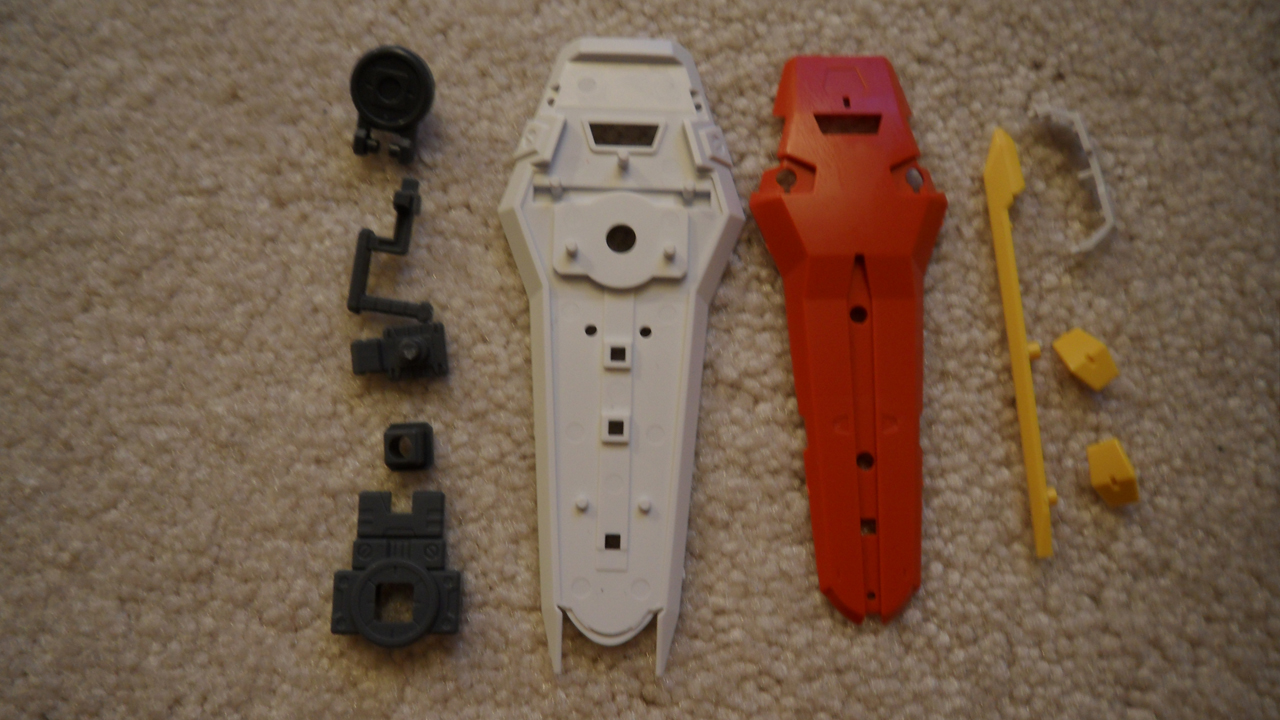
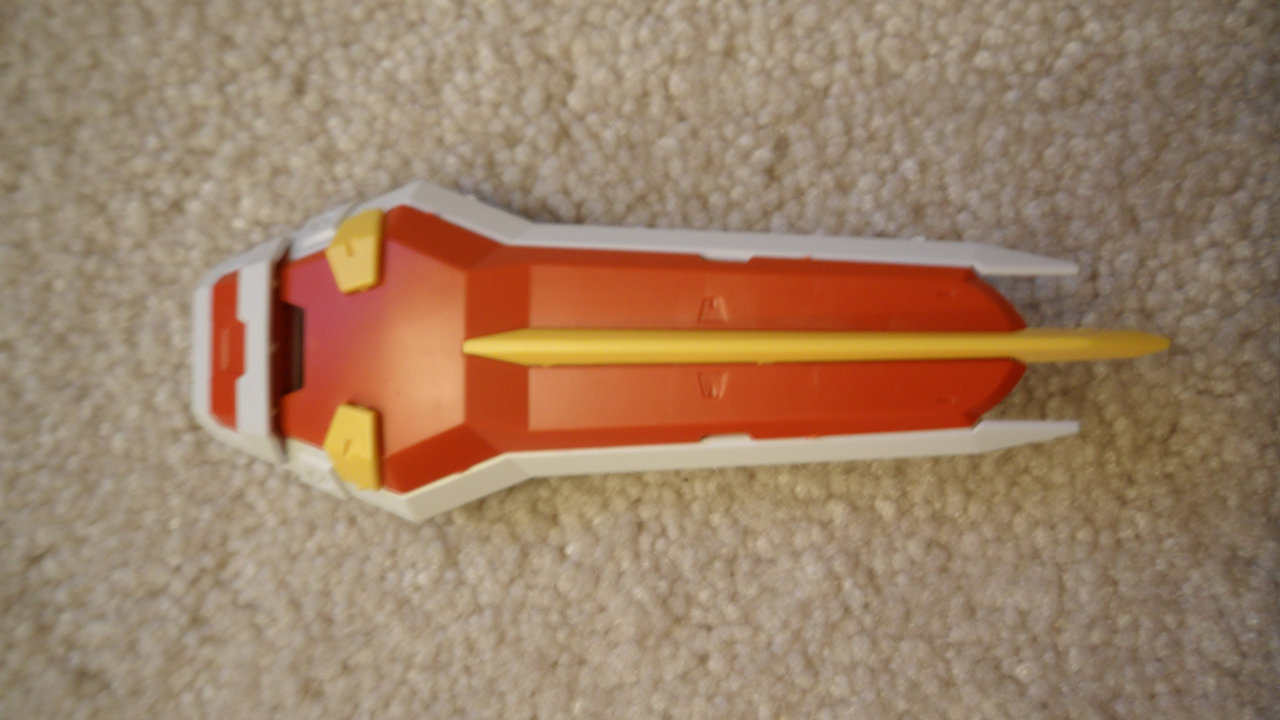
Next up is the white part. I have no idea what this is for. Aesthetic appear I guess.
This thing is kind of weak. Just two parts snapped together. Nice seam line on the base part. Not sure it will show up on the final product though. The other end doesn't appear to hold together well. Hopefully Bandai will make this part more interesting.
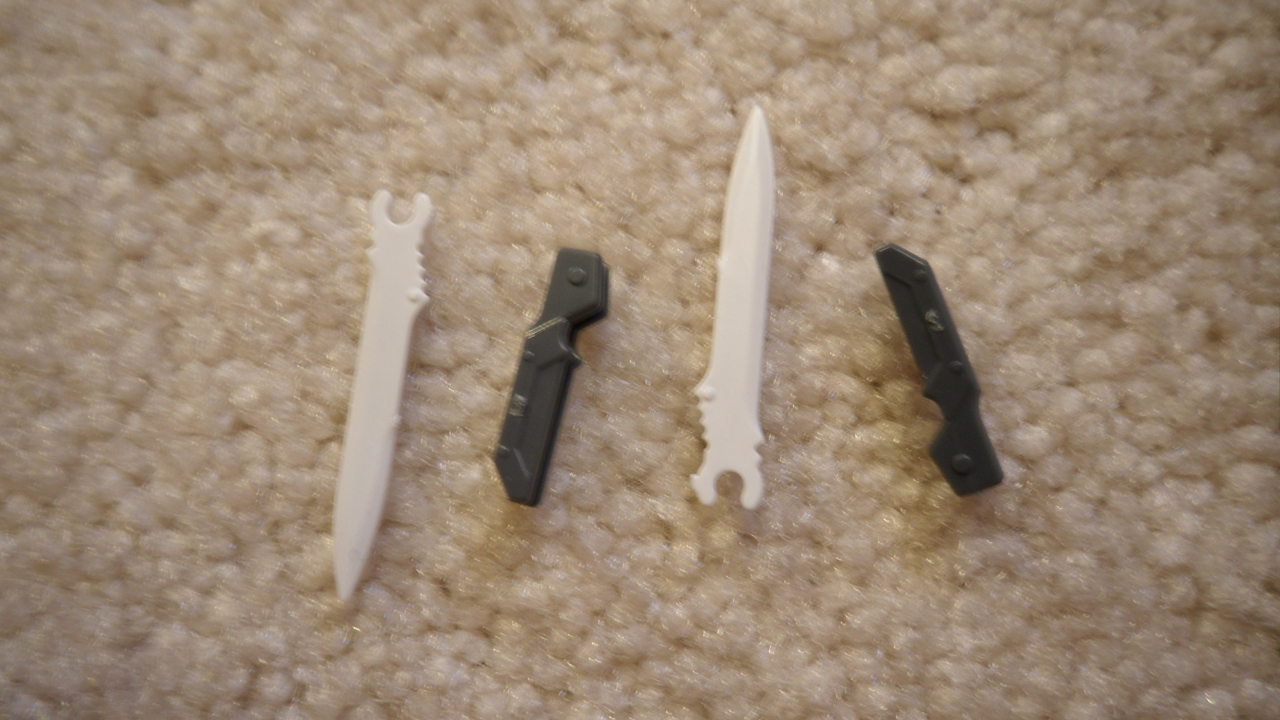
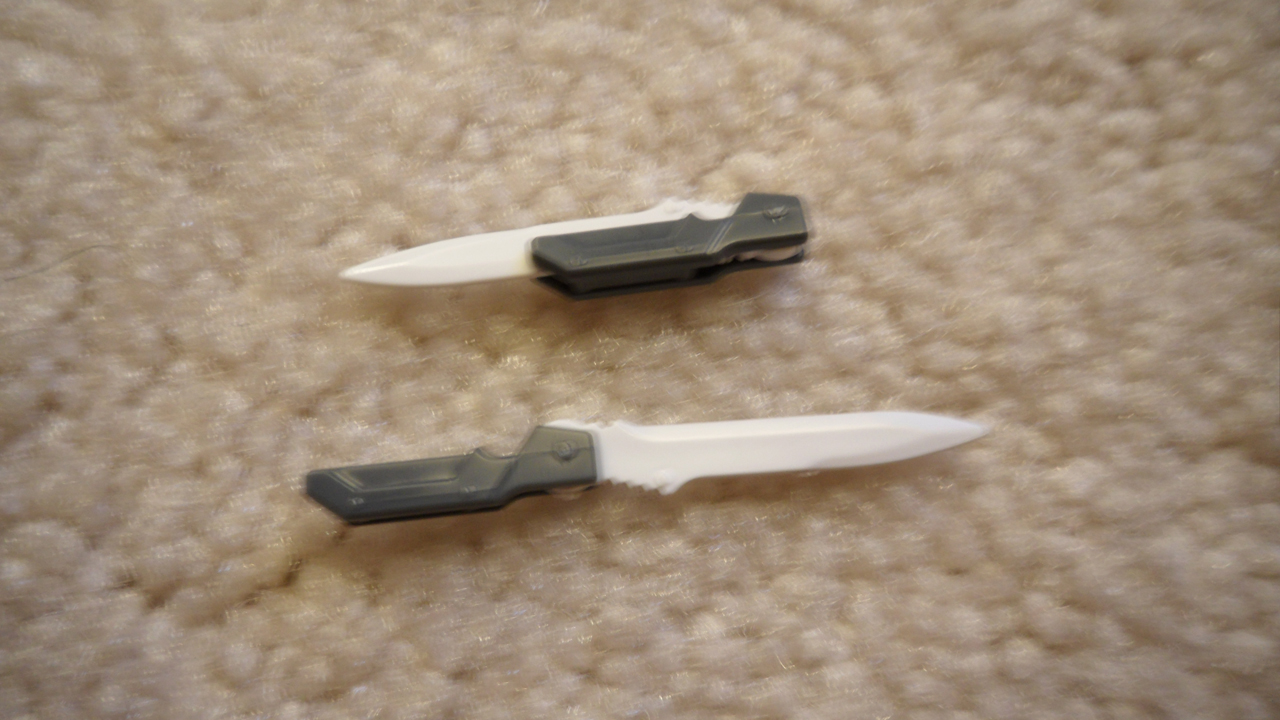
Next are the beam sabers.
Other than some flash, these parts are good.
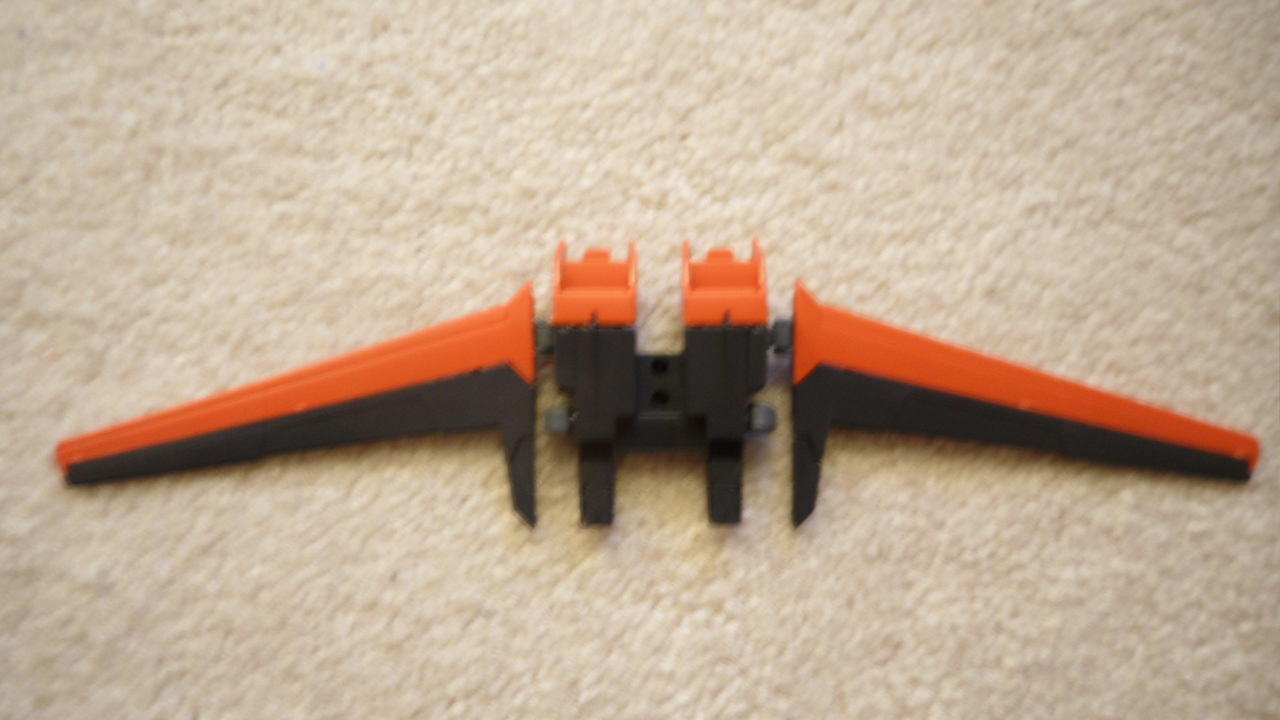
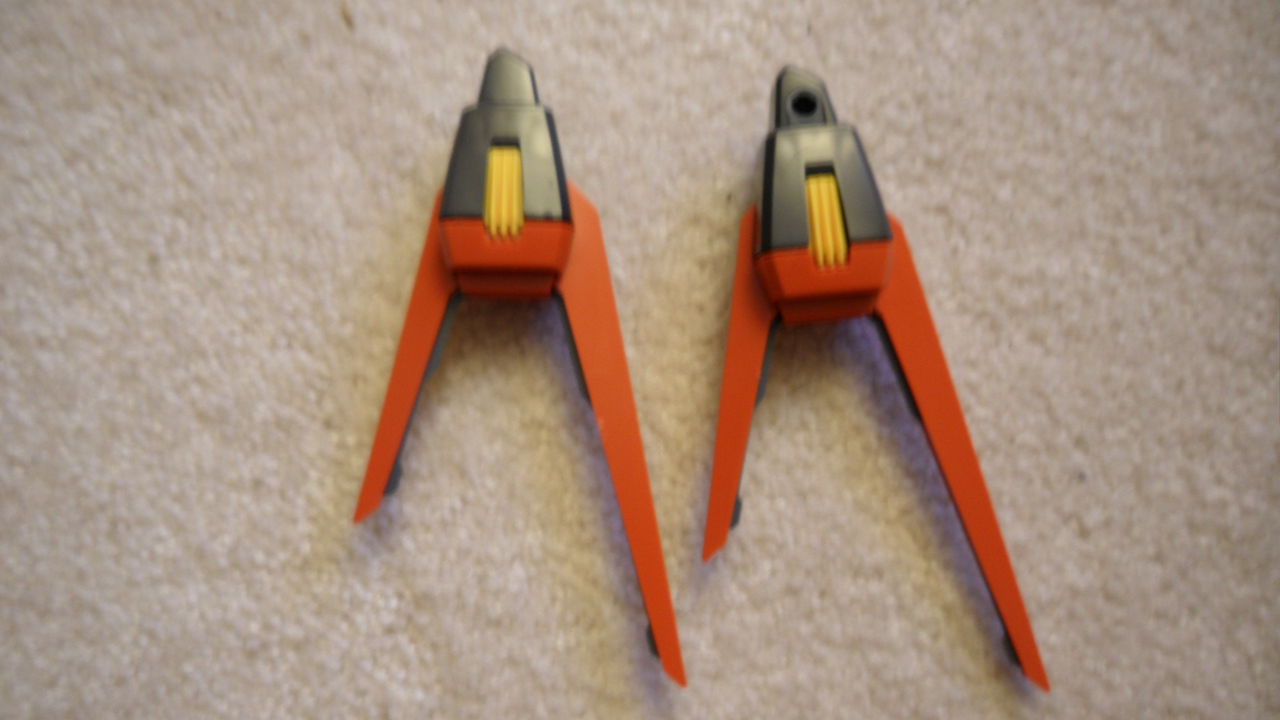
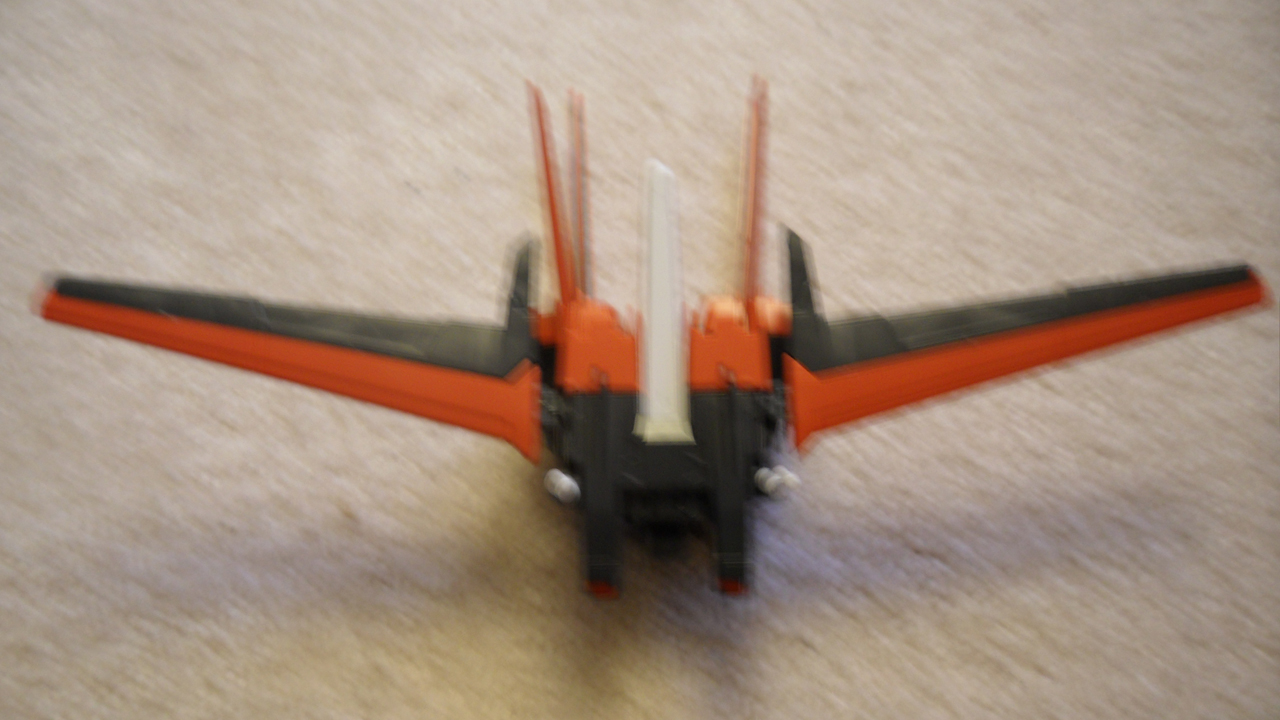
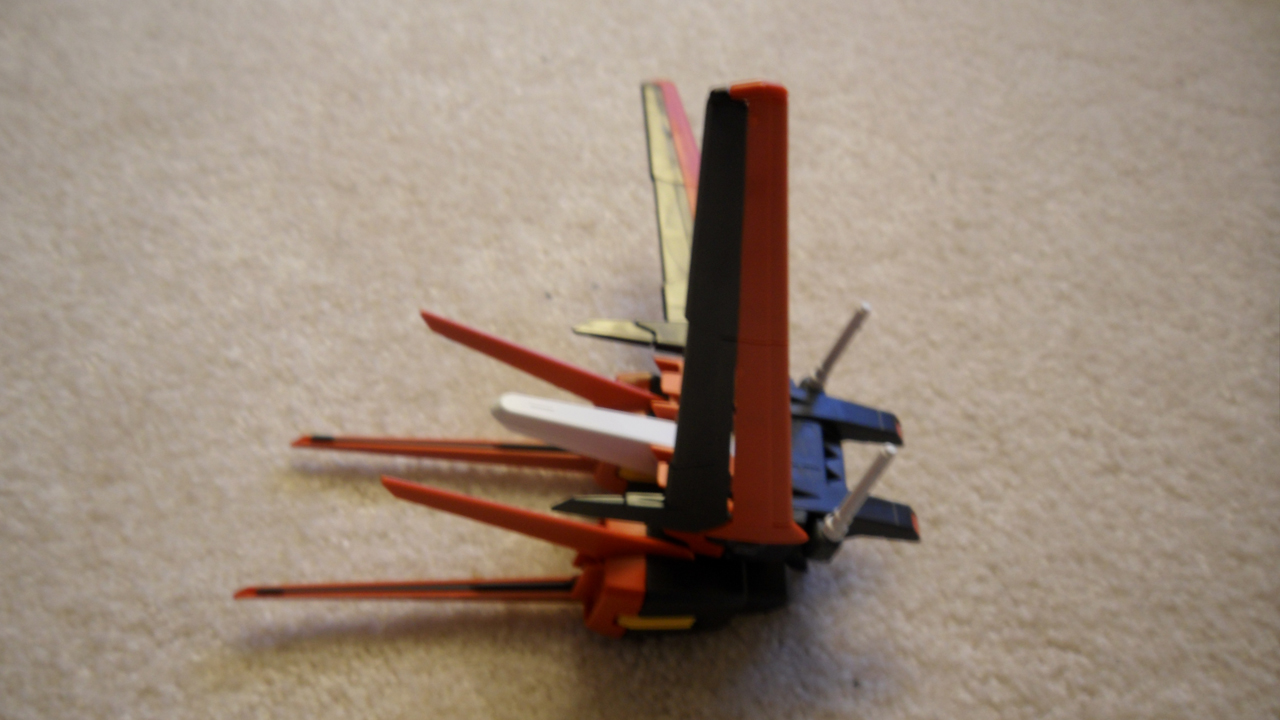
Time for final assembly.
This guy seems pretty sold. Looks pretty nice.
Next part will have the completed kit and my thoughts on the finished product. So until next time...
First up are the wings.
The parts that hold the beam sabers look kind of lame, but other than that, this looks good.
Next are the thrusters.
Once again I think this looks pretty good. I assume on the 2.0 the thrusters will be gray and the red part will snap on over it.
Next up is the white part. I have no idea what this is for. Aesthetic appear I guess.
This thing is kind of weak. Just two parts snapped together. Nice seam line on the base part. Not sure it will show up on the final product though. The other end doesn't appear to hold together well. Hopefully Bandai will make this part more interesting.
Next are the beam sabers.
Other than some flash, these parts are good.
Time for final assembly.
This guy seems pretty sold. Looks pretty nice.
Next part will have the completed kit and my thoughts on the finished product. So until next time...
Saturday, December 15, 2012
Kit Building - 1/100 MG Aile Strike (Part 4)
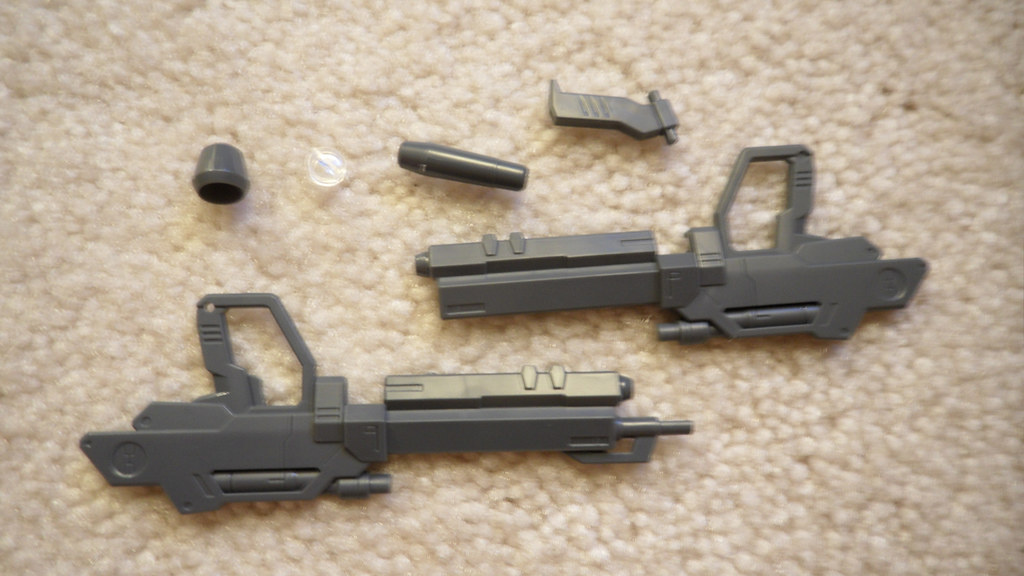
Time to build the accessories.
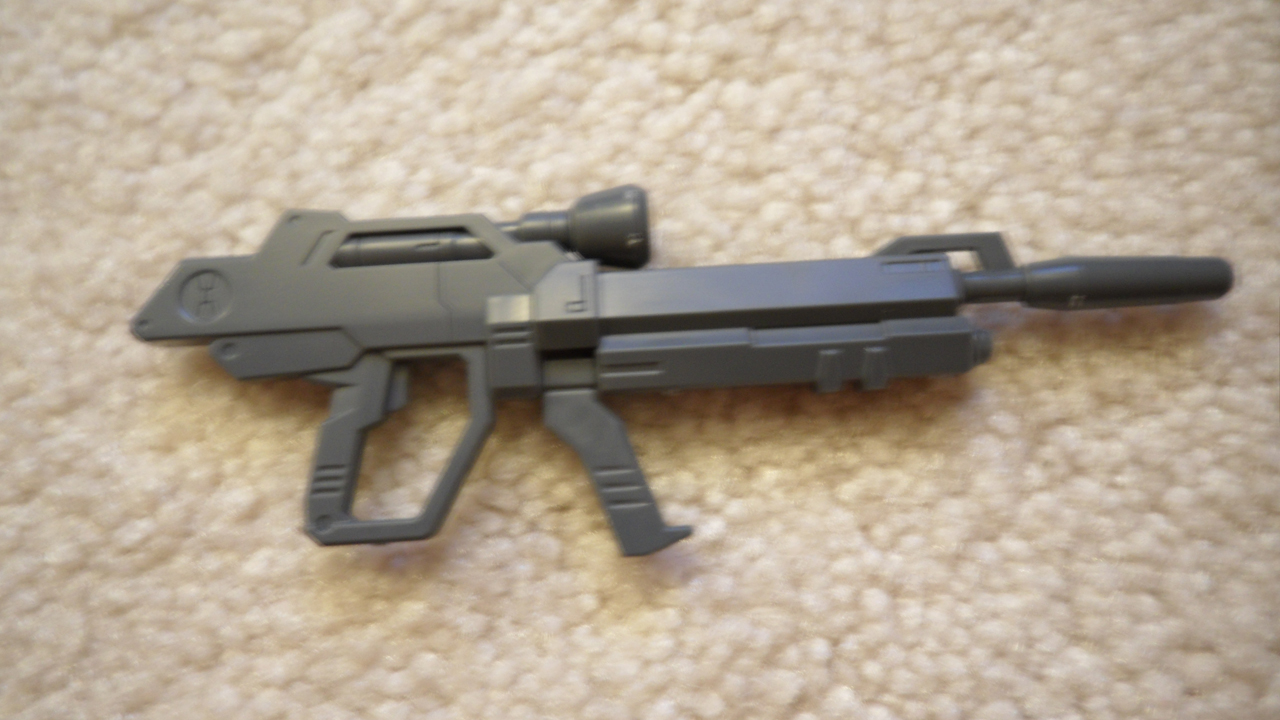
First up, the gun.
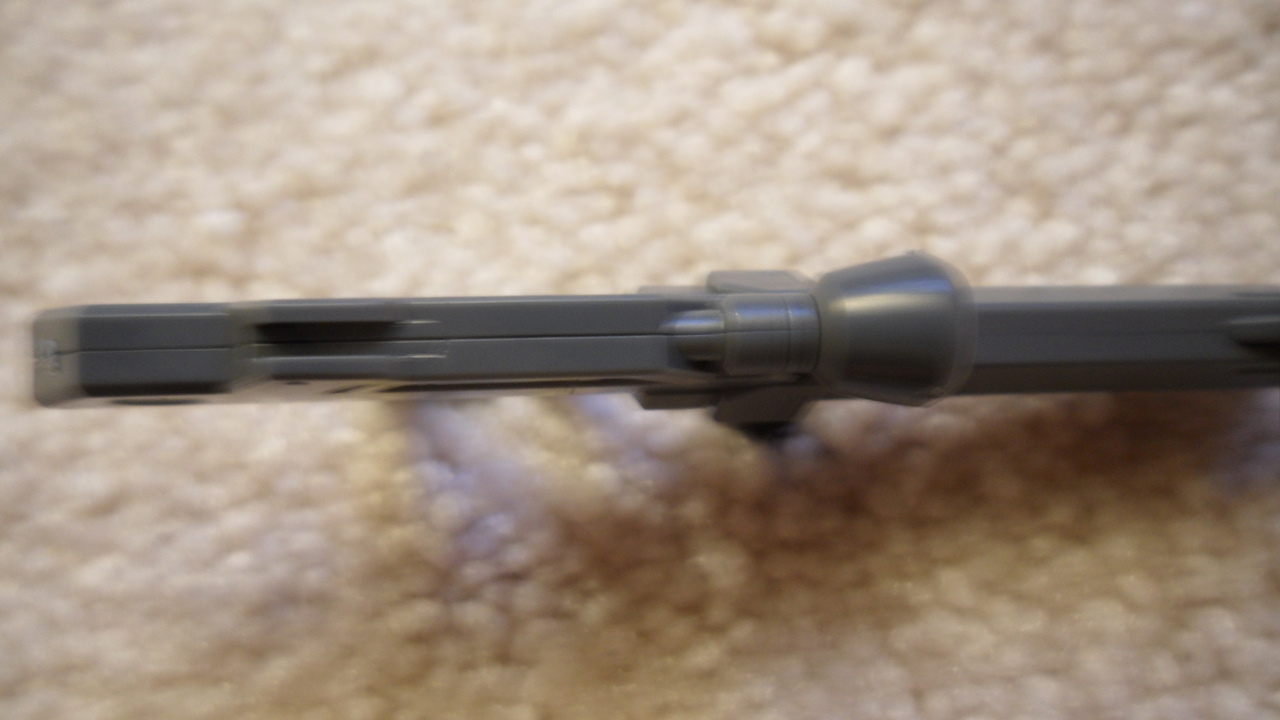
As with all beam rifles, there's a nice solid seam line all the way around. I don't expect this to change in the 2.0 version.
Next up the shield.
Much like the back of the skirt armor, the back of the shield is meh. And the handle is just lazy by Bandai. Having to re-peg it just doesn't cut it for me. The SD has that! I really hope they improve this.
Last of the accessories are the Armor Schneider Combat Knives.
Never seen anyone actually pose their kit with these so whatever. Don't really care what Bandai does with these.
Next part will cover the Aile pack.
First up, the gun.
As with all beam rifles, there's a nice solid seam line all the way around. I don't expect this to change in the 2.0 version.
Next up the shield.
Much like the back of the skirt armor, the back of the shield is meh. And the handle is just lazy by Bandai. Having to re-peg it just doesn't cut it for me. The SD has that! I really hope they improve this.
Last of the accessories are the Armor Schneider Combat Knives.
Never seen anyone actually pose their kit with these so whatever. Don't really care what Bandai does with these.
Next part will cover the Aile pack.
Thursday, December 13, 2012
Kit Building - 1/100 MG Aile Strike (Part 3)
Continuing the build...
Next step is the waist.
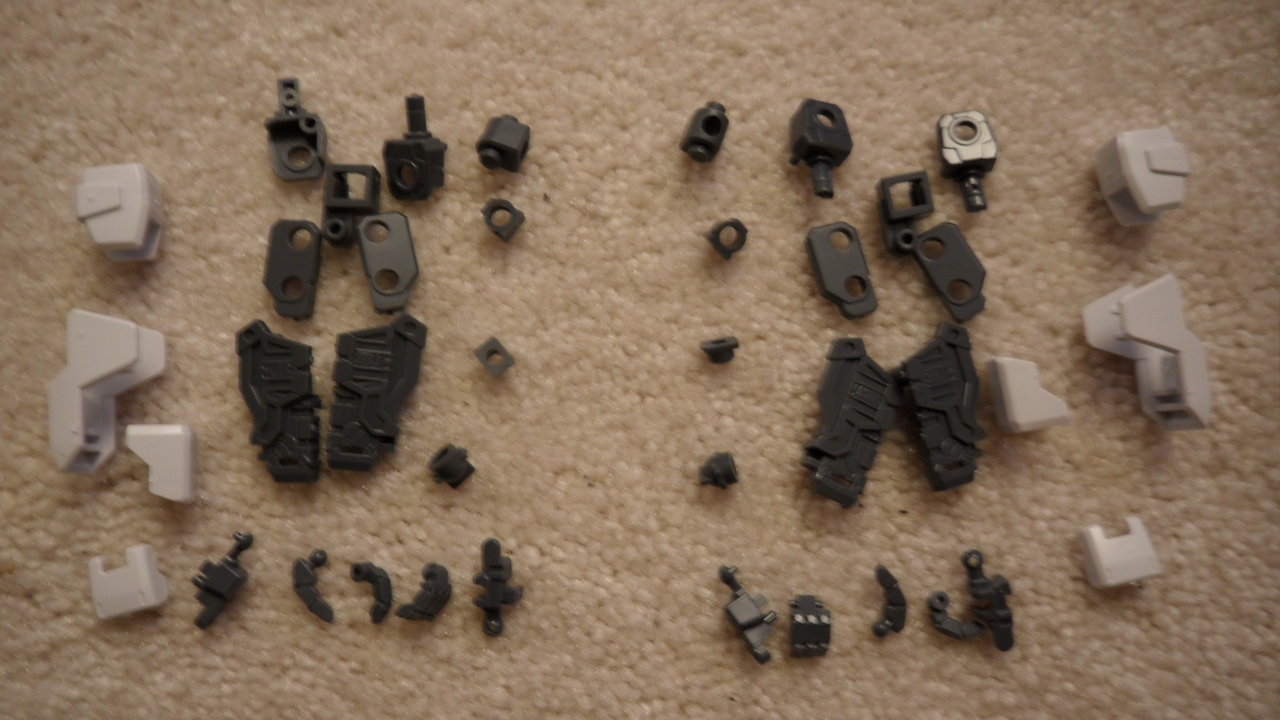
This part I expect some major changes. The pegs to the legs are stationary. Seems unlikely that will still be the case. Other thing I really don't like the hollow skirt armor. There is detail on the other side, but they don't look good to me. I expect that they will add backing to these parts in the 2.0.
Next is the right leg...
Then the left leg...
For the most part I think the legs are good. Little seam line issue on the back of the legs, just below the knee. Hopefully they do something about it in the 2.0, but even if they don't it isn't a big deal.
Time to attach the legs and the side skirts.
I'm sure it was intentional, but the backing of the side skirts are hollow. I'm not a fan of this, but I guess that's how it's suppose to be.
Time to attach it to the upper body.
Wednesday, December 12, 2012
Kit Building - 1/100 MG Aile Strike (Part 2)
Continuing the build...
Next step is the shoulder.
Pretty simple construction. I don't expect any changes here. Next are the arms.
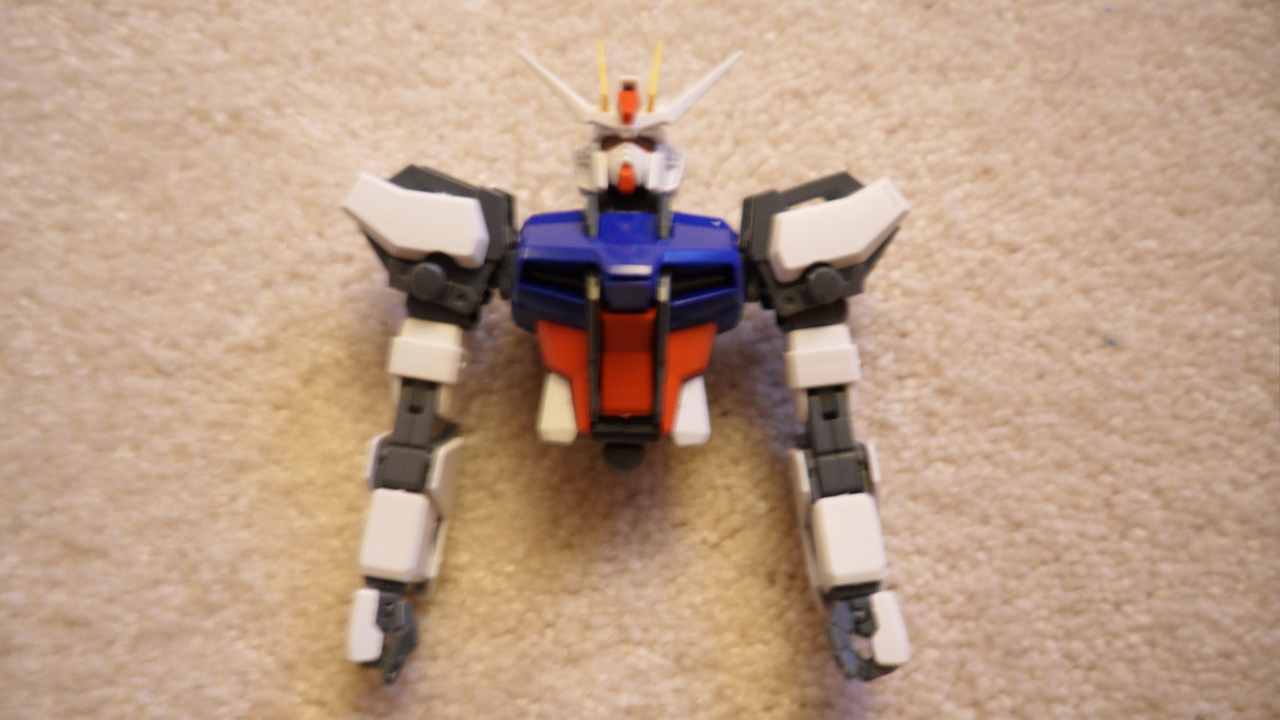
Arms look ok to me. I assume the hands will be fix posed, but other than that, I don't know what else they would change.
Next step is some assembly of the parts that have been built thus far.
Kit is looking pretty solid so far.
So until next time...
Next step is the shoulder.
Pretty simple construction. I don't expect any changes here. Next are the arms.
Arms look ok to me. I assume the hands will be fix posed, but other than that, I don't know what else they would change.
Next step is some assembly of the parts that have been built thus far.
Kit is looking pretty solid so far.
So until next time...
Tuesday, December 11, 2012
Kit Building - 1/100 MG Aile Strike (Part 1)
Feeling the need to snap a kit together. Went to the backlog and pulled out the 1/100 MG Aile Strike. With the announcement of the 2.0 version, I wanted to see why a new version is needed. I mean the kit is only 10 years old. So in this build I will be pointing out things that I think will be different in the 2.0 and areas that I feel should be improved.
First up is the cockpit.
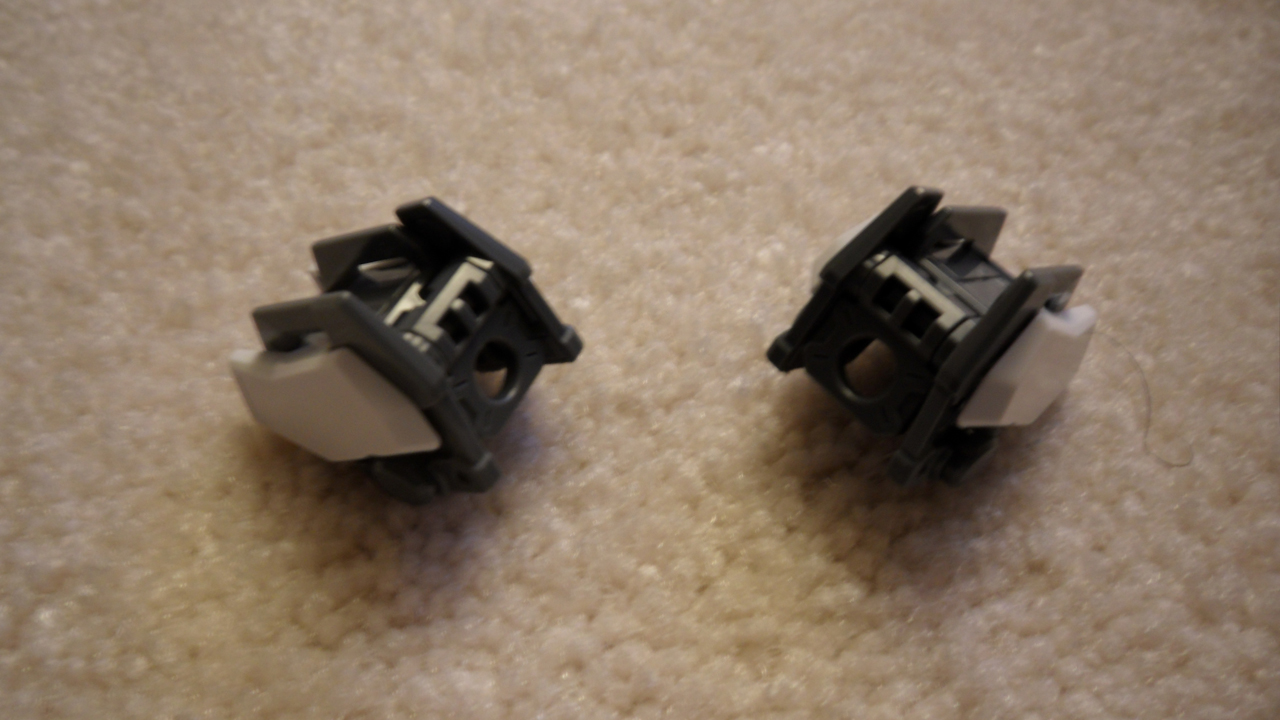
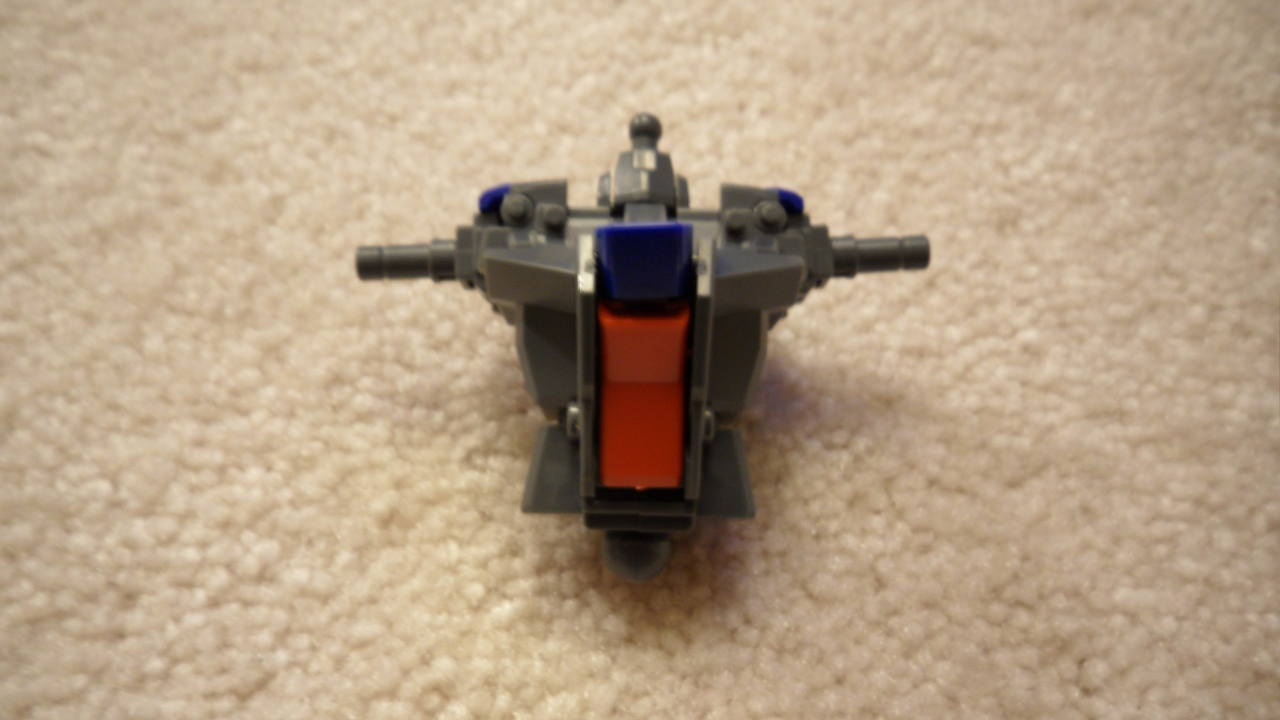
So the one thing I noticed here is difference in waist articulation. There's just a ball joint that I assume that plugs into the waist. I expect that they'll add some articulation just below the chest armor like so many of the newer kits.
Moving on, the rest of the chest.
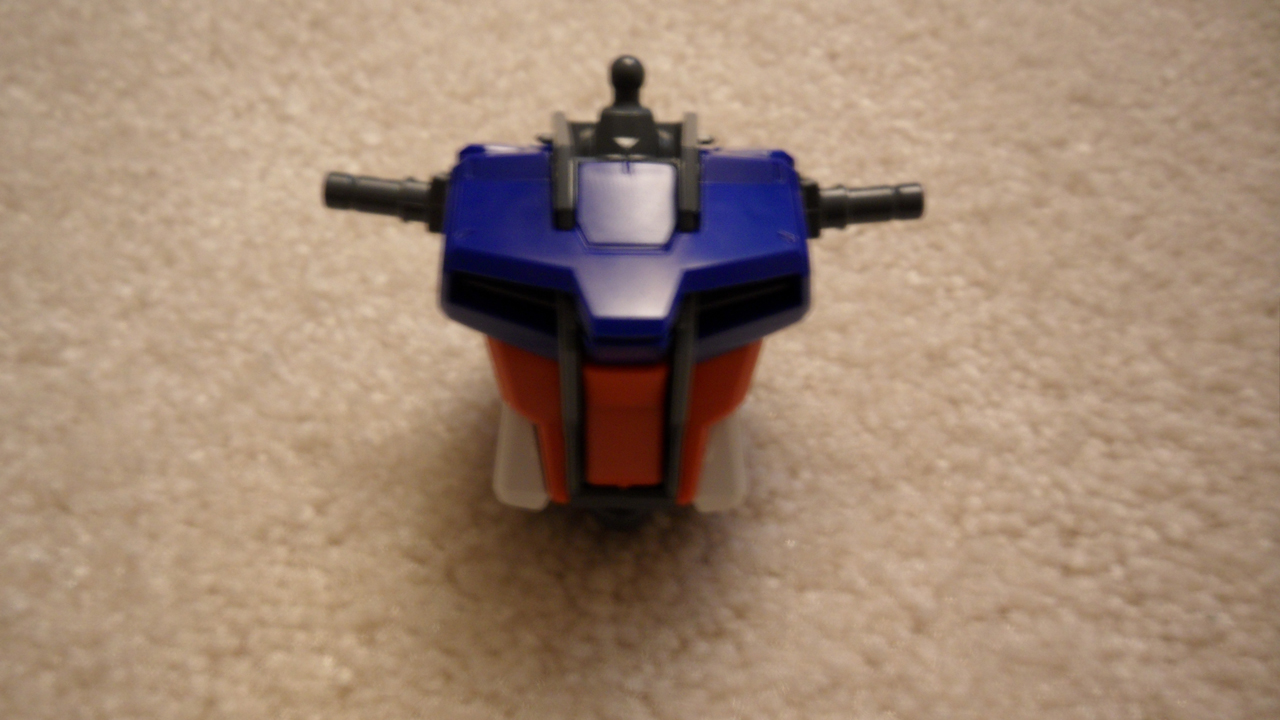
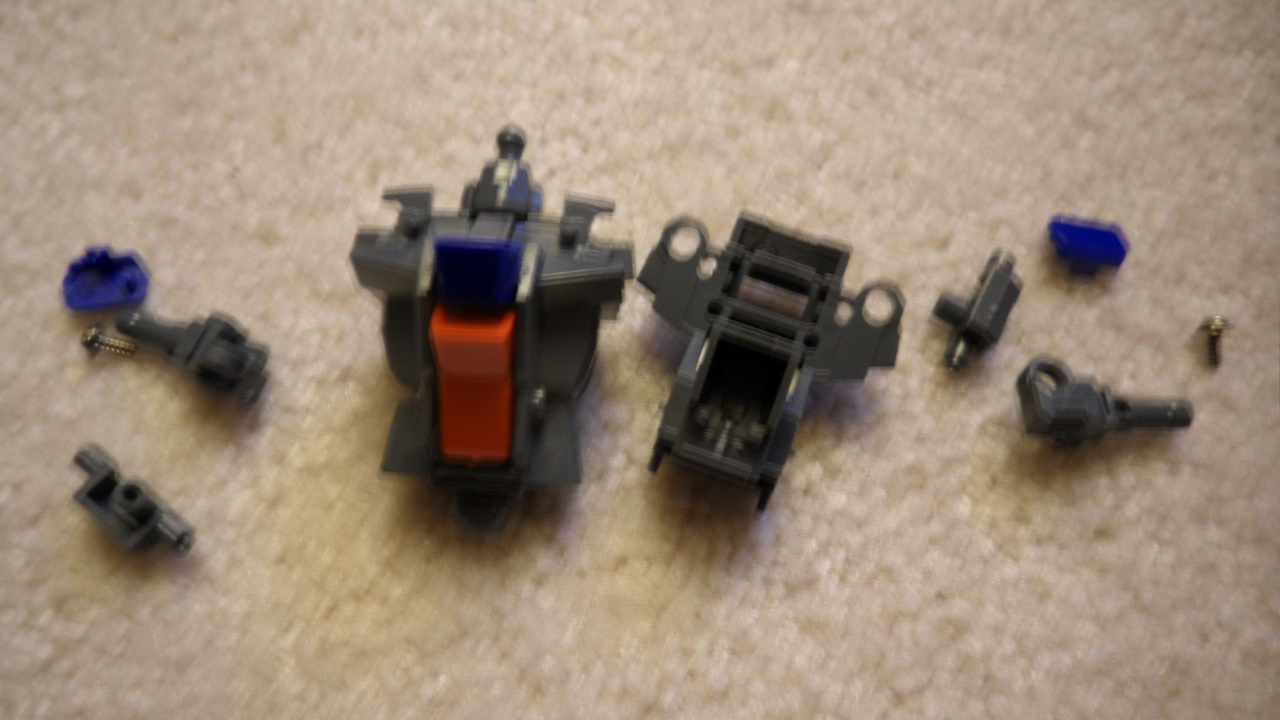
So the picture is a little blurry, but there are screws that go into the arm joints. I can't imagine that will be the case in the 2.0. Not even sure why they are even needed. Arms aren't that big and neither are the weapons. I'm guessing that this joint will fixed so that it can slide out.
Armor parts for the chest look good. I assume there's going to be some minor changes here to allow for some changes in the inner frame.
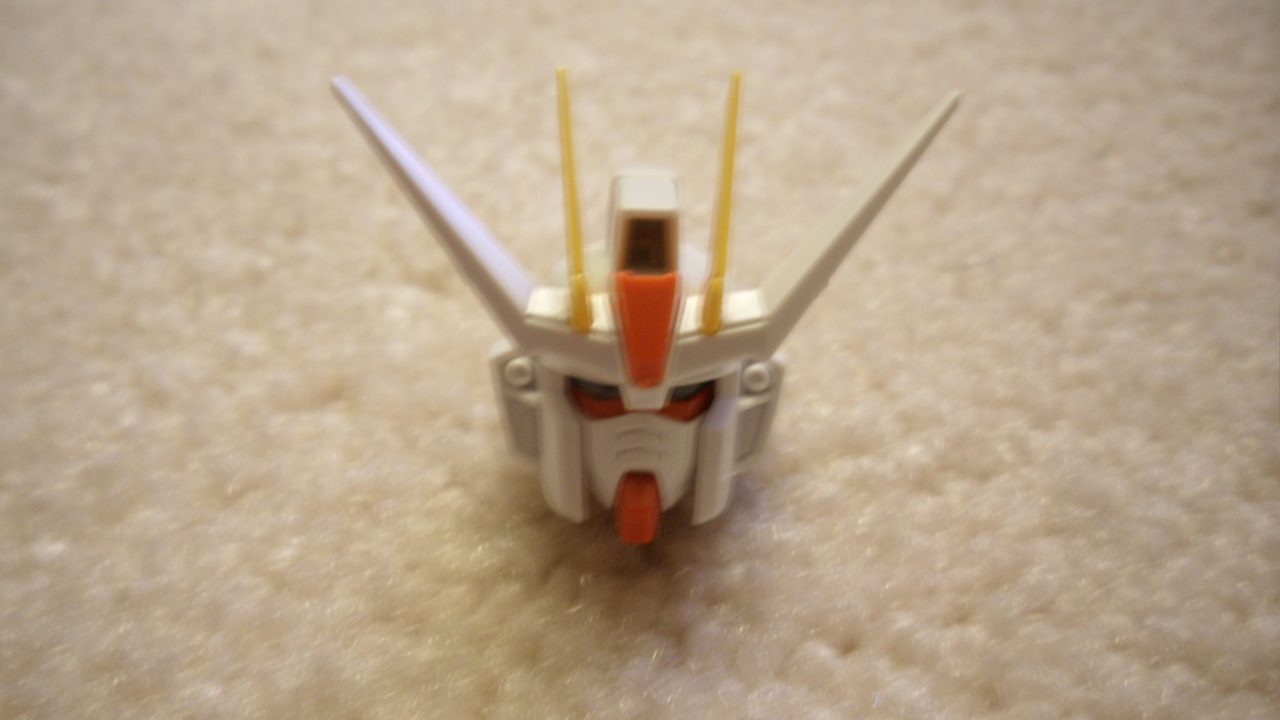
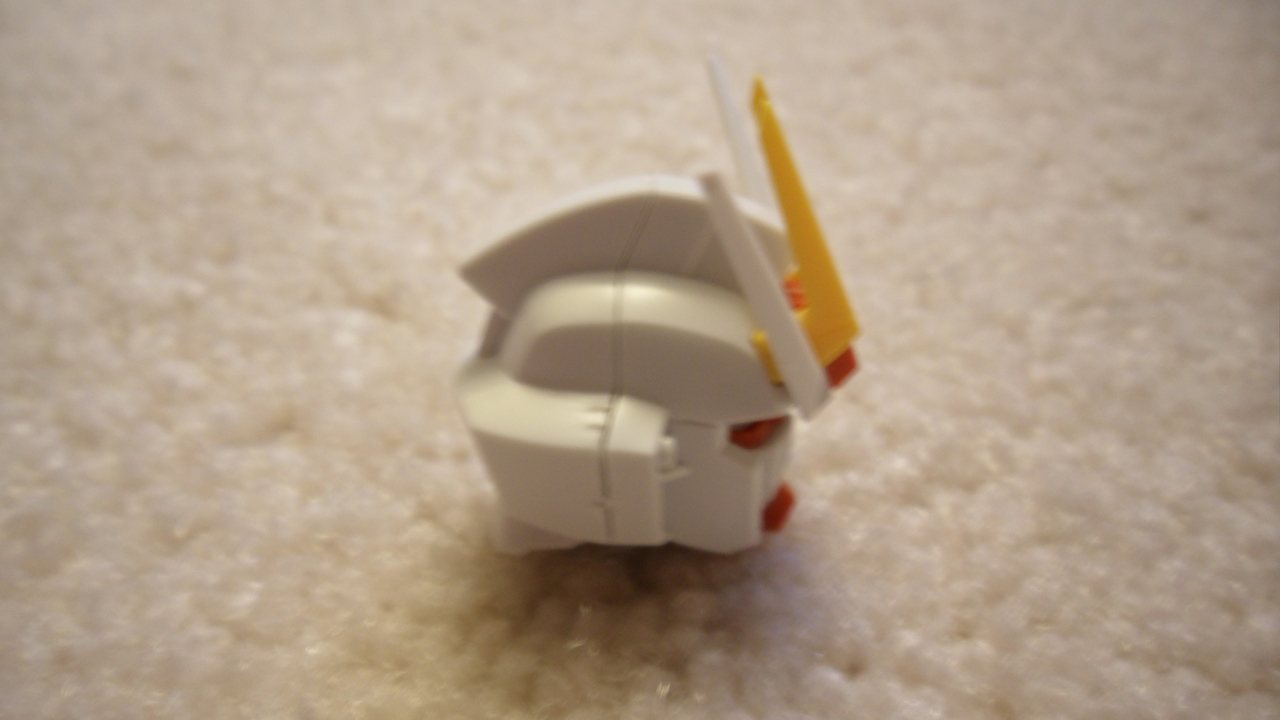
Up next is the head.
From the front the head looks good. But from the side, you can see a pretty nasty seam line. I suspect they'll redesign this, but I'm sure there will still be a seam line. Would be nice if this guy could have an LED, but that may be a bit of a reach.
Until the next part...
Sunday, October 14, 2012
Completed! - 1/100 MG Marasai
Here is my 1/100 MG Marasai.
Thoughts on the kit...
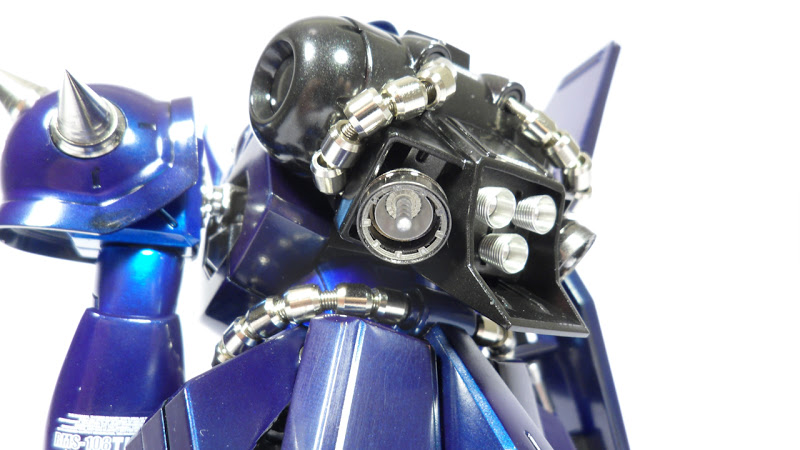
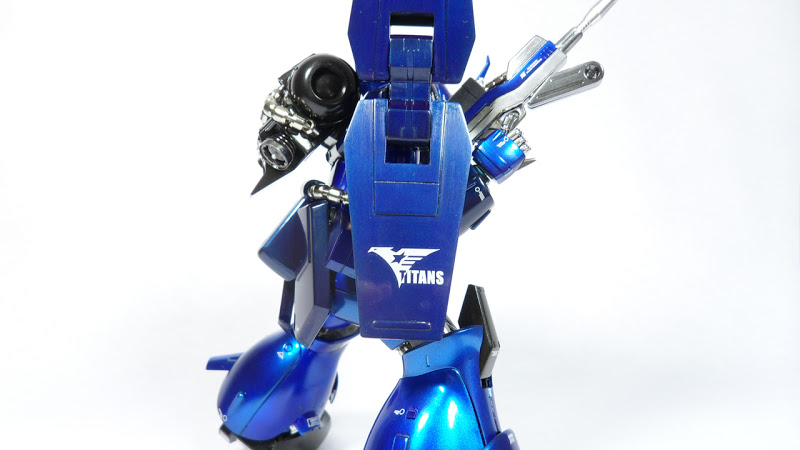
This kit is pretty solid. There's only 1 seam line to remove and that's on the gun. Everything seems to hold together pretty well. I only have a few complaints. To start, the shield connection to the shoulder is a little loose. The leg armor doesn't stay closed. Needed some glue to hold them together. Other than that, I'm really happy with the purchase. I've got to say I really recommend this kit.
Thoughts on my work...
I fairly pleased with my work on this one. Conceptually, I had planned on doing lighter blues. I wanted the lighter blue to actually be the dark blue. However, I couldn't get a really light blue consistently so I went with these colors. I also decided to go with metal option parts. Probably wont be doing that any more. The cables are such a pain to work with. Got super glue everywhere. But, for the most part everything turned out nicely. As for what I'm not happy about, I had some painting issues. Moisture was getting in my airbrush while painting some of the light blue. Normally, I paint with enamels so this isn't a real issue. But to do the blue I was using acrylic paint so this was not good. Blue pooled up a bit in a few places. One of the knees is in pretty bad shape. Not sure what the deal is but the paint is starting to look pretty weird. It has some texture and is discolored. Tried out dry transfer decals for the first time. They were hit and miss. It's really hard to line them up and sometimes they transfer with out rubbing them. I think I may be using more of these in the future as they look pretty nice when done correctly.
Overall I I'm really happy with this one. Tried a lot of new things. I think the gloss and shine really makes this kit stand out. Doesn't look like basic grunt suit any more. I think this is best kit to date. And I'm not the only one that thinks it's pretty nice.
Thoughts on the kit...
This kit is pretty solid. There's only 1 seam line to remove and that's on the gun. Everything seems to hold together pretty well. I only have a few complaints. To start, the shield connection to the shoulder is a little loose. The leg armor doesn't stay closed. Needed some glue to hold them together. Other than that, I'm really happy with the purchase. I've got to say I really recommend this kit.
Thoughts on my work...
I fairly pleased with my work on this one. Conceptually, I had planned on doing lighter blues. I wanted the lighter blue to actually be the dark blue. However, I couldn't get a really light blue consistently so I went with these colors. I also decided to go with metal option parts. Probably wont be doing that any more. The cables are such a pain to work with. Got super glue everywhere. But, for the most part everything turned out nicely. As for what I'm not happy about, I had some painting issues. Moisture was getting in my airbrush while painting some of the light blue. Normally, I paint with enamels so this isn't a real issue. But to do the blue I was using acrylic paint so this was not good. Blue pooled up a bit in a few places. One of the knees is in pretty bad shape. Not sure what the deal is but the paint is starting to look pretty weird. It has some texture and is discolored. Tried out dry transfer decals for the first time. They were hit and miss. It's really hard to line them up and sometimes they transfer with out rubbing them. I think I may be using more of these in the future as they look pretty nice when done correctly.
Overall I I'm really happy with this one. Tried a lot of new things. I think the gloss and shine really makes this kit stand out. Doesn't look like basic grunt suit any more. I think this is best kit to date. And I'm not the only one that thinks it's pretty nice.
Subscribe to:
Posts (Atom)