
Before getting started, you need to decide what type of camo you want. If you do some research, you'll find out there are different camo designs for different situations.
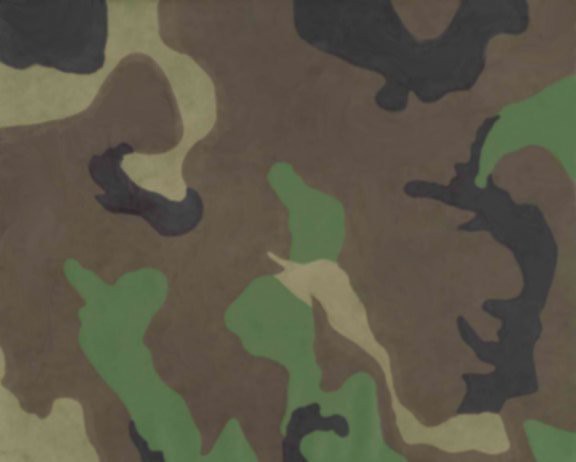
Many are familiar with your standard (green, tan, brown, black) camo.
If you want an urban camo, that's really just a color swap.

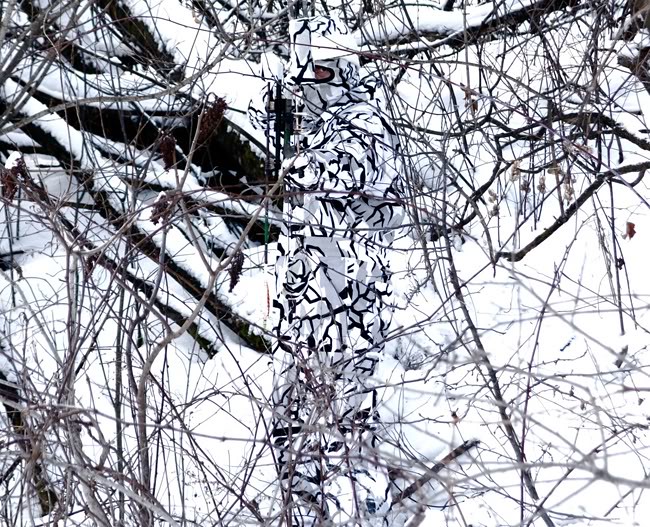
But if you want a winter camo, you also need to change the shapes. Why is that? It's because of the scenery. With no leaves on trees, the dark areas need to be long and thing so that they look like branches.
Making Stencils...
Once you've decided on your scheme it's time to make the stencils. Here is how I make stencils.
1) Gather supplies. You'll need masking tape, wax paper, a hobby knife, and a pen.

2) Layout strips of masking tape on the wax paper. Note that you'll want the width of the masking tape to be wider than the shapes you are going to be making. Since 1/144 and 1/100 Gundams are fairly small, it should be easy to find appropriately sized masking tape. If you are planning to do a lot of camo, you can put the masking tape on both sides of the wax paper. This will result in twice as many stencils.
One Sided

Two Sided

3) Draw you shapes on the masking tape you laid out. Be sure to leave some space between each shape. You'll see why in Step 5. If you're afraid you can't draw good shapes on your own, continue to the next step. If not, skip to Step 5.
4) For this step you will require a pencil. Go online and find the shapes you're looking for. You probably have some reference images after doing Step 1. Print these images on the basic white printer paper.

Once printed, flip the paper over. Grab your pencil and rub it on the back of the paper. What you're doing is building up the graphite so that it can be transferred to the masking tape.

With that done, flip the paper over and lay it on top of the masking tape. Hold the paper very steady, trace around each of the shapes. Remember to leave a little space between each shape. Where you press down will cause the graphite on the other side to transfer to the masking tape. Once done, remove the paper. You should see your design on the tape.

At this point I like to go over it with a pen. I find that I tend to smear graphite while I'm cutting out the stencils.

5) Grab your hobby knife and start cutting out the shapes. Since you left some space between shapes, you'll now have male and female stencils and twice and many stencils! And if you double sided the wax paper, you have four times the stencils!

Now you're ready to break out the paint. Enjoy!
Very impressive and informative thanks for the great post.
ReplyDeleteCamo Stencils