Tuesday, January 29, 2013

Completed! - 1/100 RX-93-v2 Hi-v E-V-O

Finally finished the Hi-v E.V.O. Here it is!


Ran out of photo space here and there's no way to pull from flickr, so here's a sample. Rest of the picks can be found here: Hi-nu E.V.O. Gallery.


Thoughts on the kit...
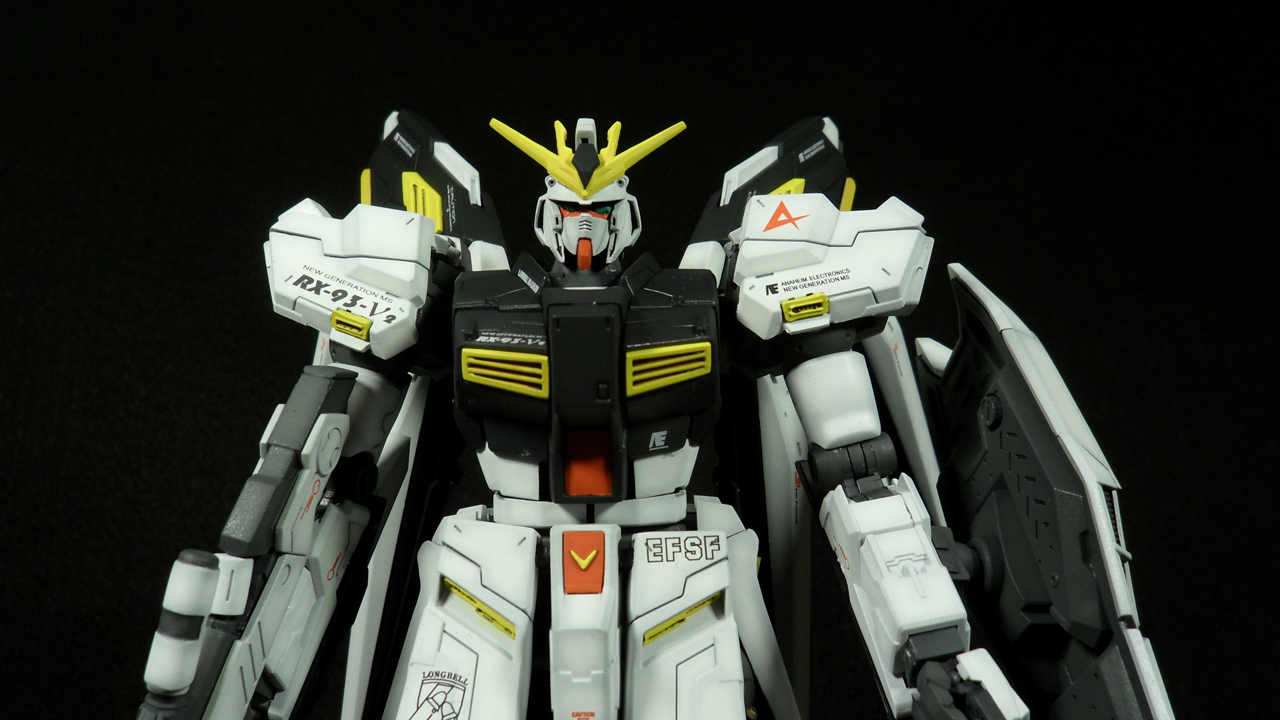
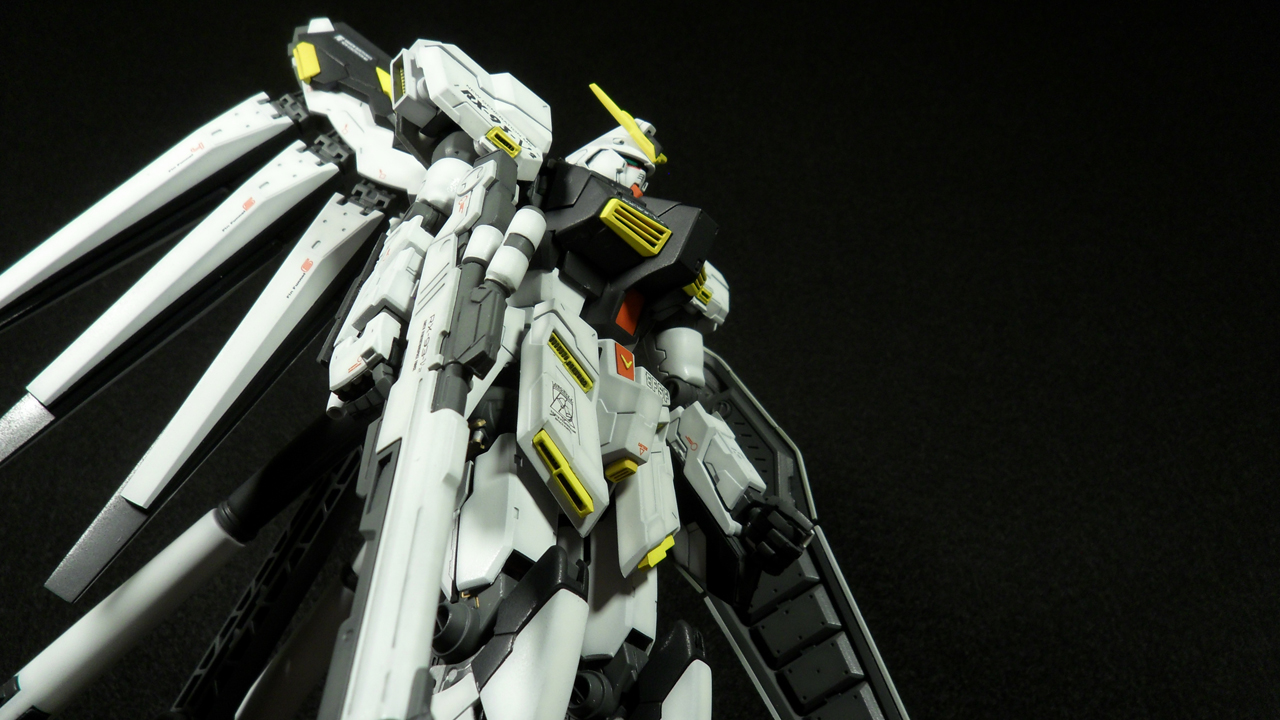
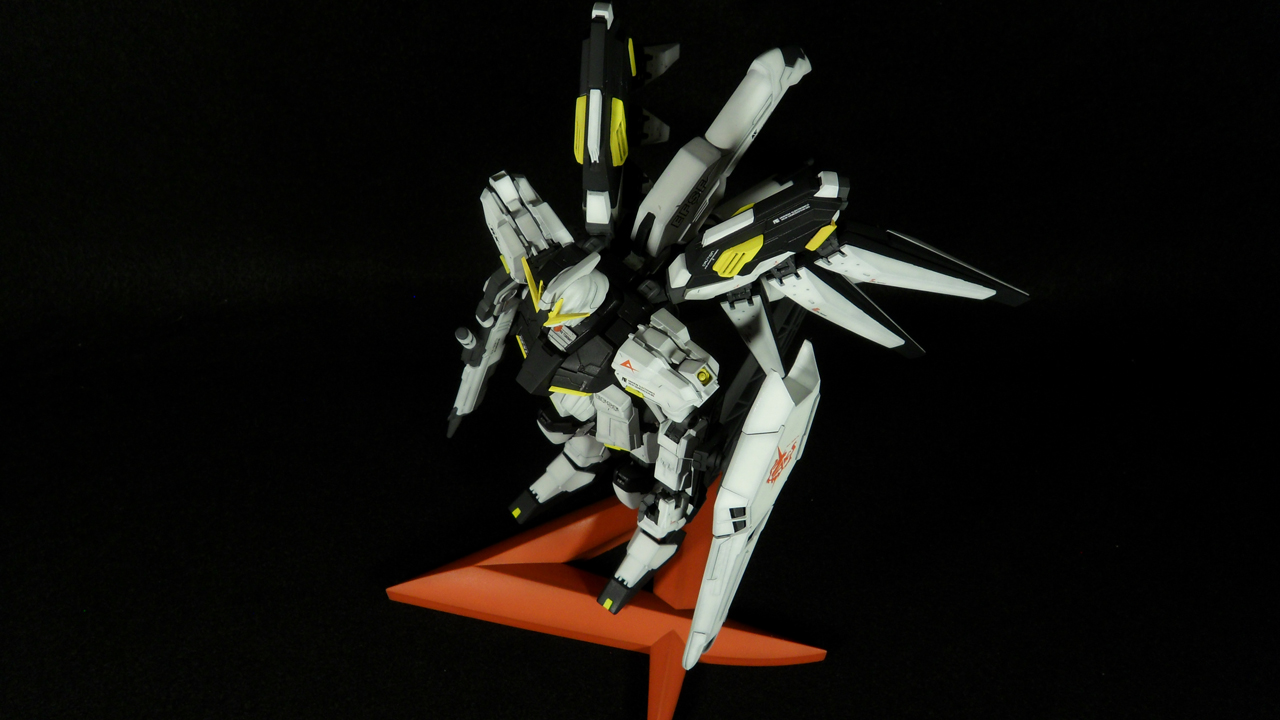
For a non Bandai kit, I was pretty happy with what I got. I really like the look of the kit. The larger size and added detail really make this kit look amazing. There were a few seam line issues to deal with, but other than that everything fit well and the kit feels pretty solid. The base for the stand is pretty good. The rest of the stand, not so much. So many dimples in the plastic. That was a bummer. But I think if your only real complaint is the stand, the kit is really good.

Thoughts on my work...
I fairly pleased with my work. The two things that really stand out to me is the dust and the scratches. I have no idea how so much dust got on this kit. I tried really hard to prevent it, but half way through I just stopped caring. Once the parts are washed for painting, they are always covered unless I'm painting. I just cleaned the room and covered it in plastic. I don't know what happened, but this guy is a magnet for dust. As for the chipping, that was my fault. I just got carried away building it. I mean I put so much time painting and detailing that I couldn't wait to see it together. So when parts were a little snug, instead of trying to find what the problem was, I went with brute force. It got the job done and there wasn't anything too bad, but there are a few spots that I have noticed.

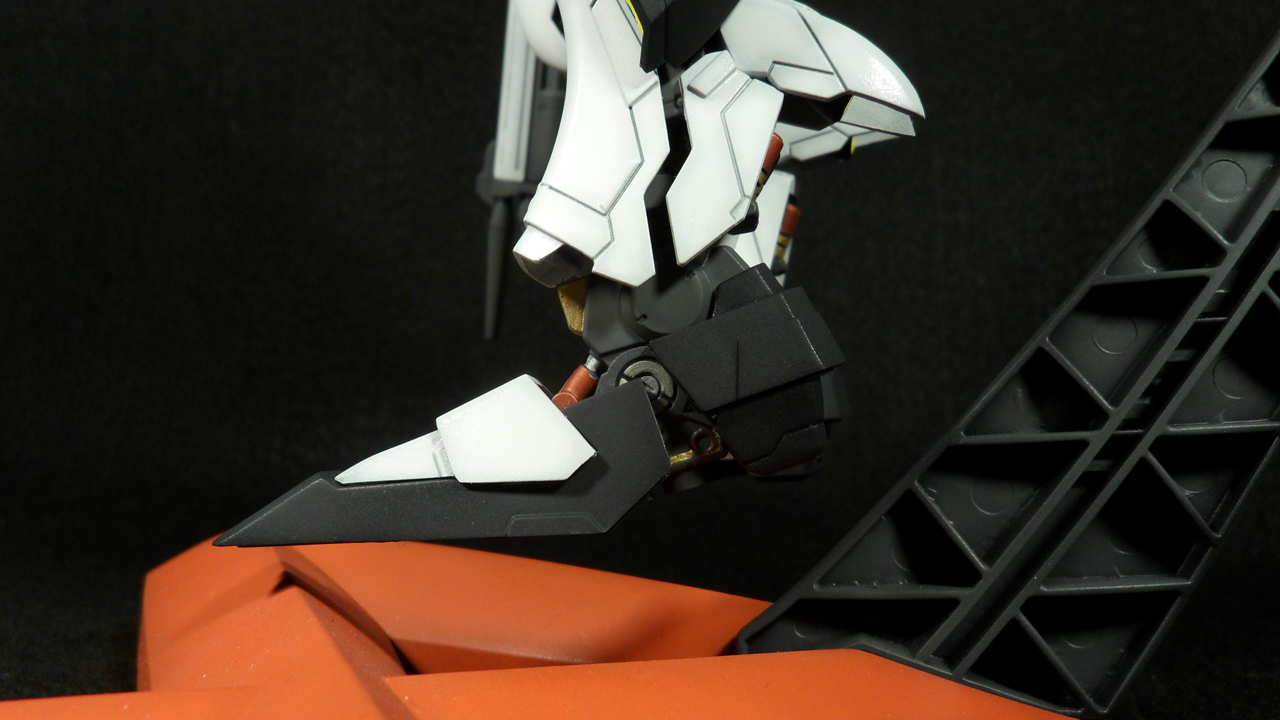
I also tried detailing the inner frame on the kit. Well really just the legs. It's the only frame parts that are exposed. It was actually kind of fun. I didn't really want to do it, but so much of the leg armor was exposed, I felt I had too. I was really nervous when I started. Would look at photos over and over to make sure I was getting the right spots. But after a while I stopped looking at the boxes and just did whatever I thought would look good. I will definitely be doing this again for kits with exposed frames.

In the end I'm happy with this kit. Tried detailing for the first time and found out it's something I really like. Had some issues with dust and scratches, but I don't think it's anything too major. I don't think this kit is better than my Marasai, but it might be my second best kit. If you have the resources to build tis kit, I highly recommend it.

Monday, January 28, 2013

Weekly WIP - 1/100 Nightingale (Part 2)

Sorry for the lack of updates. I have been building, but I've just been too busy to post. Here's how the Nightingale build has been going


PS - The Hi-nu is done. Expect a post tomorrow!

Wednesday, January 9, 2013

What's in the box - 1/35 Citroën Traction 11CV Staff Car

Received this kit as part of a gift exchange at my local modeling club. I'd like to tell you something about the kit or the vehicle, but I don't know anything about either. So this will quite the learning experience.

First up, the box. It's about the size of an HG. Nice artwork. Not many images of the actual kit though.


So what's in the box? Few bags of parts, some instructions, stencils for masking of the clear parts, and some decals.


First up is the manual. It's all black and white. Personally, I'm not a fan of that. Instructions are in a few different languages which is nice. I really only need the English parts, but it's nice that the other languages are there. Really nice to have it for the sections that discuss the story of the car. That section is highlighted in the images below. The painting guide is pretty simple. Nice that the company that makes the kit also has a line of paint.


Next up a is a separate paper labeled "Tech Tips." What's on this page is a set of stencils for the masking of all of the windows. Pretty cool idea, but I don't know if they are necessary or not.


Next are the decals. They look pretty nice. Hopefully they work as good as they look.


Lastly are the parts of the kit. They look pretty nice. Looks nicer than the Camero kit I've been working on. I'm interested in seeing how this kit goes together.


Well that's all. After the holidays I'll probably start snapping this guy together. So until then...

Tuesday, January 8, 2013

Weekly WIP - 1/100 Nightingale (Part 1)

Doing something very different here. This build is going to all be on recorded and put on my youtube channel. That being said, here's the first set of videos. Hope you enjoy!


Tuesday, January 1, 2013

Kit Building - 1/144 Fire Valkyrie (Part 3)

So with the individual builds done, what do they look like together?


Knowing this was an old kit, I didn't expect much out of it. For the most part, I got what I expected. Seam lines everywhere, poor color separation, bad numb marks, and limited articulation. Was a little surprised that there was a clear canopy. Thought they might opt for a solid piece and a sticker. In the end, unless you need a practice kit and don't want another Gundam or you're a huge Macross fan, I can't recommend this kit.