Showing posts with label LEDs. Show all posts

Saturday, January 28, 2012

Tips and Tricks - Adding LEDs (Part 3: Building Circuits)

Circuit Design
So now that you have the tools, and you've selected the appropriate LEDs for your project, it's time to design a circuit. Your basic 1 LED circuit, will look like


That's all there is to it. A voltage source (aka battery), a resistor, and an LED. Now is where the math comes in. What you want to do is solve for the value of the resistor. The equation is:

R = (VS - VL)/I

where R is the value of the resistor, VS is the voltage source, VL is the voltage load from the diode, and I is the current. For example, lets assume you have 3V battery, and an LED which needs 2V and can handle a maximum current of 15 mA. The calculated resistor value is

R = (3 - 2)/0.015 = 66.667 ohms


Since that's not a standard resistor value, select the next highest value, 68 ohms. That's all there is to it. If that's all you need, you can head to the next section on soldering.

If you want a circuit with more LEDs, things get a little more complex. The math isn't really much more challenging, but you need to determine whether or not you want the LEDs in series or in parallel. LEDs connected in series are LEDs that have connected along a single path. LEDs connected in parallel are connected so the same voltage is applied to each component. Examples of each are shown below (series on the left, parallel on the right).


To make life simple, I recommend heading to the LED Wizard. This calculator does all the math for you. In addition, it gives you different design options. Now with a plan in place, it's time to hook everything together.

Soldering
Soldering is a process in which two or more metal items are joined together my melting a filler metal into the joint. It's a pretty simple process, but it takes some getting use to. It's a little hard to understand with just words, so check out the video below for how to do this.


Completed Circuits

Simple Circuit
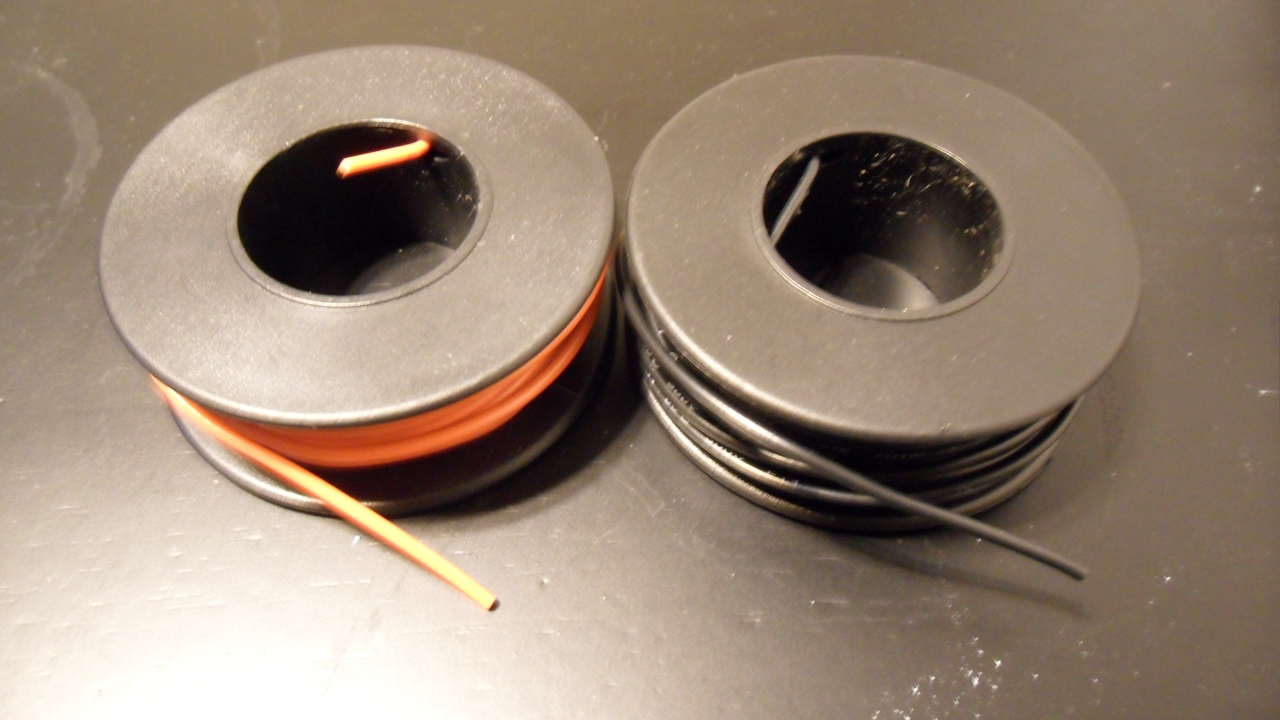
This is your basic one LED circuit. Below are images of the circuit design and the actual circuit. The red wire will connect to the positive end of the battery and the black wire will connect to the negative end.


Series Circuit
In the images below, you can see what a series circuit looks like. On the left is the design. On the right is the actual circuit. Just like the simple circuit, the red wire will connect to the positive end of the battery and the black wire will connect to the negative end.


Parallel Circuit
Below are images for a parallel circuit. Like before, on the left is the design and on the right is the actual circuit. The red wires are connected together and this combination will connect to the positive end of the battery. Similarly, the black wires are connected together and the combination will connect to the negative end.


Most likely, you will not want the battery to run at all times. The solution to this will be covered in Part 4: Switches.

Sunday, January 22, 2012

Weekly WIP - Full Armor 00XN Raiser (Part 3)

So I don't have much to show this week. I decided this week that if I have any chance of competing with guys like Matt Tomzcek, fl1pme1ster, and Matt Morzek in the resin category, I need to do more than just a conversion kit. Given that, I will be adding LEDs to this kit. Lots of them. Looking at 15-20 right now. Not sure I can get that many in there, but I'm going to try. Spent most of the week researching and ordering/acquiring parts. Have everything I need... except LEDs. They're ordered and on their way. In the mean time I got so lousy LEDs from RadioShack so that I can start fitting them. Not going as I expected. Getting the LEDs to fit has been difficult but I've got an idea how to get most of them in there. The part I'm stuck on is getting switches in there. Going to need some time to work that out.

I do have one image to show. It's to show the size of the XN Raiser. This thing is huge. It's bigger than the 00 Gundam! I think that's actually kind of funny... until I try to get it on a stand. It's too back heavy for an action base with the special add on piece that comes with the kit. I'm going to have to make a mod to get this thing to stay up.


Well next week will be dedicated to my HLJ contest kit, so no Weekly WIP next week.


What else I'm into...
Transformers: Fall of Cybertron. I don't know anything about this game, but this might be the best game trailer I've ever seen. Plus... GRIMLOCK! Seriously, why couldn't the movies be like this?  Check out the trailer below.


Tips and Tricks - Adding LEDs (Part 2: LED properties)

A light-emitting diodes, also known as an LED, is a semiconductor light source. It emits light in response to the passage of electric current. The color of the light that it emits corresponds to the energy of the photons released, which is determined by the energy gap of the semiconductor. A diagram of what makes up an LED can be seen below.


For the most part, you don't need to worry about any of that, but there are some properties of LEDs that you do need to be aware of.

Lens/Case - Casings come in the flavors, clear, colored clear, and a diffused colored. The diffused colored LEDs allow for a uniform distribution of light. The colored clear cases are used for a more focused light. Clear cases give the purest form of light. In the diagram above, you can see that the casing is often much larger than the diode. This means that if the case does not fit where you need it to, it can be trimmed. Be sure to not damage any of the diode components while trimming. If you do try to trim the casing using a hobby knife, be careful as it can chip and crack.

Color/Wavelength - This property determines what color the LED will give off.Values and the corresponding values are:

  • Violet: 390-450 nm
  • Blue: 450-475 nm
  • Cyan: 476-495 nm
  • Green: 495 - 570 nm
  • Yellow: 570 590 nm
  • Orange: 590 - 620 nm
  • Red: 620 - 750 nm
If you're looking to have a black light effect, you can find LEDs in the ultraviolet spectrum which ranges from 315 to 400 nm.

Forward Voltage - This is the voltage required to power the LED. For your standard green LED, this values is around 2V. Remember when selecting a battery, to go above the value for the resistor.

Maximum Current - This is the maximum current the diode can handle without risking damage. This value will be used to determine the size of the resistor.

Luminous Intensity - This is essentially the brightness of the LED. Generally, this is measured in milli-candela (mcd). The higher the number, the brighter the LED. Below, is a comparison. On the left, is an LED purchased from RadioShack with an mcd value of 20. On the right is a Gunpla Green LED. I'm unsure of the mcd value, but my guess is it's somewhere around 5000.


Where to buy - I would not recommend getting LEDs at RadioShack. Instead, I would recommend looking online. Amazon has a few stores with various LEDs. They may be a little over priced, but you can often select different shipping methods and you have the protection of Amazon with your order. A Google search can turn up a few online stores. In my searching these tended to be more expensive, but you are able to contact the seller for questions and special requests. Lastly, there is ebay. The prices here are the best I have found. More often that not, the shipping is free. However, they often ship from Hong Kong so depending on where you live will determine how long it take for you to receive them.

In the next part, I will be going over the basics of circuit design. 

Tuesday, January 17, 2012

Tips and Tricks - Adding LEDs (Part 1: Tools)

Thanks to the HLJ and Mecha 2012 contests, I've been exploring new techniques to improve my model kits. What I've really become interested in is adding LEDs. Although all of the information I'm going to share is available online, I find that not all of it is in one place. So this is my attempt at a guide that has all information you need to add LEDs to your kit.

To begin, I'd like to that MatX for putting together a guide on the MAC Forums and Sneeper1980 for helping to answer some questions.

Before you even get started, you need to get the right equipment for the job. Below is the list of tools you will need and a few that are optional which can make your experience run a little smoother.

Required:
Batteries - To light up the LEDs, you need a power source. This is where batteries come in. They come in many shapes and sizes, with a variety of characteristics. Wikipedia has a very nice guide for this. The image below is of a 10 pack of LR41 batteries. These are the same batteries that are used to power the LED unit that comes with the MG 00 Raiser. These batteries have 1.5V. I also have some larger 3V batteries and some smaller 1.55V batteries. Any battery (or batteries) will work, but the size and space you have to work with and the amount of money you wish to spend, will determine which batteries you need for your project.


Resistors - What they do is a bit technical and not really necessary. Just understand that you should use them or you risk damaging the components in your circuit. Below is an image of the varity pack of resistors I picked up. For the basic circuit designs, you wont need anything bigger that 300 or 400 ohms. Each resistor has a color code on it. They are a bit tricky. First thing to do is make sure the tolerance band (usually gold) is on the right. The first two colors indicate specific digits. The next color is the multiplier. The last color is the tolerance color. For an example and the number associated with the colors, check out Wikipedia's guide. From personal experience, depending the manufacturer, the red and orange band may look very similar.


Solder - Solder is a fusible metal alloy which is used to connect metal pieces.


Soldering Iron - This tool is used to heat and melt the solder. Once melted, it can be applied to metal parts. Once the soldering iron is removed from the solder, it will cool and harden. This will cause the two parts to be joined together. More on how to do this in the future.


Wire Cutters - Most modelers are familiar with this guy. These will be used to cut and trim excess wire.


Wire -  Give the last item, this is pretty obvious. Wire comes in various sizes, know as gauge (aka AWG). The larger the number, the thinner the wire. Below is 22 gauge wire.


22 gauge wire is sufficient for many MG or larger sized kits and is fairly easy to find. However, 26 gauge maybe a better choice if you are working in tight spaces. Below is a comparison between 22 and 26 gauge wire.


LEDs - Obviously, you will also need LEDs. They come in lots of shapes and sizes. But more importantly are their characteristics. I will get into all of this in Part 2.


Optional:
Soldering Iron Stand - Personally I like having one of these. I can be a little clumsy at times and it's nice to have a protective stand for the iron while it's plugged in. Although I haven't burnt myself (at least not yet), I have knocked it off the little rocker it comes with and had it burn the table. In addition the sponge is nice for wiping of excess solder.


Wire Stripper - Wire strippers are used to remove the protective casing around the wire. If you do purchase a wire stripper, be sure to get a good pair. A cheap pair will not be as sharp or can dull quickly and cause a lot of headaches. Personally, I do not have any wire strippers. Back in college I got in the habit of using wire cutters to cut through the casing. But I must warn you, until you get the hang of it, you will probably cut all the way through the wire.

Heat Shrink Tubing - This is casing used for exposed wire. To be honest, I'm not familiar with how to use this. But since I am making this guide, I will be trying it out.