Showing posts with label decals. Show all posts

Sunday, February 5, 2012

Weekly WIP - Full Armor 00XN Raiser (Part 4)

As I've been focused on my HLJ kit, progress has been slow on this kit. I've been working on the 0 Raiser part of the kit. Nubs are sanded and other areas have been smoothed out. Pretty happy so far. There are a few parts that will need extra work. There are a few noticeable seam line on the 0 Raiser. There is a seam line on the tail end of each binder. I don't expect this to be a big deal. Given the way this attaches, I don't think any modding or masking will be required during painting.


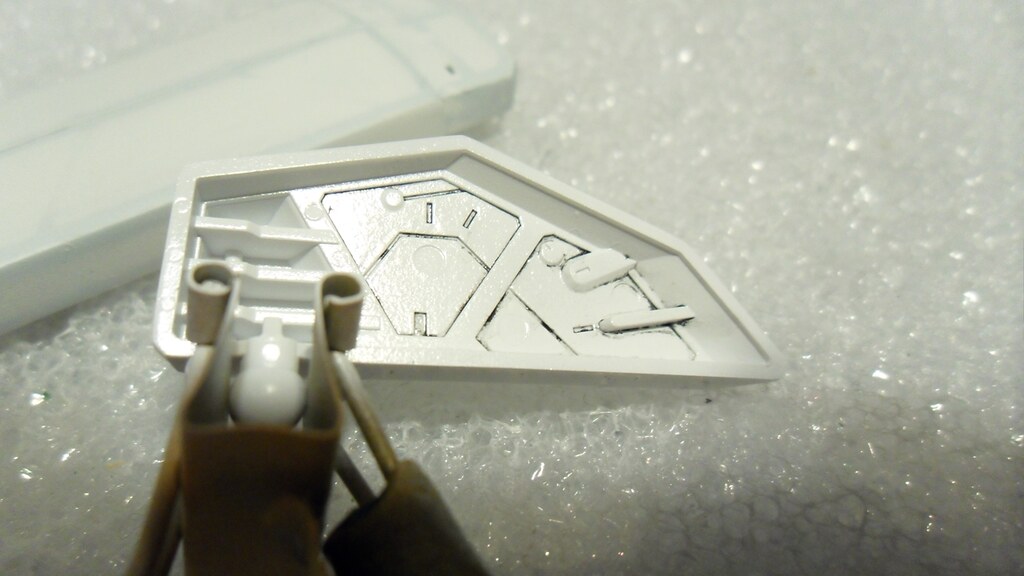
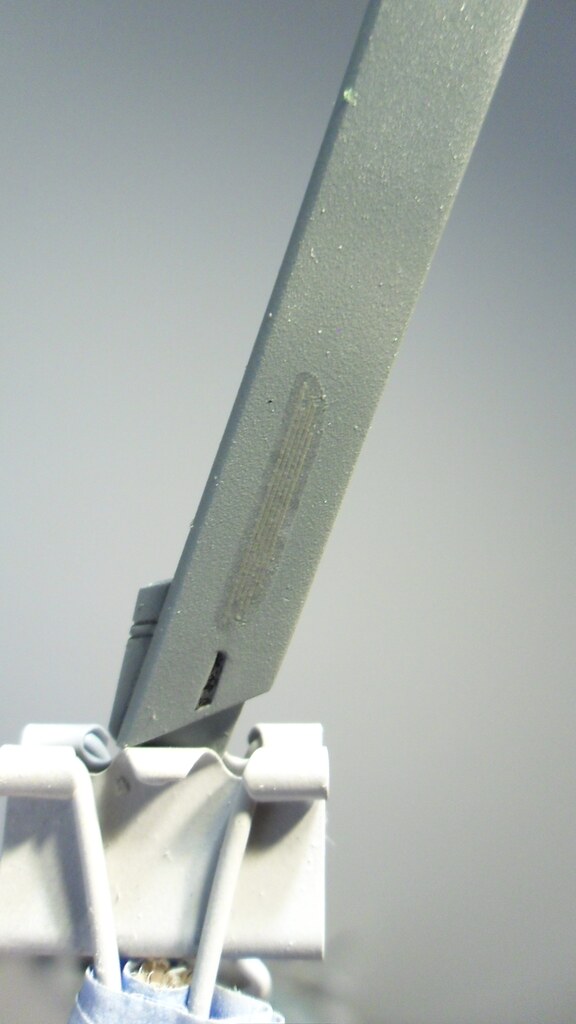
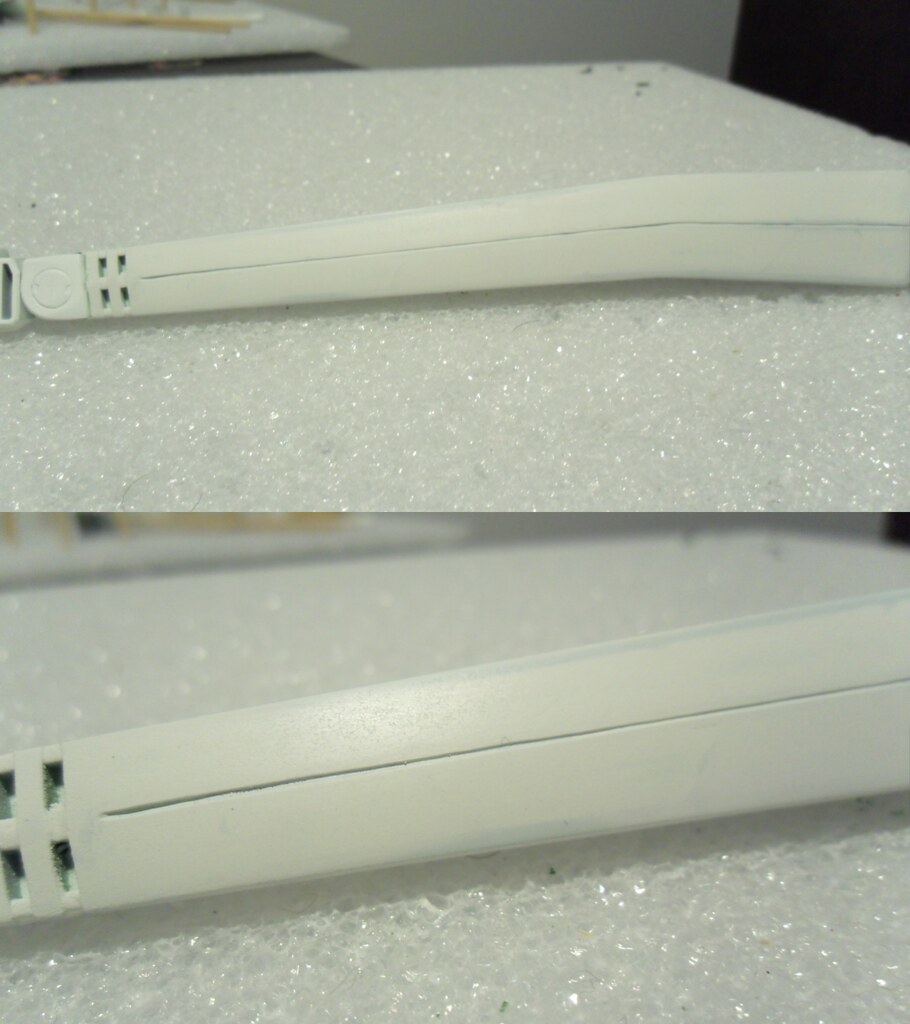
Each of the binders has 2 wings with a seam line going all the way around. In my case, the parts don't align very well. Kind of annoying since this is a 2011 kit, but it's not anything a little glue, putty, and sanding can't fix. Unfortunately, The blue part goes in between the white parts. I think I'm going to mod this part so that it slides in. Since I keep my kits in a fixed pose, I don't really care that I will be reducing the kits articulation.


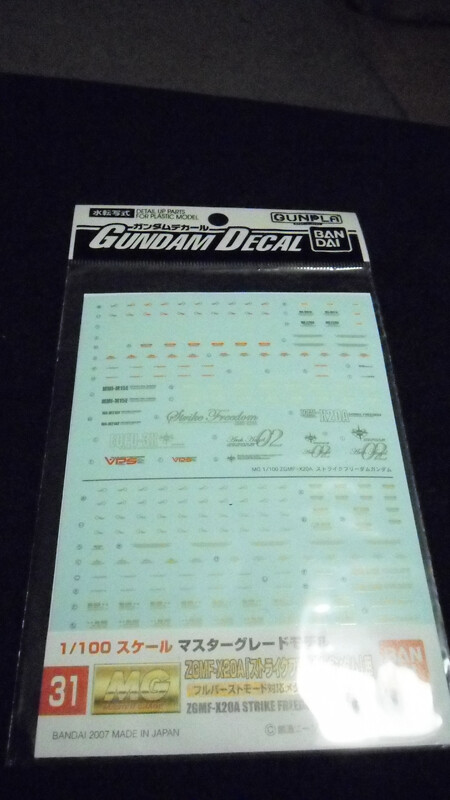
Lastly, I received my decals from Samuel Decals this week and they look great. Got a lot of them as them are a lot of parts on this kit. First up are the 00 7 Sword/G decals. I got two of these since I have 2 sets of weapons.


Next are the 00 Gundam decals. Samuel has 2 versions of these, so I got one of each. Will probably be using a little from each of these.


Next up are some 1/100 XN Raiser decals. Samuel doesn't actually have these, but he does have some in 1/144 size. He was kind enough to increase the size. Not sure that these will fit, but I'm optimistic.


Lastly, are some 00 Gundam series metal decals. These are pretty cool. Not really sure how to describe these. They are definitely not flat like normal decals. They appear almost like photo etched parts with an adhesive on the back. Samuel does provide instructions on how to apply these. I will be playing around with the non Celestial Being decals to see how these work. I'm very excited to try these out.


What else I'm into...
Getting my gunpla mojo back. After a busy couple of weeks, I had begun to lose my desire to build... well technically sand. I hate sanding. Especially where there's a ton of parts. So to get the juices flowing, I watched a couple of Gundam series.

Mobile Suit Gundam 0080: War in the Pocket. This series was ok. The kid was unbelievably annoying, but I think the message of the story is pretty good. The pacing I felt is pretty up and down, but the last 2 episodes I really enjoyed.
  
Mobile Suit Gundam 0083: Stardust Memories. The mobile suit designs are pretty awesome in this series. I really like the GP02a. The action is pretty good. Story seemed to tie everything together. Wasn't really happy about the Gato ending, but that's because it seemed a little underwhelming giving his importance and standing. As far as continuity goes, it seems seems to me like GP01Fb, GP02a, and GP03 are all more impressive suits than the Gundam Mark II. I'm sure someone has a logical reason for this, but it doesn't make sense to me. Overall I must say that I really enjoyed this series and I'll be watching this series again in the future. 


Sunday, October 9, 2011

Weekly WIP - MG Strike Freedom (Part 5)

What I'm working on...
Been working on the waist. Got all of the parts painted.


Started putting panel lining.


Not looking as good as I would like. Erased a lot of detail during the clean up part. Going to take a second application. Also added some decals. Used Micro Set and Micro Sol.


Decals aren't cooperating. You can still see the clear parts of the decal. Not sure what's going on. Going to add another coat of Micro Sol to see if that does the trick. 

Even though last week I said I was giving up on the base stand part of the base, I kept working on it. Was watching a vid from mvm3897 where he was talking about the primer he used. Said there were other primers that he didn't like because they were too thick and therefore hid details. Then it hit me. Hidden details are exactly what I need! So I went and got myself some "bad" primer. Masked off the detailed part of the base and re-primed. Took 2 or 3 coats and some wet sanding, but I think i finally got the look I want.


What else I'm into...
Normally I mention other things I'm into, but this week is going to be different. If you've followed the not so subtle indications that I'm a huge Raiders fan. This week Raider Nation lost it's leader, Al Davis. So instead of mentioning what I'm into, I'm going to take a moment of silence. 


JUST WIN BABY!

Tuesday, September 13, 2011

What's in the box? - Bandai Decal Package

I've often wondered what's in a Bandai decal package, but haven't really been able to find out. I've never used decals before, but since I'm building a MG Strike Freedom and want it to look great, I ordered some. This is what the package looks like.


It's surprisingly small. I don't know why I thought they would be bigger. Obviously they are 1/100 in scale, so of course they're small. The decal sheet itself is 4 x 5.5 in. So what's inside?


Not much really. You get a sheet of decals (front and back below)...


and the backing with directions on how to apply the decals (in Japanese of course). 


There are no directions of where to place them. Other than two very small pictures there are no references on where to place things. In the instruction manual for the MG Strike Freedom there is information on where to place the decals. At first glance it appears that there are more decals on the sheet than in the instruction booklet. Won't know if that's the case until I finish the kit, but I'll be sure to update this post when I get the answer. Hope this was helpful.

-Mike