Sunday, October 30, 2011

Weekly WIP - Clare (Part 1)

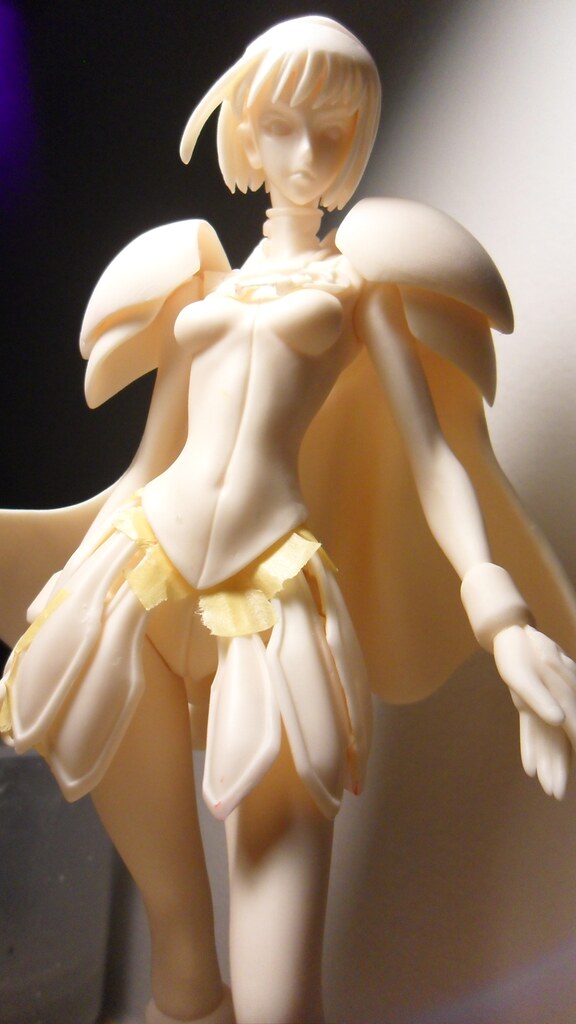
Due to circumstances beyond my control, I have been unable to work on my Strike Freedom. In the mean time I put some work into my first resin kit and my first figure. The kit is of Clare from anime (and probably manga) Claymore. If you want my thoughts on the kit and why I got it, check out the unboxing.

What I'm working on...
First order of business is removing the pour marks and fitting it together.


Parts fit together pretty good. Happy about that. Only work that will need to be done is some putty work. Hair, arms, and legs need work. 


And then there's the cape. It's in pretty bad shape. There are two areas that are broken. One is minor and is a fairly easy fix. The other one... not so much. Not entirely sure how to handle it. Probably going to have to try gluing some pla plate and using putty to get the right shape. I'm going to put this part on hold until I figure it out.


Next step, primer. Using Krylon white primer. Not terribly happy with it. It appears to be good primer, it just doesn't cover up the color underneath. Now that it is primed, I can see all the defects I couldn't see before. Revealed some areas that need sanding and a little putty. Easy work.


That's all for now. Not sure when I'll get around to the next WIP as I hope to be getting back to work on the Strike Freedom.

What else I'm into...
Battlefield 3 (PC version). I'm putting the new computer I built over the summer to the test. Runs pretty well on high settings which is fantastic. As for the game itself, I kind of like it. I'm not really a fan of first person shooters, but I like how you can level up and support a team without having to try and kill everyone. Haven't really played the campaign mode yet. Wasn't really enjoying the timed button press stuff, so I've really just been doing multi-player. For fans of multi-player first person shooters, I'd say this is fantastic and a must own. 

Scary movies! Since Halloween is around the corner, I broke out some scary movies to watch. Halloween II (the Rob Zombie one), 28 Days Later, Devils Rejects, and High Tension. All really good and highly recommended. And I followed it up with a new episode of The Walking Dead tonight. Also very enjoyable.

What's in the box? - Psylocke

Received a new resin figure yesterday. It's a figure of Psylocke from the X-Men (purchased from e2046). As I mentioned in the Wonder Woman unboxing, I'm a fan of Marvel and DC Bishoujo figures. I became a fan of Psylocke during the Jim Lee run on X-Men.


Box arrived in good shape.


On the inside, there is a photo.


Instructions.


Parts and parts list.


This kit looks great. I see no obvious defects in the casting. The swords are a little crooked and there's some flash on hair, but for the most part they appear to be the only defects. I also love the base that is included. And it's clear! Allows for a lot of painting possibilities. I can't express how happy I am with this kit. I recommend this kit for anyone. I was so happy with the kit, I could resist putting it together right away.


Legs, arms, and head will require a little putty to remove the seam lines, but after that it should be ready for some paint. I'm already working on the Strike Freedom and Clare (WIP coming soon), so unfortunately this kit will be staying in this state for a little while. Going to have to work hard on those kits so I can work on this one.
Monday, October 24, 2011

Weekly WIP - MG Strike Freedom (Part 7)

What I'm working on...
Sorry guys didn't make much progress. It's been one of those weeks where life gets in the way of model building. Started painting the base. Got the white, gold, and dark blue painted. Unfortunately, the white and gold are masked off and the red and lighter blue still needs to be added, but you can get an idea of what this will look like.


Also painted the stand part of the base. I'm pretty happy with the concept. Hopefully after I do the cleanup it looks as nice as I want it to.


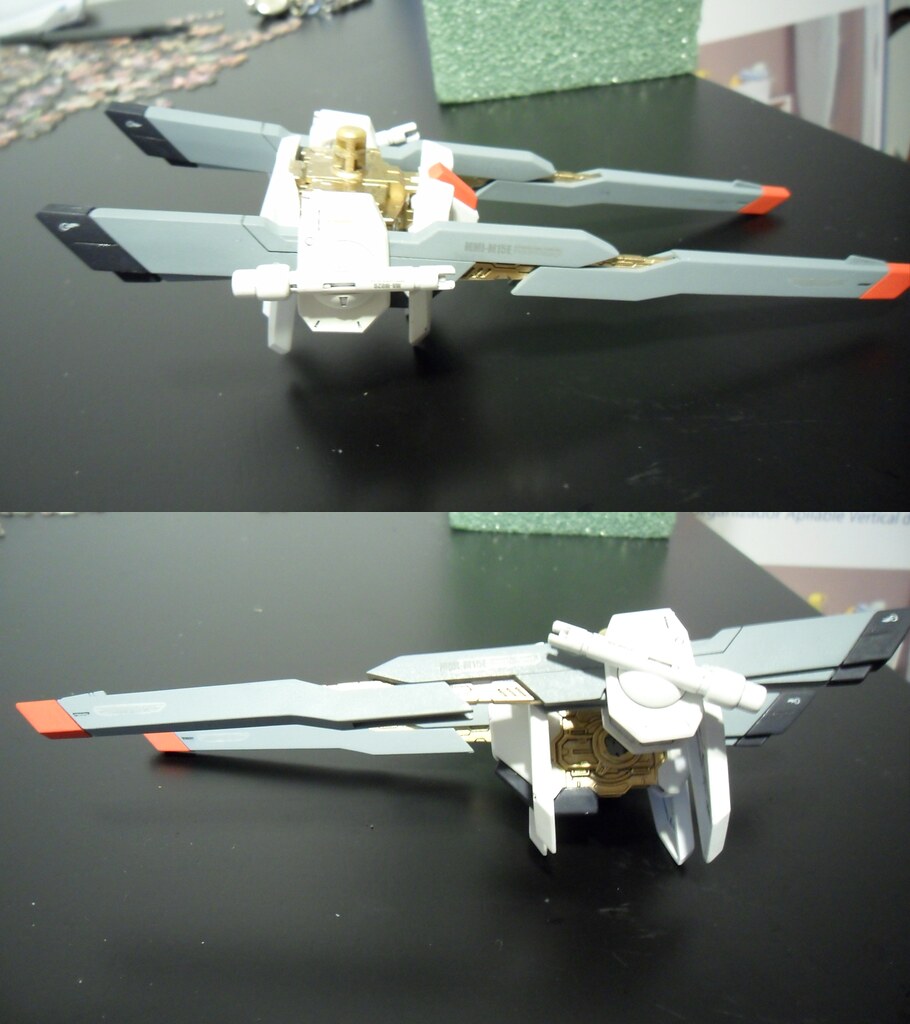
Here's a bit of preview about what it will look like with the waist attached. 


What else I'm into...
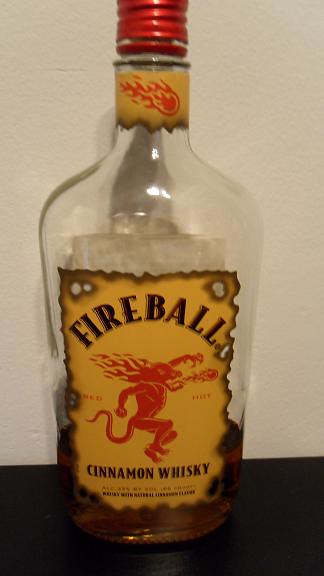
Fireball! It's delicious and with the weather changing, it will help keep you warm... sort of ;)


Saturday, October 22, 2011

Tips and Tricks - Making Camo Stencils

Research...
Before getting started, you need to decide what type of camo you want. If you do some research, you'll find out there are different camo designs for different situations. 

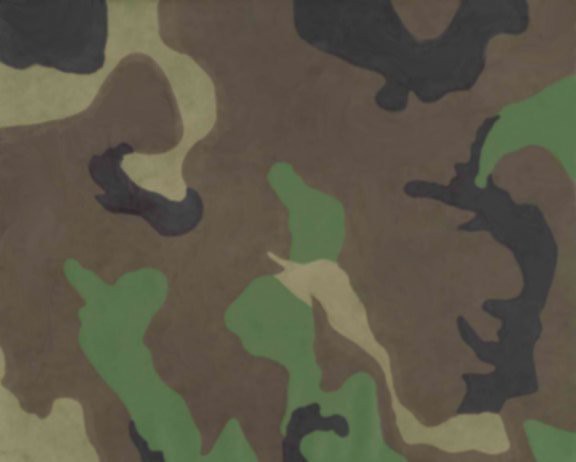
Many are familiar with your standard (green, tan, brown, black) camo.


If you want an urban camo, that's really just a color swap.


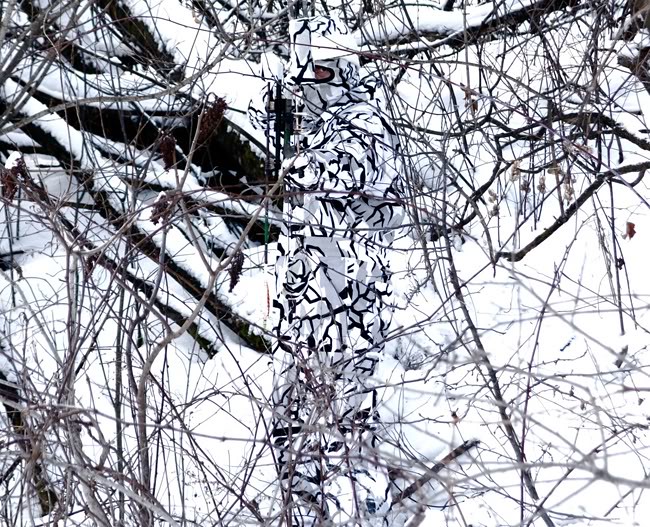
But if you want a winter camo, you also need to change the shapes. Why is that? It's because of the scenery. With no leaves on trees, the dark areas need to be long and thing so that they look like branches.


Making Stencils...
Once you've decided on your scheme it's time to make the stencils. Here is how I make stencils.

1) Gather supplies. You'll need masking tape, wax paper, a hobby knife, and a pen.


2) Layout strips of masking tape on the wax paper. Note that you'll want the width of the masking tape to be wider than the shapes you are going to be making. Since 1/144 and 1/100 Gundams are fairly small, it should be easy to find appropriately sized masking tape. If you are planning to do a lot of camo, you can put the masking tape on both sides of the wax paper. This will result in twice as many stencils. 

One Sided

Two Sided

3) Draw you shapes on the masking tape you laid out. Be sure to leave some space between each shape. You'll see why in Step 5. If you're afraid you can't draw good shapes on your own, continue to the next step. If not, skip to Step 5.

4) For this step you will require a pencil. Go online and find the shapes you're looking for. You probably have some reference images after doing Step 1. Print these images on the basic white printer paper. 


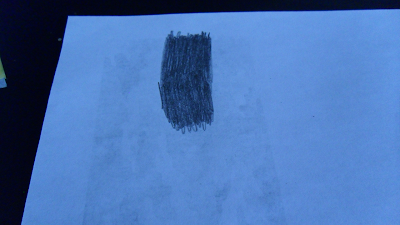
Once printed, flip the paper over. Grab your pencil and rub it on the back of the paper. What you're doing is building up the graphite so that it can be transferred to the masking tape. 


With that done, flip the paper over and lay it on top of the masking tape. Hold the paper very steady, trace around each of the shapes. Remember to leave a little space between each shape. Where you press down will cause the graphite on the other side to transfer to the masking tape. Once done, remove the paper. You should see your design on the tape.


At this point I like to go over it with a pen. I find that I tend to smear graphite while I'm cutting out the stencils. 


5) Grab your hobby knife and start cutting out the shapes. Since you left some space between shapes, you'll now have male and female stencils and twice and many stencils! And if you double sided the wax paper, you have four times the stencils!


Now you're ready to break out the paint. Enjoy!


Sunday, October 16, 2011

Weekly WIP - MG Strike Freedom (Part 6)

What I'm working on...
Before getting started, I'd like to thanks those from the MAC Forum that have shown their support and provided some valuable advice. 

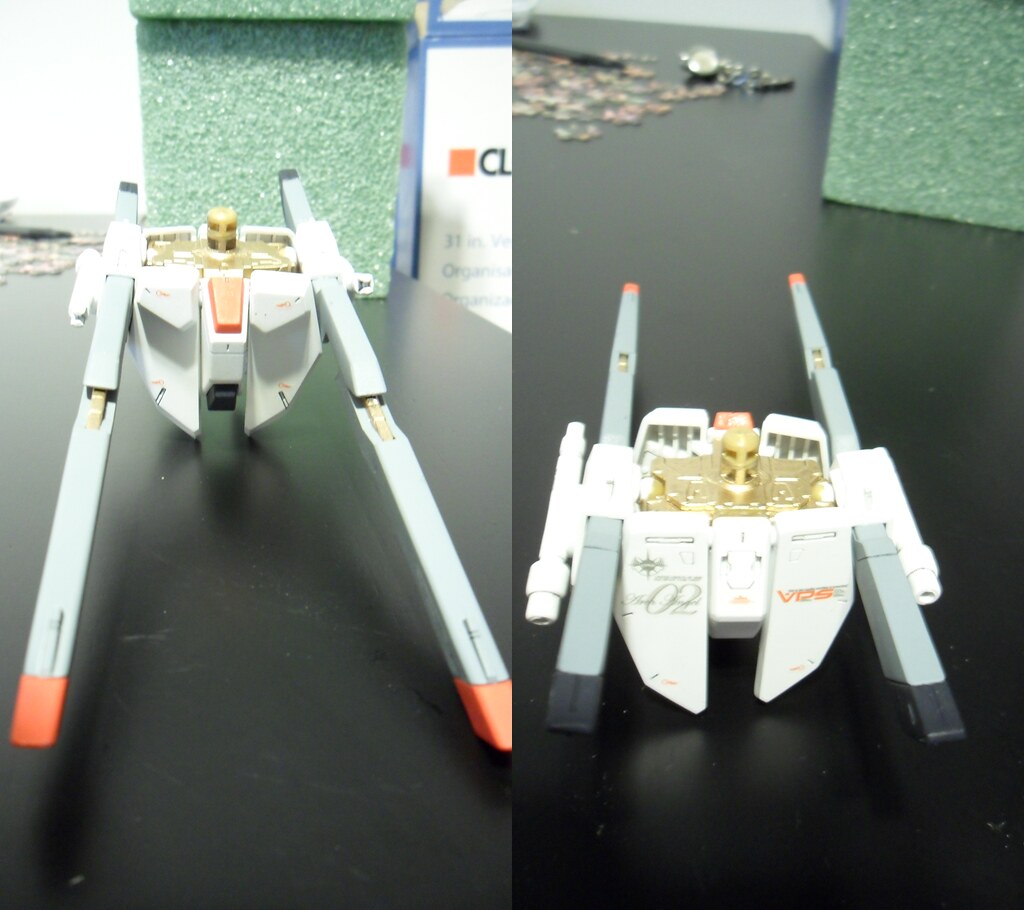
Finished the waist.


Not very happy with the results. Decals silvered. Panel lines don't look good. There's scratches. Paint didn't on on very well. Just overall, I'm not pleased. So to hopefully prevent this on the rest of the kit, I decided to take a step back. 

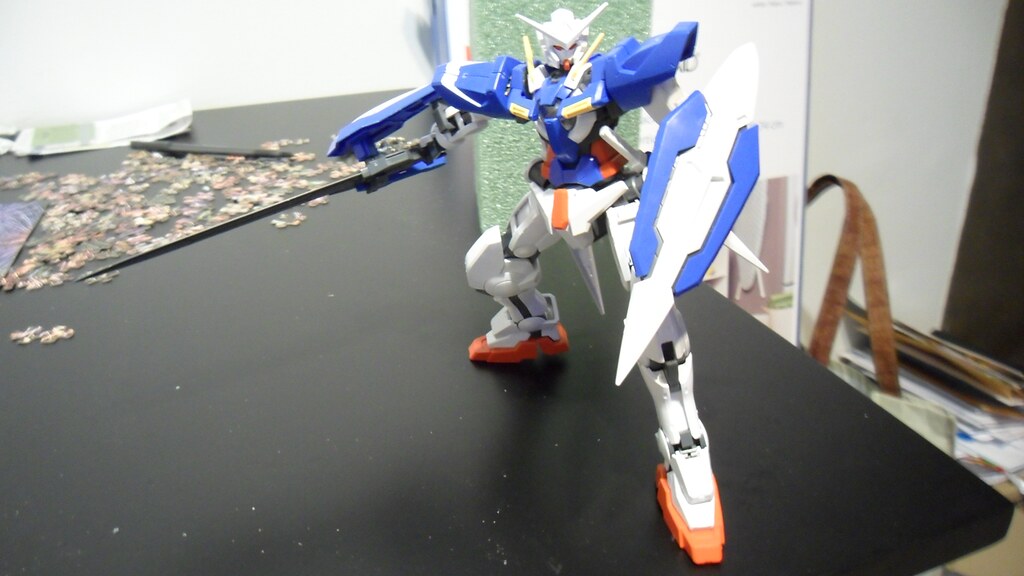
Snapped together a NG 1/100 Exia.


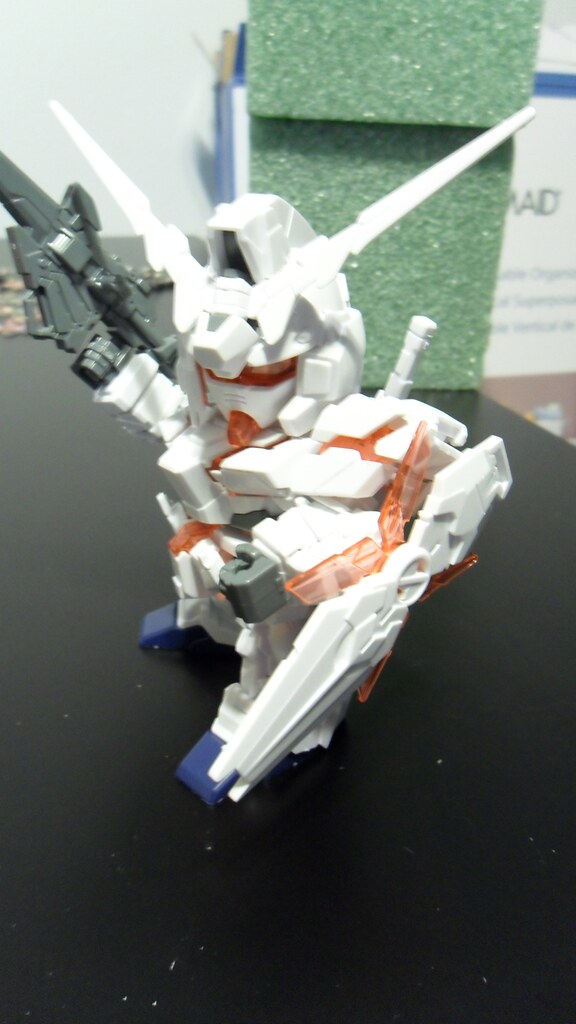
Snapped together a SD Unicorn Gundam


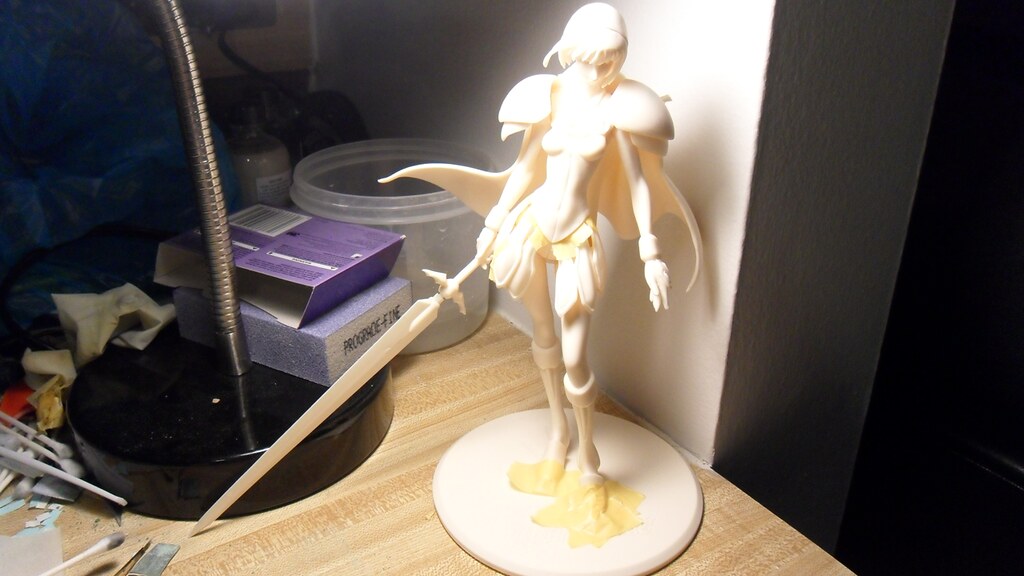
Lastly, I pinned together a resin kit for the first time. It was a fun experience. Resin is a very different plastic than what bandai uses. If you're looking for a different challenge, I highly recommend trying out a resin kit.


After all of that, I got back to the Strike Freedom. Sanded down all the nubs on the chest and legs. Other than two parts on the legs, there no other seam lines to remove. But I'll be covering all that in more detail next time.

What else I'm into...
The League! I love this show. Very funny. Even for those that don't like fantasy football (or sports in general), I highly recommend this show.

Great Lakes Oktoberfest. I believe it's only available in northeast Ohio, but if you're in the area check it out. One of my favorite beers.