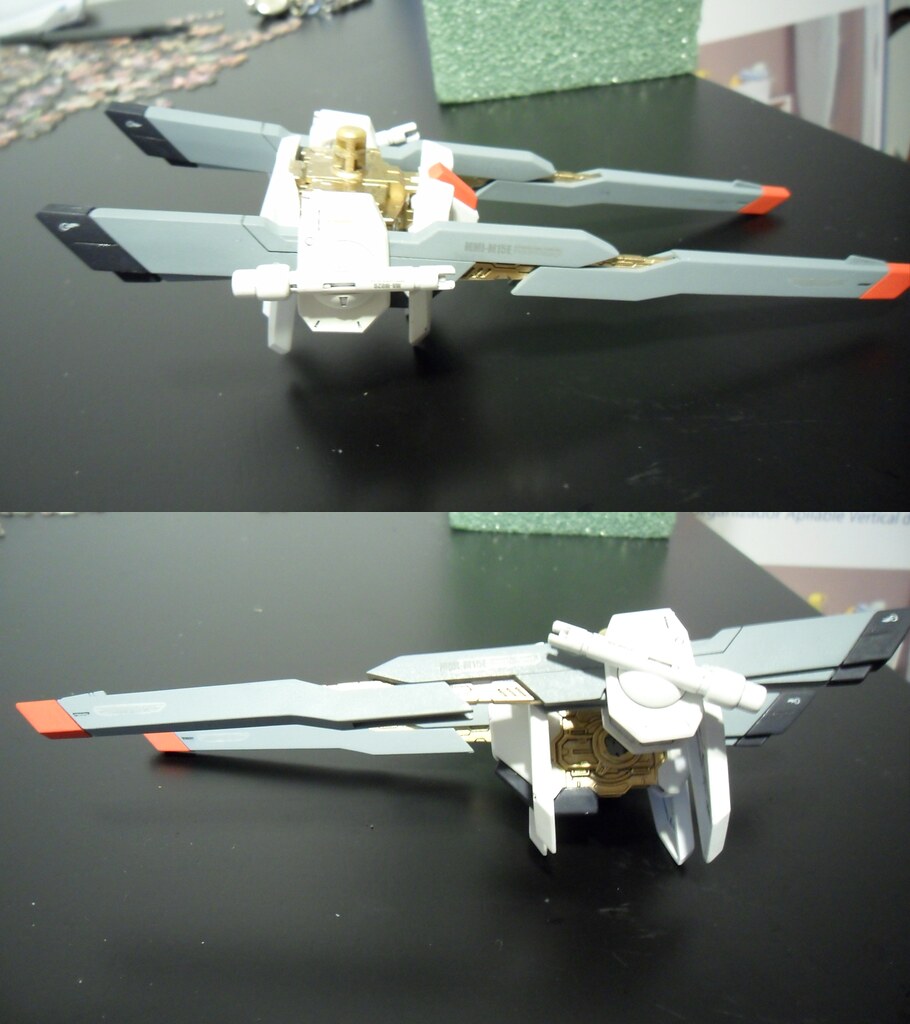
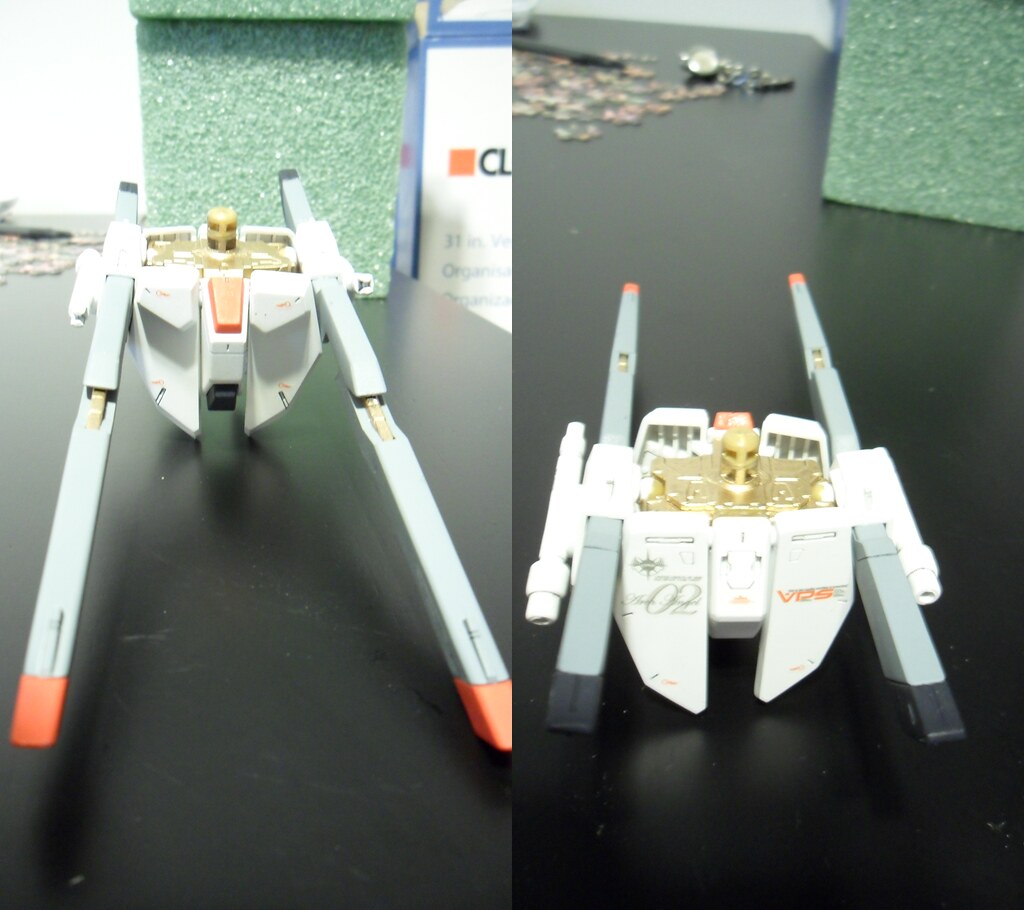
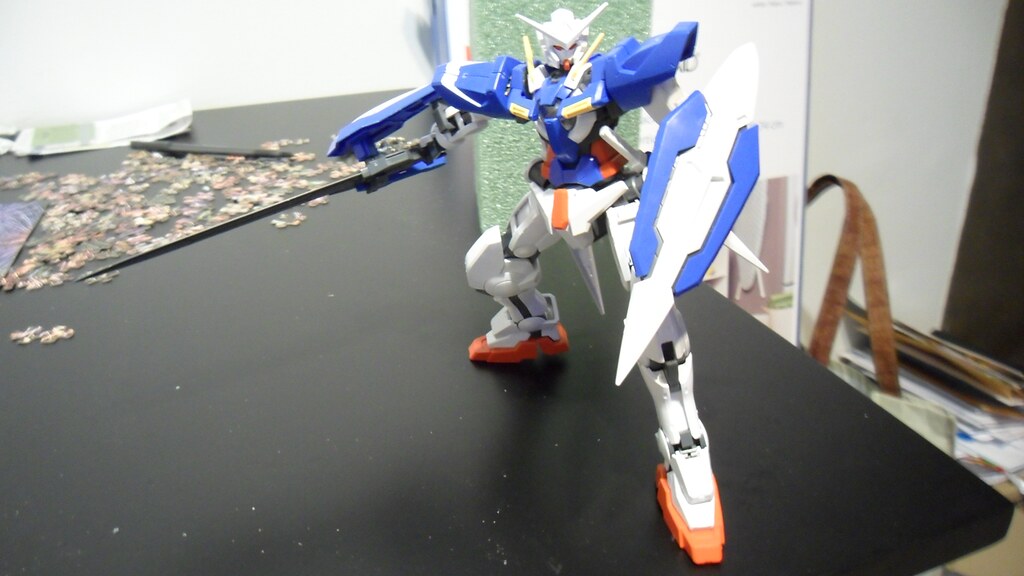
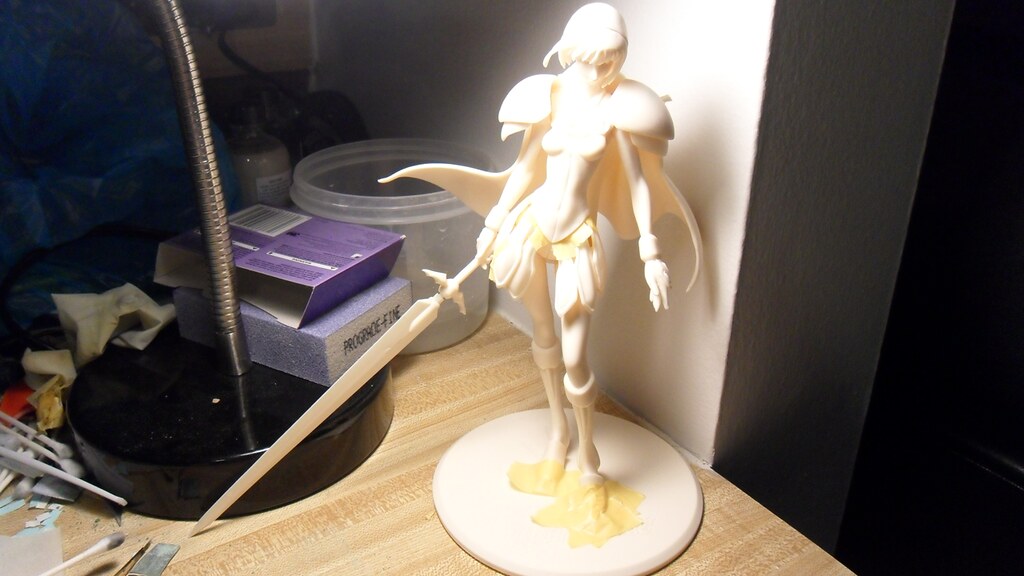
What I'm working on...
First order of business is removing the pour marks and fitting it together.

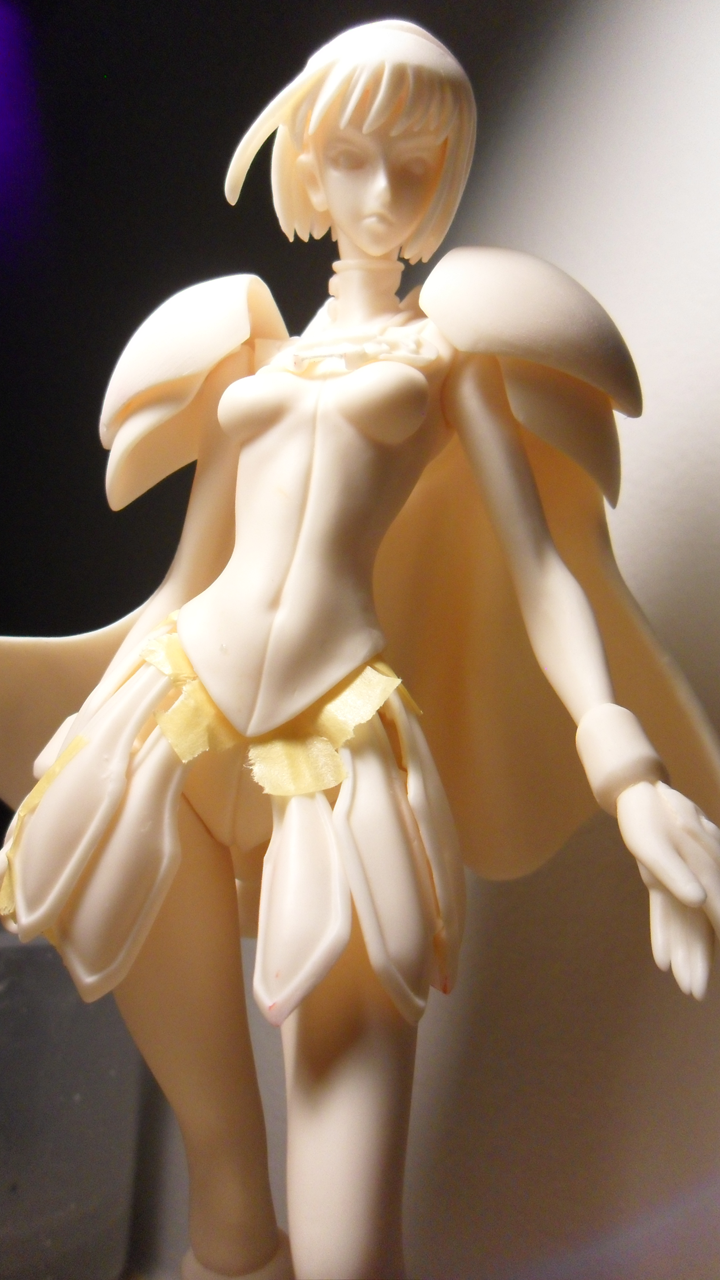
Parts fit together pretty good. Happy about that. Only work that will need to be done is some putty work. Hair, arms, and legs need work.


And then there's the cape. It's in pretty bad shape. There are two areas that are broken. One is minor and is a fairly easy fix. The other one... not so much. Not entirely sure how to handle it. Probably going to have to try gluing some pla plate and using putty to get the right shape. I'm going to put this part on hold until I figure it out.

Next step, primer. Using Krylon white primer. Not terribly happy with it. It appears to be good primer, it just doesn't cover up the color underneath. Now that it is primed, I can see all the defects I couldn't see before. Revealed some areas that need sanding and a little putty. Easy work.


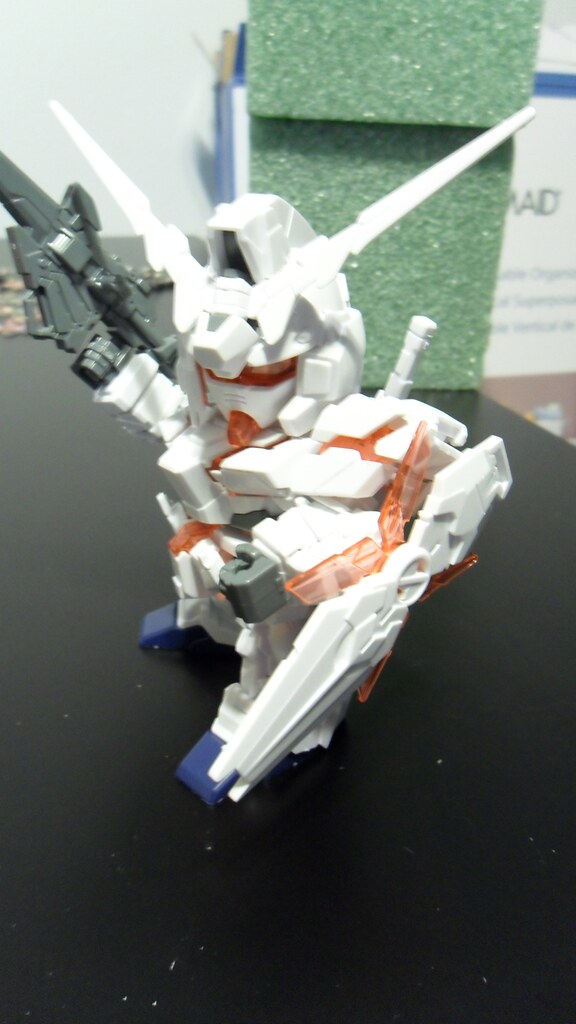
That's all for now. Not sure when I'll get around to the next WIP as I hope to be getting back to work on the Strike Freedom.
What else I'm into...
Battlefield 3 (PC version). I'm putting the new computer I built over the summer to the test. Runs pretty well on high settings which is fantastic. As for the game itself, I kind of like it. I'm not really a fan of first person shooters, but I like how you can level up and support a team without having to try and kill everyone. Haven't really played the campaign mode yet. Wasn't really enjoying the timed button press stuff, so I've really just been doing multi-player. For fans of multi-player first person shooters, I'd say this is fantastic and a must own.
Scary movies! Since Halloween is around the corner, I broke out some scary movies to watch. Halloween II (the Rob Zombie one), 28 Days Later, Devils Rejects, and High Tension. All really good and highly recommended. And I followed it up with a new episode of The Walking Dead tonight. Also very enjoyable.